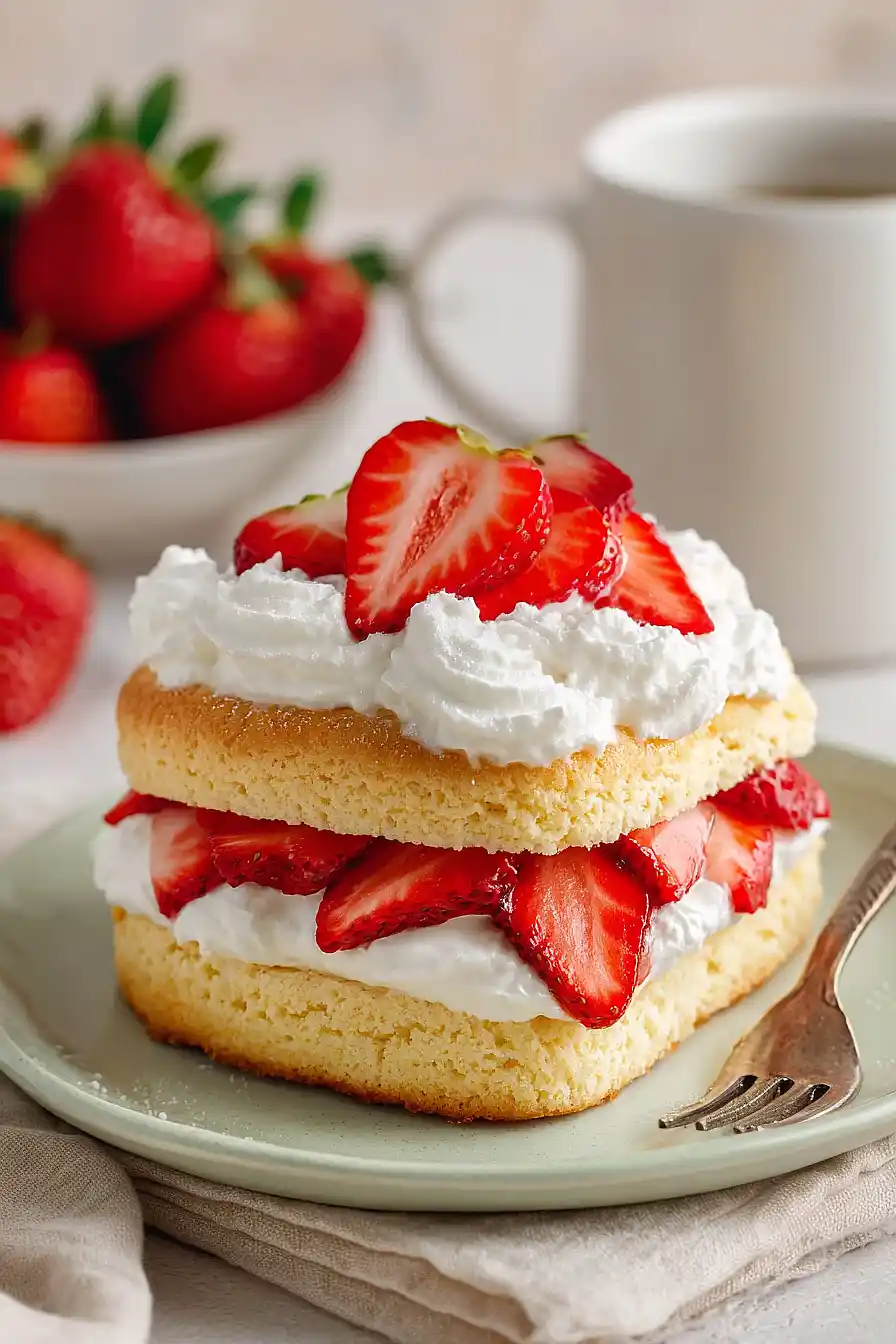
Valentine’s Day has always been my excuse to make dessert for breakfast. I’m not talking about a quick pastry or a muffin. I mean real cake with whipped cream and strawberries piled on top. My family doesn’t complain one bit when they wake up to this on February 14th.
That’s why strawberry shortcake is my Valentine’s Day tradition. The tender, buttery cake is easy to whip up, and those fresh strawberries make it feel special without being fussy. I use sour cream in the batter for extra moisture, and it gives the cake a little tang that balances out the sweetness perfectly.
Want something fancy-looking that doesn’t require fancy skills? This is your recipe. Need to make someone feel loved without spending all day in the kitchen? Same. Honestly, I make this on regular weekends too because why should Valentine’s Day get all the fun?
Why You’ll Love This Strawberry Shortcake
- Quick and easy dessert – Ready in under an hour, this strawberry shortcake is perfect when you need a homemade dessert without spending all day in the kitchen.
- Simple pantry ingredients – You probably already have most of these basics on hand, so no special shopping trip required.
- Perfect for special occasions – Whether it’s Valentine’s Day, a birthday, or just because, this classic dessert feels fancy but comes together easily.
- Crowd-pleaser – The combination of tender cake, fresh strawberries, and fluffy whipped cream is a timeless favorite that everyone loves.
What Kind of Strawberries Should I Use?
Fresh strawberries are always your best bet for strawberry shortcake, and you’ll want to look for berries that are bright red all the way through with no white or green spots near the stem. Smaller to medium-sized strawberries tend to be sweeter than the giant ones, so don’t feel like you need to grab the biggest berries in the store. If fresh strawberries aren’t in season or you can’t find good ones, frozen strawberries that have been thawed and drained will work in a pinch, though they’ll be a bit softer and release more juice. Before using your strawberries, give them a quick rinse and hull them, then slice them up and let them sit with a little sugar for about 15 minutes to create a nice syrup that’ll soak into your shortcake.
Options for Substitutions
This strawberry shortcake is pretty forgiving when it comes to swaps:
- Sour cream: If you don’t have sour cream, Greek yogurt works great as a substitute. Use the same amount and you’ll still get that moist, tender cake.
- Butter: You can use margarine or vegetable oil if needed, though butter gives the best flavor. If using oil, reduce the amount to 3/4 cup.
- Vanilla essence: Vanilla extract works just as well, and you can even try almond extract for a different flavor profile – just use half the amount since it’s stronger.
- Strawberries: While strawberries are traditional for this recipe, you can switch things up with raspberries, blueberries, or mixed berries. Fresh is best, but thawed frozen berries work in a pinch – just drain excess liquid first.
- Whipped cream: Store-bought whipped topping like Cool Whip is a convenient swap, or you can make your own by whipping heavy cream with a bit of sugar and vanilla.
- All-purpose flour: Cake flour will give you a lighter texture if you have it. Use 1 3/4 cups cake flour to replace the 1 1/2 cups all-purpose flour.
Watch Out for These Mistakes While Baking
The biggest mistake when making this strawberry shortcake is overbaking the cake, which can leave it dry and crumbly instead of tender – start checking at 20 minutes by inserting a toothpick in the center, and pull it out when just a few moist crumbs cling to it.
Room temperature ingredients are essential here, so make sure your butter, eggs, and sour cream sit out for about 30 minutes before mixing, otherwise you’ll end up with a dense, uneven texture.
When cutting the cake horizontally, wait until it’s completely cool and use a serrated knife with a gentle sawing motion to get clean, even layers without tearing.
Finally, assemble your shortcake no more than an hour before serving, as the moisture from the strawberries and whipped cream will start to soften the cake too much if it sits overnight.
What to Serve With Strawberry Shortcake?
Strawberry shortcake is pretty much a complete dessert on its own, but I love serving it with a hot cup of coffee or tea to balance out the sweetness. If you’re making this for a Valentine’s Day dinner, it pairs nicely after a lighter main course like grilled chicken or fish, since the cake is already pretty rich and filling. You could also set out some extra fresh berries on the side – raspberries and blueberries work great – so people can add more fruit if they want. For a fun brunch idea, serve smaller portions alongside mimosas or sparkling lemonade for a sweet way to end the meal.
Storage Instructions
Store: Keep your shortcake layers wrapped tightly in plastic wrap at room temperature for up to 2 days, or in the fridge for up to 5 days. I like to store the cake, whipped cream, and strawberries separately so everything stays fresh and the cake doesn’t get soggy.
Freeze: The cake layers freeze really well for up to 3 months. Just wrap them individually in plastic wrap and then in foil before freezing. I don’t recommend freezing the assembled dessert though, since the whipped cream and strawberries won’t hold up as nicely.
Assemble: If you’ve stored everything separately, let the cake come to room temperature before assembling. You can also make the shortcake layers a day ahead and just add the fresh whipped cream and strawberries right before serving for the best texture and flavor.
| Preparation Time | 20-30 minutes |
| Cooking Time | 20-25 minutes |
| Total Time | 40-55 minutes |
| Level of Difficulty | Medium |
| Servings | 8 slices |
Estimated Nutrition
Estimated nutrition for the whole recipe (without optional ingredients):
- Calories: 3200-3500
- Protein: 40-50 g
- Fat: 180-200 g
- Carbohydrates: 350-380 g
Ingredients
For the cake:
- cooking spray
- 1.75 cups flour (I always use King Arthur all-purpose flour)
- 3/4 tsp baking powder
- 1 tsp salt
- 1 cup butter (I like Kerrygold unsalted butter for this)
- 1 cup sugar
- 4 large eggs (room temperature, about 70°F)
- 1/2 cup sour cream (adds extra moisture and a slight tang)
- 2.5 tbsp vanilla essence
For the topping:
- whipped cream (I use Cool Whip for a more stable topping)
- 1 lb strawberries (hulled and sliced into 1/4-inch pieces)
Step 1: Prepare Pan and Mise en Place
- cooking spray
- 1.75 cups flour
- 3/4 tsp baking powder
- 1 tsp salt
Preheat your oven to 350°F and lightly coat a 9-inch round cake pan (or 8×8 inch square pan) with cooking spray, ensuring even coverage on the bottom and sides.
While the oven preheats, measure out all your dry ingredients into a small bowl: flour, baking powder, and salt.
Whisk them together briefly to combine and aerate the flour—this ensures even leavening throughout the cake.
Having everything ready before you start mixing will keep your workflow smooth and prevent overmixing the batter later.
Step 2: Cream Butter and Sugar
- 1 cup butter
- 1 cup sugar
In a large mixing bowl, combine the softened butter and sugar, beating on medium speed for 3-4 minutes until the mixture is light, fluffy, and pale in color.
This creaming process incorporates air into the batter, which helps the cake rise and creates a tender crumb.
Scrape down the bowl halfway through to ensure all the butter is fully incorporated and the sugar is completely dissolved.
Step 3: Build the Wet Batter Base
- 4 large eggs
- 1/2 cup sour cream
- 2.5 tbsp vanilla essence
Add room-temperature eggs to the creamed butter and sugar one at a time, beating well after each addition—this ensures each egg is fully incorporated before adding the next.
After all eggs are added, mix in the sour cream and vanilla essence until just combined.
I find that room-temperature eggs blend much more smoothly into the butter mixture, creating a silkier batter, so let them sit on the counter for 15-20 minutes before starting if needed.
Step 4: Combine and Bake the Cake
- dry ingredient mixture from Step 1
- wet batter from Step 3
Gently fold the dry ingredient mixture from Step 1 into the wet batter from Step 3 using a spatula, stirring just until the flour disappears—do not overmix, as this can make the cake tough.
Pour the batter into your prepared pan and tap it gently on the counter a few times to release any air bubbles and level the surface.
Bake for 20-25 minutes until a toothpick inserted in the center comes out clean or with just a few moist crumbs.
Step 5: Cool and Prepare the Cake
Allow the cake to cool in the pan for 5 minutes, then turn it out onto a wire cooling rack and let it cool completely to room temperature.
Once cooled, carefully slice the cake horizontally into two equal layers using a serrated knife or cake leveler—a gentle sawing motion works best to keep the layers even and prevent crumbling.
Step 6: Hull and Slice Strawberries
- 1 lb strawberries
While the cake cools, prepare the strawberries by removing the green hulls and slicing each berry into uniform 1/4-inch pieces.
If your strawberries are particularly large, you can halve them lengthwise before slicing.
I like to slice strawberries just before assembling so they stay fresh and juicy rather than releasing too much liquid.
Step 7: Assemble and Serve
- cooked cake from Step 5
- sliced strawberries from Step 6
- whipped cream
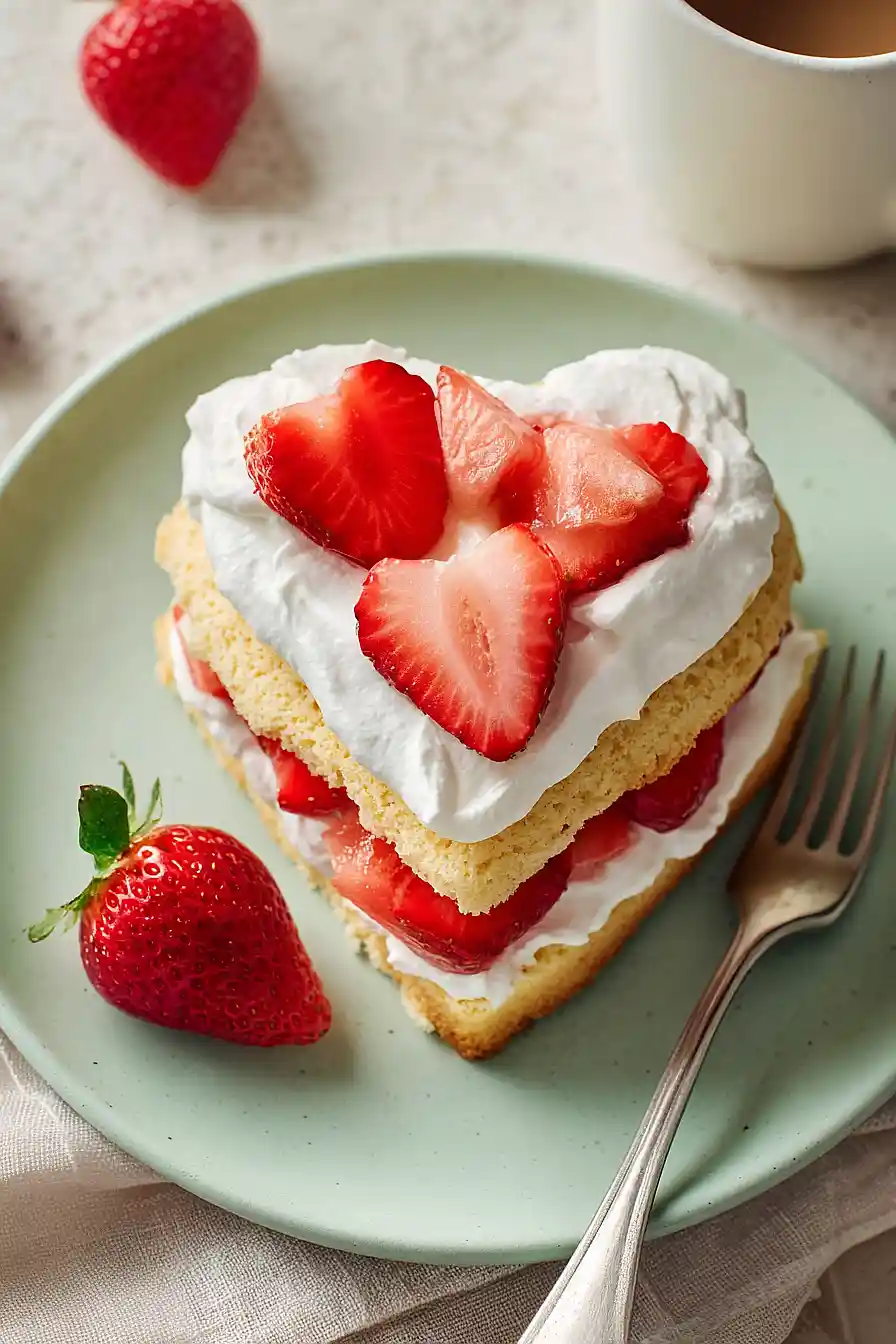
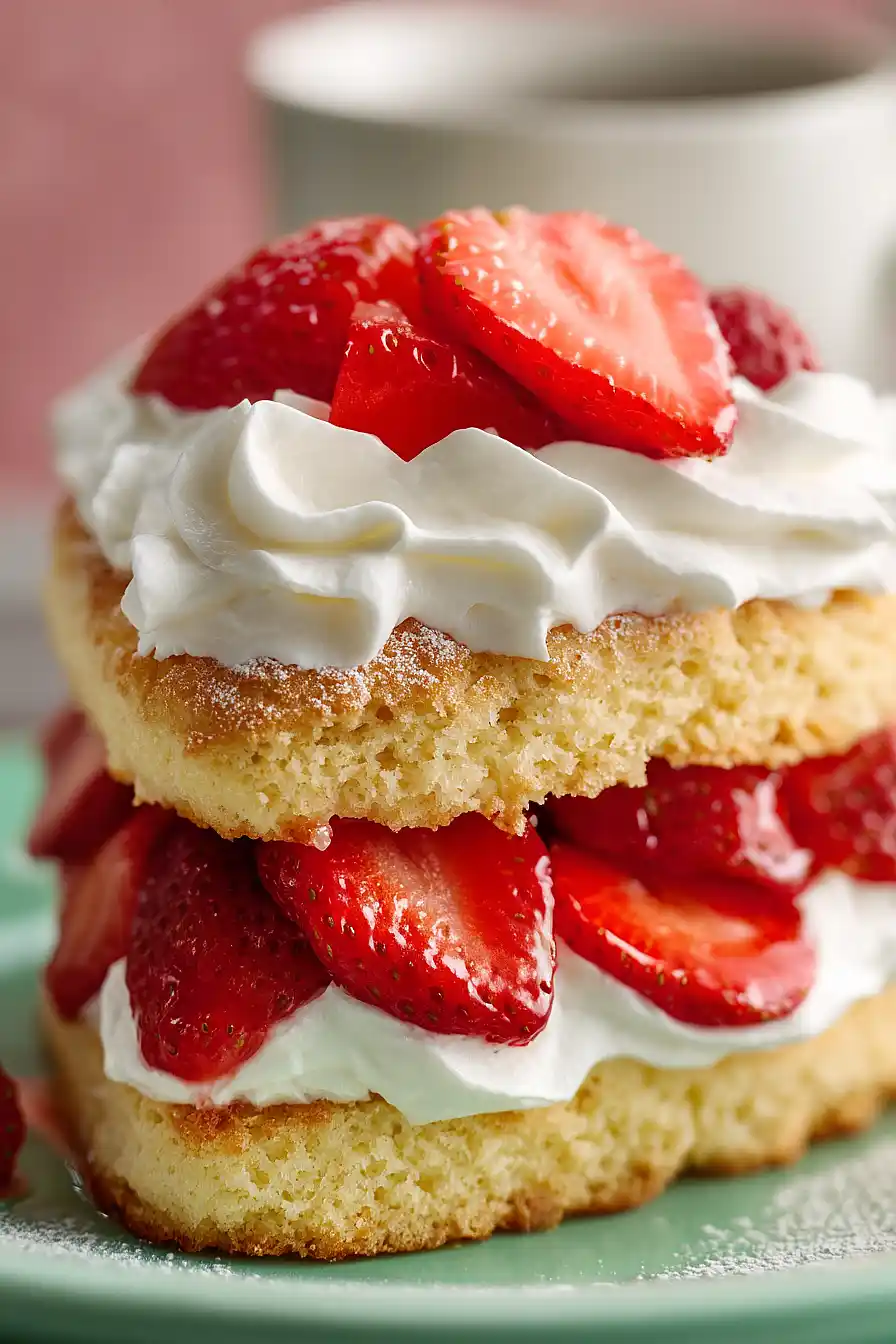
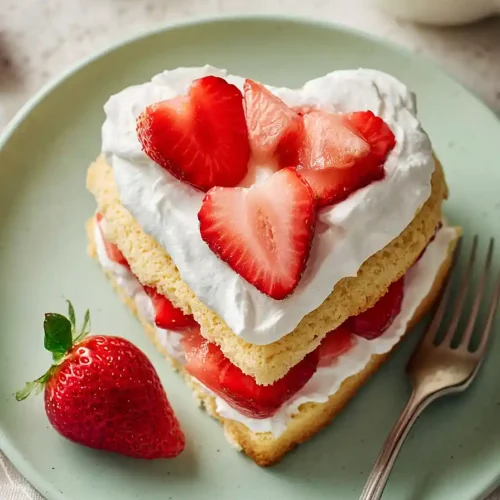
Place the bottom cake layer on your serving plate and spread a layer of whipped cream over it, then arrange the sliced strawberries on top in an even layer.
Carefully place the top cake layer on the strawberry layer and finish with a generous dollop or layer of whipped cream and a few strawberry slices for garnish.
Slice and serve immediately for the best texture, as the cake will absorb moisture from the strawberries over time.
Tasty Valentine's Strawberry Shortcake
Ingredients
For the cake::
- cooking spray
- 1.75 cups flour (I always use King Arthur all-purpose flour)
- 3/4 tsp baking powder
- 1 tsp salt
- 1 cup butter (I like Kerrygold unsalted butter for this)
- 1 cup sugar
- 4 large eggs (room temperature, about 70°F)
- 1/2 cup sour cream (adds extra moisture and a slight tang)
- 2.5 tbsp vanilla essence
For the topping::
- whipped cream (I use Cool Whip for a more stable topping)
- 1 lb strawberries (hulled and sliced into 1/4-inch pieces)
Instructions
- Preheat your oven to 350°F and lightly coat a 9-inch round cake pan (or 8x8 inch square pan) with cooking spray, ensuring even coverage on the bottom and sides. While the oven preheats, measure out all your dry ingredients into a small bowl: flour, baking powder, and salt. Whisk them together briefly to combine and aerate the flour—this ensures even leavening throughout the cake. Having everything ready before you start mixing will keep your workflow smooth and prevent overmixing the batter later.
- In a large mixing bowl, combine the softened butter and sugar, beating on medium speed for 3-4 minutes until the mixture is light, fluffy, and pale in color. This creaming process incorporates air into the batter, which helps the cake rise and creates a tender crumb. Scrape down the bowl halfway through to ensure all the butter is fully incorporated and the sugar is completely dissolved.
- Add room-temperature eggs to the creamed butter and sugar one at a time, beating well after each addition—this ensures each egg is fully incorporated before adding the next. After all eggs are added, mix in the sour cream and vanilla essence until just combined. I find that room-temperature eggs blend much more smoothly into the butter mixture, creating a silkier batter, so let them sit on the counter for 15-20 minutes before starting if needed.
- Gently fold the dry ingredient mixture from Step 1 into the wet batter from Step 3 using a spatula, stirring just until the flour disappears—do not overmix, as this can make the cake tough. Pour the batter into your prepared pan and tap it gently on the counter a few times to release any air bubbles and level the surface. Bake for 20-25 minutes until a toothpick inserted in the center comes out clean or with just a few moist crumbs.
- Allow the cake to cool in the pan for 5 minutes, then turn it out onto a wire cooling rack and let it cool completely to room temperature. Once cooled, carefully slice the cake horizontally into two equal layers using a serrated knife or cake leveler—a gentle sawing motion works best to keep the layers even and prevent crumbling.
- While the cake cools, prepare the strawberries by removing the green hulls and slicing each berry into uniform 1/4-inch pieces. If your strawberries are particularly large, you can halve them lengthwise before slicing. I like to slice strawberries just before assembling so they stay fresh and juicy rather than releasing too much liquid.
- Place the bottom cake layer on your serving plate and spread a layer of whipped cream over it, then arrange the sliced strawberries on top in an even layer. Carefully place the top cake layer on the strawberry layer and finish with a generous dollop or layer of whipped cream and a few strawberry slices for garnish. Slice and serve immediately for the best texture, as the cake will absorb moisture from the strawberries over time.
