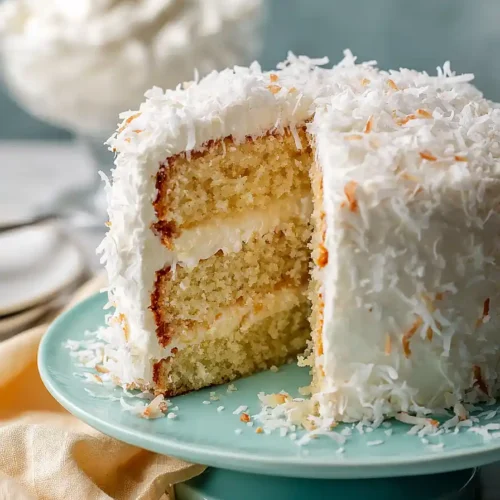
Creamy Coconut Cake with Sour Cream Frosting
Delicious Creamy Coconut Cake with Sour Cream Frosting recipe with step-by-step instructions.
Ingredients
For the cake::
- 1 box yellow cake mix (such as Betty Crocker Super Moist)
For the filling and frosting::
- 2 1/4 cups sugar
- 18 oz sour cream (I prefer Daisy for a thicker, richer texture)
- 16 oz sweetened flaked coconut (such as Baker's Angel Flake)
- 1 teaspoon vanilla extract
- 12 oz whipped topping
Instructions
- In a large bowl, combine the sugar, sour cream, and sweetened flaked coconut, stirring until the coconut is fully incorporated and the mixture is uniform. I prefer using Daisy sour cream because its thicker texture creates a richer, more luxurious frosting. Cover and refrigerate overnight (or at least 8 hours) to allow the coconut to fully absorb the sour cream and develop deeper flavor—this step is essential for the best results, so don't skip it.
- While the frosting chills, prepare the yellow cake mix according to package directions, dividing the batter evenly between two greased and floured 9-inch round cake pans. Bake according to package instructions (typically 25-30 minutes) until a toothpick inserted in the center comes out clean. Allow the cakes to cool in the pans for 10-15 minutes, then turn out onto wire racks to cool completely before assembling.
- Once the cakes are completely cool, use a serrated knife or cake leveler to carefully slice each cake layer in half horizontally, creating four thin layers total. This technique creates more surface area for frosting and gives the cake a more elegant, professional appearance. Work carefully to keep the layers as even as possible so the cake stacks evenly.
- Remove the chilled coconut frosting from the refrigerator and reserve 1 cup of the mixture in a separate bowl. Spread the remaining coconut frosting evenly between each of the four cake layers, using about 1/4 to 1/3 cup per layer. Stack the layers carefully on your serving plate or cake board, pressing gently to secure each layer.
- In a clean bowl, fold together the whipped topping with the reserved 1 cup of coconut frosting mixture until fully combined and smooth. I like to use a spatula to gently fold rather than stir, which keeps the whipped topping airy and light. Spread this fluffy frosting over the top and sides of the assembled cake, using an offset spatula for a smooth or textured finish, depending on your preference.