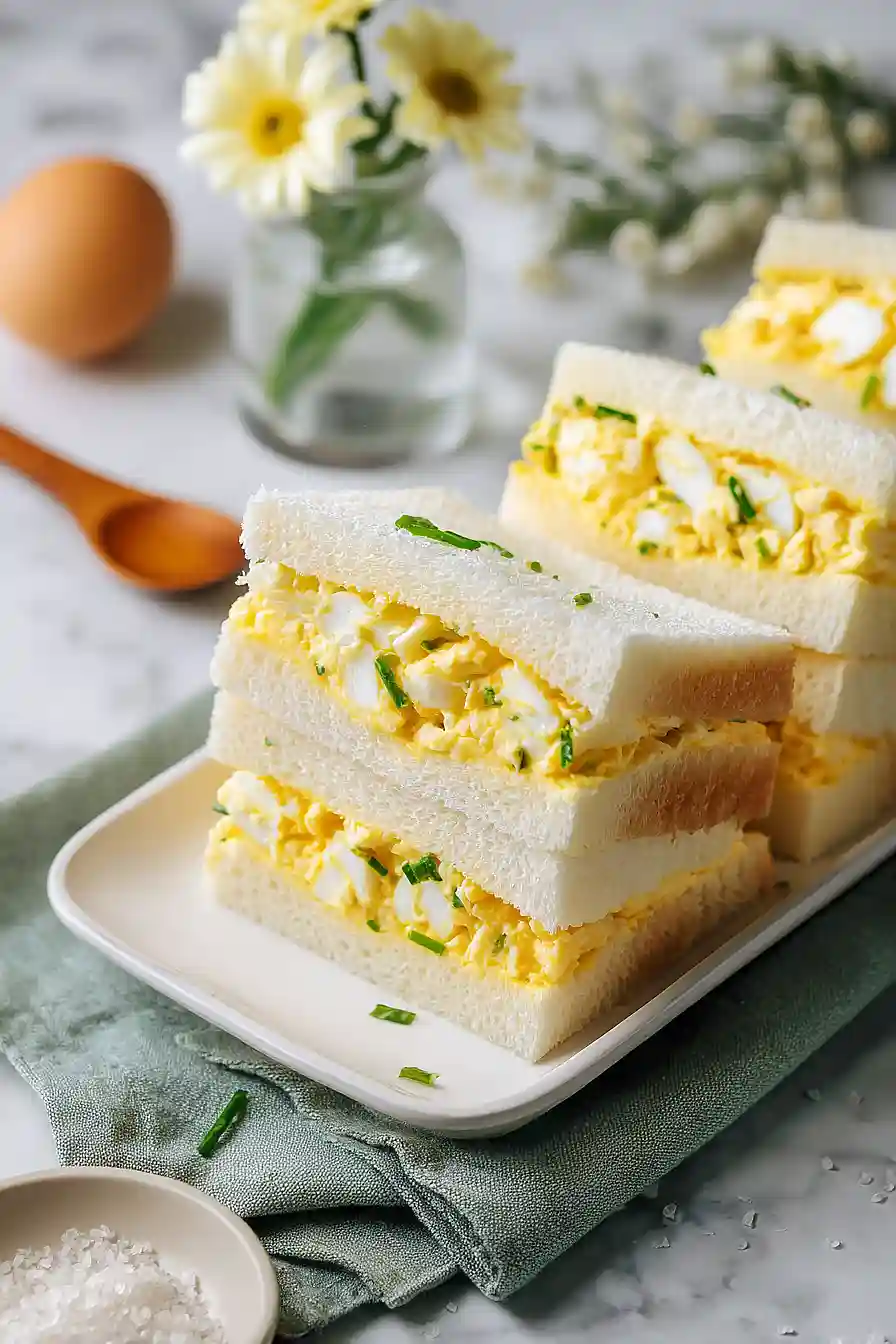
I’ll never forget the first time I tried a Japanese egg sandwich at a convenience store in Seattle. It was so simple—just eggs and mayo on soft white bread—but I couldn’t stop thinking about it for weeks. The eggs were creamy and sweet, nothing like the dry, rubbery egg sandwiches I grew up with. I knew I had to figure out how to make it at home.
The secret is all in the technique. You’re not scrambling these eggs hard and fast. You’re cooking them low and slow, stirring constantly until they’re soft and custardy. Then you mix them with mayo while they’re still warm so everything gets creamy and rich. It sounds too easy to be special, but trust me on this one.
The best part? You only need a handful of ingredients, and most of them are probably already in your fridge. Grab some thick white bread, good mayo (Kewpie if you can find it), and eggs. Twenty minutes later, you’ll have a sandwich that tastes like you flew to Tokyo to get it.
Why You’ll Love This Japanese Egg Sandwich
- Quick and easy – Ready in under 45 minutes, this sandwich is perfect for a fast breakfast, lunch, or even a light dinner when you’re short on time.
- Simple ingredients – You probably have most of these staples in your kitchen already – eggs, bread, mayo, and butter are all you really need.
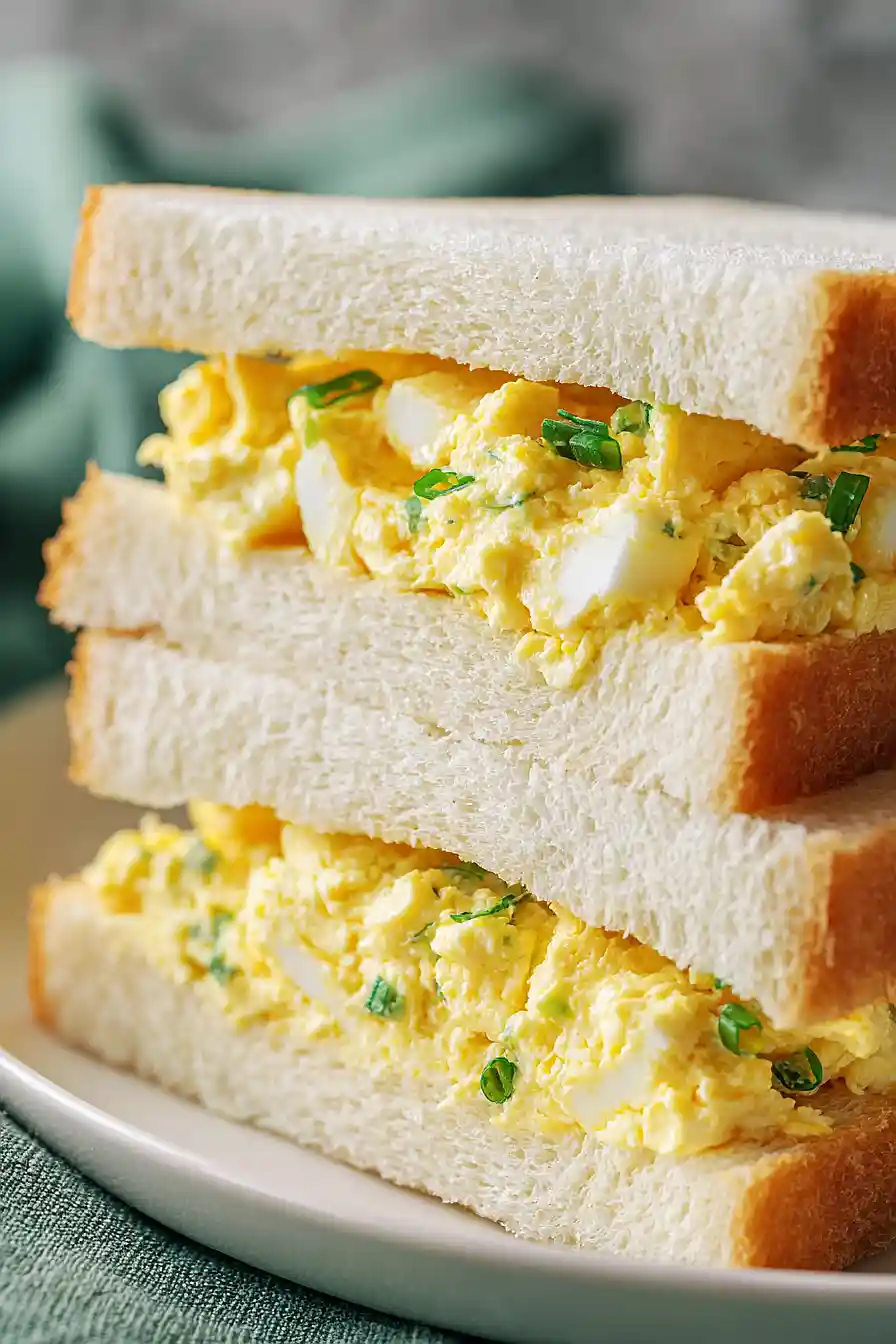
- Creamy, fluffy texture – The Japanese-style egg filling is incredibly soft and pillowy, making every bite melt in your mouth.
- Budget-friendly – Eggs are one of the most affordable proteins out there, so you can make this satisfying sandwich without breaking the bank.
- Customizable – Once you master the basic recipe, you can easily add your own twist with different seasonings or toppings to suit your taste.
What Kind of Bread Should I Use?
Japanese milk bread, also called shokupan, is the traditional choice for tamago sando and it’s worth seeking out if you can find it. This bread is super soft, slightly sweet, and has a pillowy texture that pairs perfectly with the creamy egg filling. You can find it at Asian grocery stores or some well-stocked supermarkets, usually in the bakery section. If you can’t track down authentic milk bread, a good quality white sandwich bread like Pepperidge Farm or even potato bread will work in a pinch – just look for something soft and fresh rather than a hearty whole grain. Whatever bread you choose, make sure it’s fresh and soft since the texture of the bread is just as important as the egg filling in this sandwich.

Options for Substitutions
This simple sandwich is pretty straightforward, but here are some swaps you can make if needed:
- Milk bread: Milk bread is really what makes this sandwich special with its soft, pillowy texture, so I’d recommend sticking with it if possible. But if you can’t find it, try brioche or potato bread as the next best thing. Regular white sandwich bread works too, though the texture won’t be quite the same.
- Mayonnaise: Japanese mayo like Kewpie is traditional and has a richer, slightly sweeter taste, but regular mayo works fine. You can also mix in a tiny bit of rice vinegar and sugar to regular mayo to get closer to that Japanese flavor.
- Butter: You can use salted or unsalted butter here. If using salted, just cut back slightly on the added salt in the egg mixture.
- Milk: Any milk works – whole, 2%, or even a splash of cream if you want extra richness. In a pinch, water works too, though the eggs won’t be quite as creamy.
- Chives: Green onions make a great substitute for chives, or you can skip the herbs altogether if you prefer a more classic version.
Watch Out for These Mistakes While Cooking
The biggest mistake people make with egg sandwiches is overcooking the eggs, which creates a dry, crumbly filling instead of the creamy texture you want – stick to 7 minutes for soft-boiled eggs if you prefer a slightly jammy center, or 10 minutes if you like them fully cooked but still moist.
Skipping the ice bath after boiling is another common error that makes peeling difficult and can lead to overcooked eggs, so always have your ice water ready before you start.
When mashing the eggs, avoid going too aggressive with your fork or you’ll end up with a paste – you want some small chunks for texture, and make sure your mayonnaise and butter are at room temperature so they mix smoothly without tearing the delicate milk bread.
What to Serve With Japanese Egg Sandwich?
These egg sandwiches are pretty filling on their own, but I love pairing them with a simple side salad dressed with a light sesame or ginger dressing to balance out the richness of the mayo. A cup of green tea or iced barley tea is perfect for washing everything down, especially if you’re going for that authentic Japanese cafe vibe. If you want to make it more of a meal, add some crispy potato chips or Japanese pickles on the side for a nice contrast in texture. For breakfast or brunch, fresh fruit like sliced strawberries or melon makes a refreshing addition to the plate.
Storage Instructions
Store: These sandwiches are best enjoyed fresh, but you can keep them in the fridge for up to 24 hours if needed. Wrap them tightly in plastic wrap to keep the bread from drying out. The egg salad filling on its own will last about 3 days in an airtight container if you want to prep it ahead and assemble sandwiches as you go.
Make Ahead: I like to make the egg salad mixture the night before and keep it chilled in the fridge. When I’m ready to eat, I just toast the bread, spread on the filling, and my sandwich is ready in minutes. This works great for busy mornings or when you’re packing lunch!
Serve: If your sandwich has been in the fridge, let it sit at room temperature for about 10 minutes before eating. The flavors come through better when it’s not ice cold, and the bread softens up nicely. You can also lightly toast the bread again if you prefer a bit of crunch.
| Preparation Time | 20-30 minutes |
| Cooking Time | 10-15 minutes |
| Total Time | 30-45 minutes |
| Level of Difficulty | Easy |
| Servings | 2 sandwiches |
Estimated Nutrition
Estimated nutrition for the whole recipe (without optional ingredients):
- Calories: 900-1050
- Protein: 32-38 g
- Fat: 65-75 g
- Carbohydrates: 58-70 g
Ingredients
For the egg filling:
- 7 large eggs (Grade A preferred)
- 1/2 tsp sugar
- 1/4 tsp salt
- 1/4 tsp pepper (freshly ground for better aroma)
- 2 tsp milk
- 5 tbsp mayonnaise (I prefer Kewpie for that authentic Japanese flavor)
- Pinch of Dijon mustard
For the assembly:
- 4 slices milk bread (I use Pasco brand, or any thick-cut Shokupan)
- 2 tbsp butter (room temperature, about 70°F for easy spreading)
- chives
Step 1: Prepare the Egg Salad Base
- 7 large eggs
- 1/2 tsp sugar
- 1/4 tsp salt
- 1/4 tsp pepper
Bring a pot of water to a rolling boil and carefully add the 7 eggs, then immediately start timing.
For soft-boiled eggs with a slightly creamy yolk (the traditional tamago sando style), cook for exactly 7 minutes, then remove from heat and let sit undisturbed for 1 minute.
While the eggs cook, prepare a bowl filled with ice and cold water—this will stop the cooking process immediately and ensure the yolks stay perfectly creamy.
Once the time is up, transfer the eggs to the ice bath and let them cool for 2 minutes, then gently peel under cool running water, taking care to preserve the tender whites.
In a bowl, combine the peeled eggs, sugar, salt, and freshly ground pepper, then mash with a fork until you reach your desired consistency—I prefer leaving some small chunks for texture rather than making it completely smooth.
Step 2: Create the Creamy Egg Filling
- egg mixture from Step 1
- 5 tbsp mayonnaise
- 2 tsp milk
- Pinch of Dijon mustard
To the mashed egg mixture from Step 1, fold in the mayonnaise and milk using gentle stirring motions to keep the texture slightly chunky rather than completely smooth.
Add the pinch of Dijon mustard and stir to combine—the mustard adds a subtle depth without being noticeable, which is exactly what you want in a tamago sando.
Taste and adjust the seasonings if needed, keeping in mind that the butter and bread will add mild flavors.
Let the filling sit for a moment while you prepare the bread; I find the flavors meld together beautifully in just a couple of minutes.
Step 3: Assemble the Sandwich
- 4 slices milk bread
- 2 tbsp butter
- egg filling from Step 2
Lay out all 4 slices of milk bread on a clean surface.
Using a butter knife, spread the room-temperature butter evenly across one side of each slice—room temperature butter spreads without tearing the delicate bread.
Divide the egg filling from Step 2 between two slices of bread, spreading it gently and evenly to the edges, then top each with the remaining buttered slices, butter-side down, to create two sandwiches.
Press down gently on the top to help the ingredients bond with the soft bread.
Step 4: Finish and Serve
- assembled sandwiches from Step 3
- chives
Using a sharp, dry knife (wipe it clean between cuts), carefully remove the crusts from all sides of each sandwich, cutting away about 1/4 inch of crust to reveal the pristine interior.
Cut each sandwich diagonally into two triangles—this is the classic tamago sando presentation and makes the sandwich easier to eat.
Arrange the triangles on a serving plate and garnish with fresh chives for a pop of color and a subtle onion note that complements the richness of the egg salad.

Tasty Japanese Egg Sandwich
Ingredients
For the egg filling::
- 7 large eggs (Grade A preferred)
- 1/2 tsp sugar
- 1/4 tsp salt
- 1/4 tsp pepper (freshly ground for better aroma)
- 2 tsp milk
- 5 tbsp mayonnaise (I prefer Kewpie for that authentic Japanese flavor)
- Pinch of Dijon mustard
For the assembly::
- 4 slices milk bread (I use Pasco brand, or any thick-cut Shokupan)
- 2 tbsp butter (room temperature, about 70°F for easy spreading)
- chives
Instructions
- Bring a pot of water to a rolling boil and carefully add the 7 eggs, then immediately start timing. For soft-boiled eggs with a slightly creamy yolk (the traditional tamago sando style), cook for exactly 7 minutes, then remove from heat and let sit undisturbed for 1 minute. While the eggs cook, prepare a bowl filled with ice and cold water—this will stop the cooking process immediately and ensure the yolks stay perfectly creamy. Once the time is up, transfer the eggs to the ice bath and let them cool for 2 minutes, then gently peel under cool running water, taking care to preserve the tender whites. In a bowl, combine the peeled eggs, sugar, salt, and freshly ground pepper, then mash with a fork until you reach your desired consistency—I prefer leaving some small chunks for texture rather than making it completely smooth.
- To the mashed egg mixture from Step 1, fold in the mayonnaise and milk using gentle stirring motions to keep the texture slightly chunky rather than completely smooth. Add the pinch of Dijon mustard and stir to combine—the mustard adds a subtle depth without being noticeable, which is exactly what you want in a tamago sando. Taste and adjust the seasonings if needed, keeping in mind that the butter and bread will add mild flavors. Let the filling sit for a moment while you prepare the bread; I find the flavors meld together beautifully in just a couple of minutes.
- Lay out all 4 slices of milk bread on a clean surface. Using a butter knife, spread the room-temperature butter evenly across one side of each slice—room temperature butter spreads without tearing the delicate bread. Divide the egg filling from Step 2 between two slices of bread, spreading it gently and evenly to the edges, then top each with the remaining buttered slices, butter-side down, to create two sandwiches. Press down gently on the top to help the ingredients bond with the soft bread.
- Using a sharp, dry knife (wipe it clean between cuts), carefully remove the crusts from all sides of each sandwich, cutting away about 1/4 inch of crust to reveal the pristine interior. Cut each sandwich diagonally into two triangles—this is the classic tamago sando presentation and makes the sandwich easier to eat. Arrange the triangles on a serving plate and garnish with fresh chives for a pop of color and a subtle onion note that complements the richness of the egg salad.
