If you ask me, the best cookies are the ones that come together in minutes.
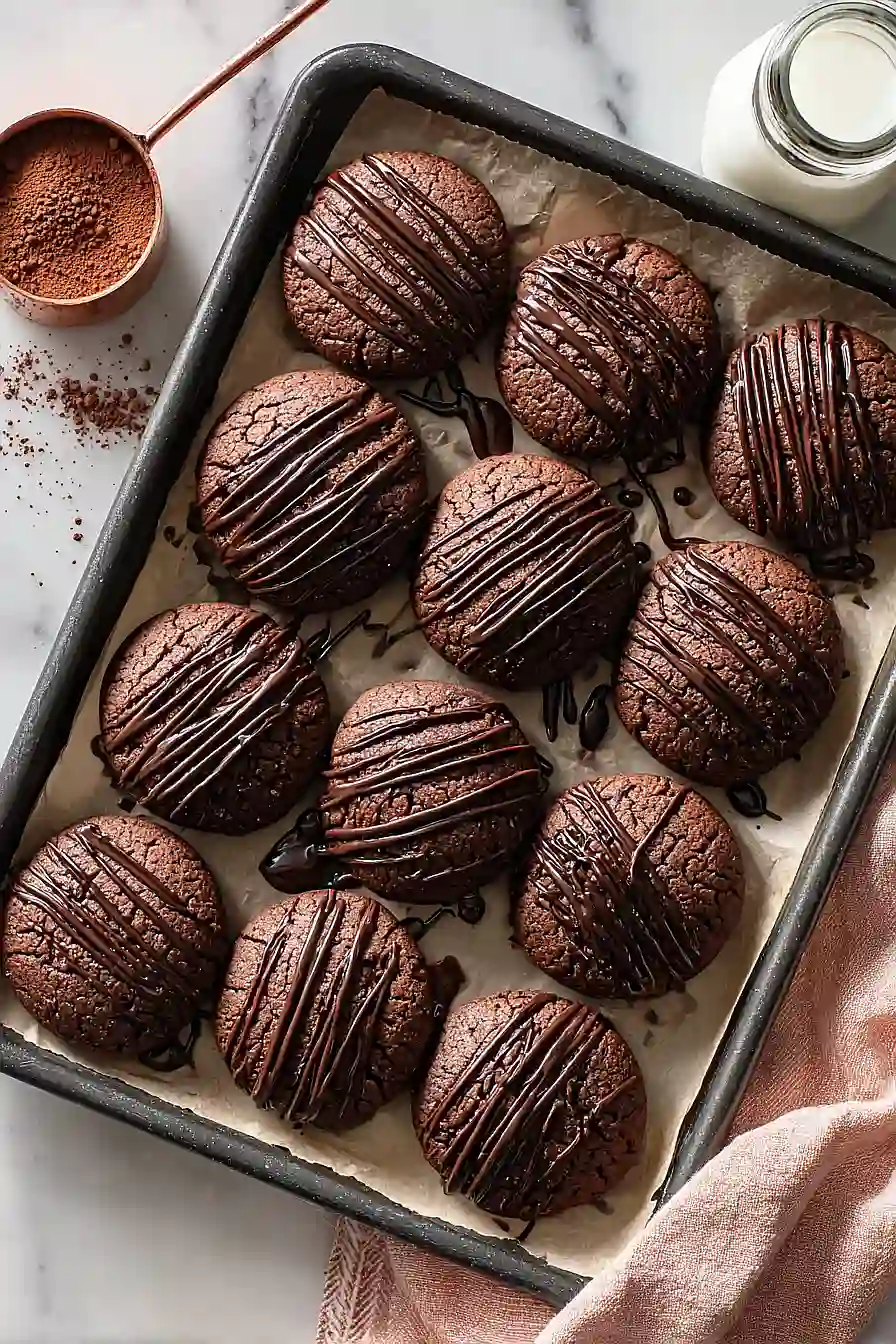
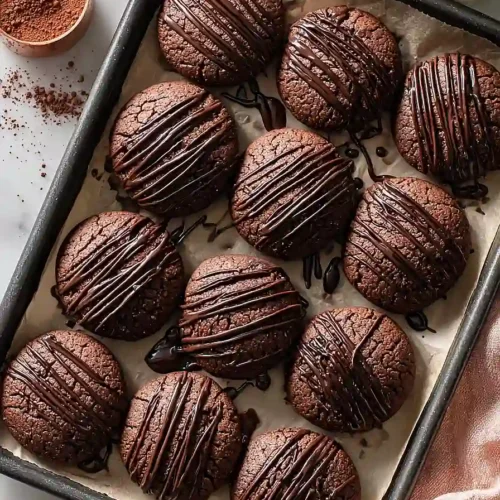
These chocolate condensed milk cookies are a simple treat that delivers big chocolate flavor without a long ingredient list. Rich cocoa powder and sweetened condensed milk create a soft, fudgy cookie that’s hard to resist.
The dough mixes up quickly with just butter, flour, and a few pantry staples. No chilling required, no fancy techniques—just scoop and bake.
They’re perfect for when you need a chocolate fix fast, or when unexpected guests stop by and you want to have something homemade to offer.
Why You’ll Love These Chocolate Condensed Milk Cookies
- Only 4 ingredients – You probably have butter and cocoa powder in your kitchen already, and the other two are easy to grab at any grocery store.
- Ready in under 30 minutes – From mixing bowl to cooling rack, these cookies come together fast, making them perfect for last-minute cravings or unexpected guests.
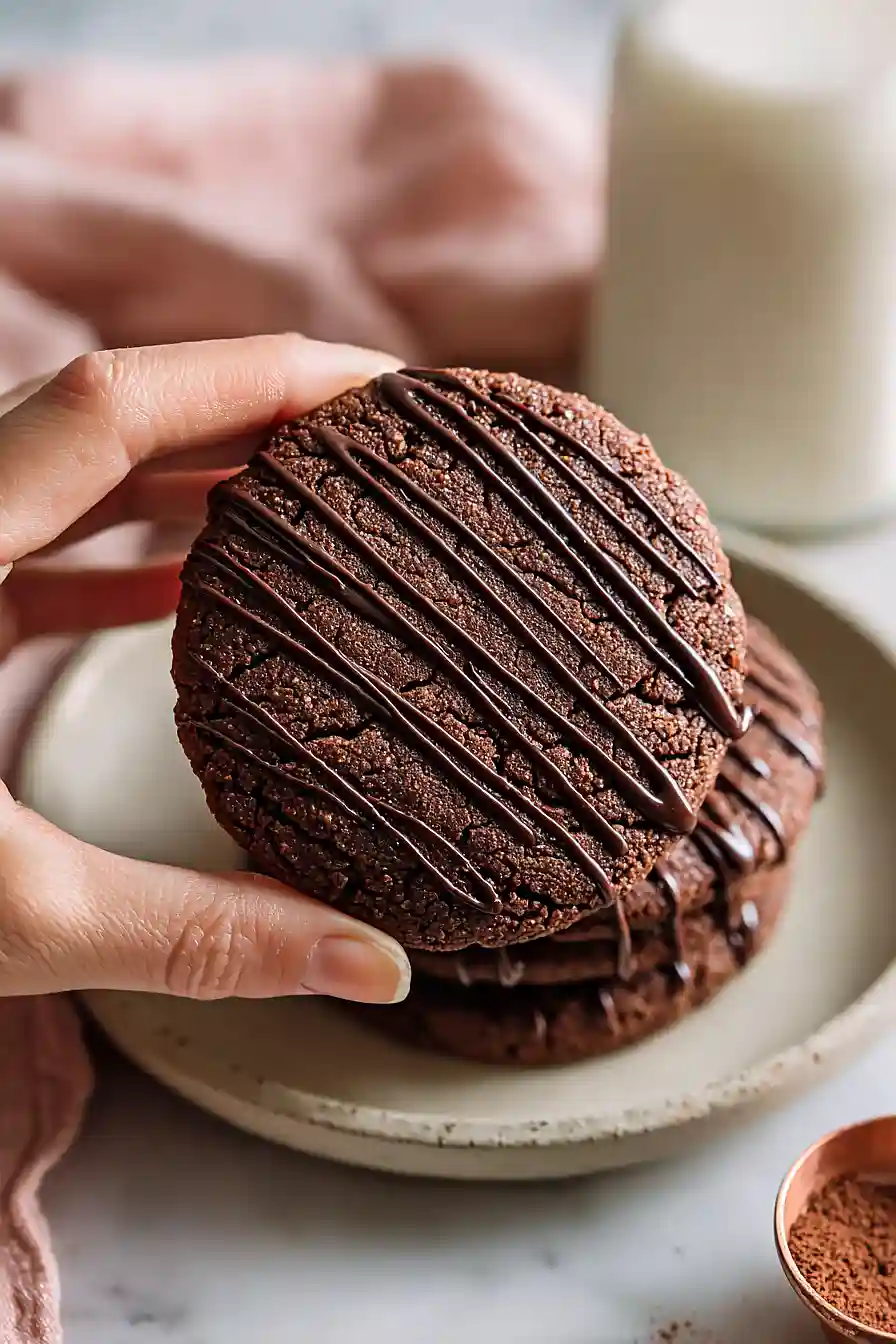
- Rich, fudgy texture – The sweetened condensed milk creates cookies that are soft and almost brownie-like, with an intense chocolate flavor that melts in your mouth.
- Beginner-friendly – With such a short ingredient list and straightforward steps, even if you’ve never baked before, you can nail these cookies on your first try.
What Kind of Cocoa Powder Should I Use?
For these cookies, you can use either natural cocoa powder or Dutch-processed cocoa powder, and both will give you delicious results. Natural cocoa powder tends to have a slightly more intense, fruity chocolate flavor, while Dutch-processed is a bit smoother and mellower. If you’re using what’s already in your pantry, don’t stress about it – either one will work just fine. Just make sure your cocoa powder is unsweetened, since the sweetened condensed milk is already bringing plenty of sweetness to the party.

Options for Substitutions
These cookies are simple, but there are a few swaps you can make if needed:
- Butter: You can use margarine or a plant-based butter substitute if you prefer. Just make sure it’s softened to room temperature for the best texture.
- Sweetened condensed milk: This ingredient is really the star of these cookies, so I wouldn’t recommend substituting it. It gives them their signature chewy texture and sweetness that’s hard to replicate.
- Self-raising flour: Don’t have self-raising flour? Make your own by mixing 1 ¼ cup all-purpose flour with 1 ½ teaspoons baking powder and ¼ teaspoon salt.
- Cocoa powder: You can use either natural or Dutch-process cocoa powder here. Dutch-process will give you a darker color and milder flavor, while natural cocoa has a more intense chocolate taste. Either works great.
Watch Out for These Mistakes While Baking
The biggest mistake with these cookies is overbaking them – since they’re chocolate, it’s hard to tell when they’re done, so pull them out when they still look slightly underbaked at around 5-6 minutes, as they’ll continue to firm up while cooling on the tray.
Another common error is skipping the chilling step or not chilling long enough, which makes the dough too sticky to roll and cut cleanly, so don’t rush this part even though you’re eager to bake.
Make sure your butter is truly softened to room temperature (not melted or cold), as this affects how well it creams and ultimately impacts the cookie texture.
Finally, avoid moving the cookies to a cooling rack too soon – let them cool completely on the baking tray first, as they’re fragile when warm and will break apart if handled too early.
What to Serve With Chocolate Condensed Milk Cookies?
These rich chocolate cookies are perfect alongside a cold glass of milk or a hot cup of coffee – the sweetness pairs really well with something to drink. I love serving them as an afternoon snack with fresh berries like strawberries or raspberries, which add a nice tartness that balances out the chocolate. They’re also great on a dessert platter with vanilla ice cream for dunking, or you can crumble them over yogurt for breakfast. If you’re having people over, set them out with some other simple treats like brownies or fruit, and they’ll disappear in no time.
Storage Instructions
Store: Keep your chocolate cookies in an airtight container at room temperature for up to 5 days. They’ll stay soft and chewy if you toss a piece of bread in the container with them, which helps maintain moisture.
Freeze: These cookies are great for freezing! Layer them between parchment paper in a freezer-safe container and they’ll last up to 3 months. You can also freeze the dough in balls on a baking sheet, then transfer to a freezer bag and bake them straight from frozen whenever a chocolate craving hits.
Enjoy: Frozen cookies taste amazing straight from the freezer if you like them cold and firm. Otherwise, just let them sit at room temperature for about 10-15 minutes to soften up before eating.
| Preparation Time | 20-30 minutes |
| Cooking Time | 5-10 minutes |
| Total Time | 25-40 minutes |
| Level of Difficulty | Easy |
| Servings | 30 cookies |
Estimated Nutrition
Estimated nutrition for the whole recipe (without optional ingredients):
- Calories: 3050-3250
- Protein: 28-34 g
- Fat: 185-205 g
- Carbohydrates: 340-360 g
Ingredients
- 1 cup unsalted butter, softened
- 2/3 cup sweetened condensed milk
- 1 1/2 cups all-purpose flour, sifted
- 3/4 cup cocoa powder
- 1 teaspoon vanilla extract
- 1/4 teaspoon salt
Step 1: Cream Butter and Build the Base
- 1 cup unsalted butter, softened
- 2/3 cup sweetened condensed milk
Beat the softened butter on medium speed for 2 minutes until it becomes light and fluffy—this incorporates air into the dough, which gives the cookies a better texture.
Add the sweetened condensed milk and beat for another minute until fully combined and smooth.
The condensed milk acts as both sweetener and binder, creating a denser, chewier cookie than traditional butter-sugar recipes.
Step 2: Mix Dry Ingredients and Combine
- 1 1/2 cups all-purpose flour, sifted
- 3/4 cup cocoa powder
- 1 teaspoon vanilla extract
- 1/4 teaspoon salt
In a separate small bowl, sift together the flour, cocoa powder, vanilla extract, and salt.
Sifting the cocoa powder is important—it breaks up any clumps and ensures even chocolate distribution throughout the dough.
Add this dry mixture to the creamed butter mixture and fold together on low speed until just combined.
I like to finish this by hand with a wooden spoon, which prevents overmixing that can make cookies tough.
Step 3: Chill and Roll the Dough
- dough from Step 2
Refrigerate the dough for 30 minutes (or 15 minutes in the freezer if you’re short on time).
The chill firms up the dough so it won’t stick when rolling and helps prevent the cookies from spreading too much during baking.
Once chilled, place the dough between two sheets of parchment paper and roll it out to about 1 centimeter (roughly 3/8 inch) thickness.
Rolling between paper prevents the cocoa from staining your surface and eliminates the need for extra flour.
Step 4: Cut and Arrange on Baking Sheet
- rolled dough from Step 3
Peel away the top layer of parchment paper and use cookie cutters to cut the dough into your desired shapes.
Carefully transfer each cookie to a parchment-lined baking sheet, spacing them about 1 inch apart.
I recommend leaving some space between cookies even though these don’t spread much—it ensures even baking and makes them easier to remove.
Step 5: Bake and Cool
- cookies on baking sheet from Step 4
Preheat your oven to 320°F and bake the cookies for 5-8 minutes, watching carefully as they approach the end of baking—the cookies won’t look dramatically different when done, but they’ll feel slightly firm to the touch.
Remove from the oven and let them rest on the baking sheet for 2-3 minutes to set, then transfer to a cooling rack.
This cooling method prevents them from breaking apart while still allowing air circulation underneath so the bottoms don’t get soggy.
Simple Chocolate Condensed Milk Cookies
Ingredients
- 1 cup unsalted butter, softened
- 2/3 cup sweetened condensed milk
- 1 1/2 cups all-purpose flour, sifted
- 3/4 cup cocoa powder
- 1 teaspoon vanilla extract
- 1/4 teaspoon salt
Instructions
- Beat the softened butter on medium speed for 2 minutes until it becomes light and fluffy—this incorporates air into the dough, which gives the cookies a better texture. Add the sweetened condensed milk and beat for another minute until fully combined and smooth. The condensed milk acts as both sweetener and binder, creating a denser, chewier cookie than traditional butter-sugar recipes.
- In a separate small bowl, sift together the flour, cocoa powder, vanilla extract, and salt. Sifting the cocoa powder is important—it breaks up any clumps and ensures even chocolate distribution throughout the dough. Add this dry mixture to the creamed butter mixture and fold together on low speed until just combined. I like to finish this by hand with a wooden spoon, which prevents overmixing that can make cookies tough.
- Refrigerate the dough for 30 minutes (or 15 minutes in the freezer if you're short on time). The chill firms up the dough so it won't stick when rolling and helps prevent the cookies from spreading too much during baking. Once chilled, place the dough between two sheets of parchment paper and roll it out to about 1 centimeter (roughly 3/8 inch) thickness. Rolling between paper prevents the cocoa from staining your surface and eliminates the need for extra flour.
- Peel away the top layer of parchment paper and use cookie cutters to cut the dough into your desired shapes. Carefully transfer each cookie to a parchment-lined baking sheet, spacing them about 1 inch apart. I recommend leaving some space between cookies even though these don't spread much—it ensures even baking and makes them easier to remove.
- Preheat your oven to 320°F and bake the cookies for 5-8 minutes, watching carefully as they approach the end of baking—the cookies won't look dramatically different when done, but they'll feel slightly firm to the touch. Remove from the oven and let them rest on the baking sheet for 2-3 minutes to set, then transfer to a cooling rack. This cooling method prevents them from breaking apart while still allowing air circulation underneath so the bottoms don't get soggy.

In the top part description you say use self rising flour. But your recipes list/state all-purpose flour. Which is it?
It’s stated there SIFTED.
I haven’t made these. I had a question.
Could the dough be formed into a log, wrapped in parchment paper, chilled for 30 minutes and sliced instead of rolling it and cutting with cookie cutters?