Finding a fried chicken recipe that’s both crispy and packed with flavor can feel like searching for a needle in a haystack. Sure, you could go with the usual buttermilk-soaked Southern style, but sometimes you want something different—something with a bit more punch and personality that still delivers that satisfying crunch we all crave.
That’s where this Thai fried chicken comes in. It’s marinated in a mix of garlic, cilantro, and fish sauce that gives the meat incredible flavor, then coated in rice flour for an extra-crispy texture that stays crunchy even after it cools down. Plus, it pairs perfectly with sticky rice and sweet chili sauce for a complete meal that feels special without requiring any fancy techniques.
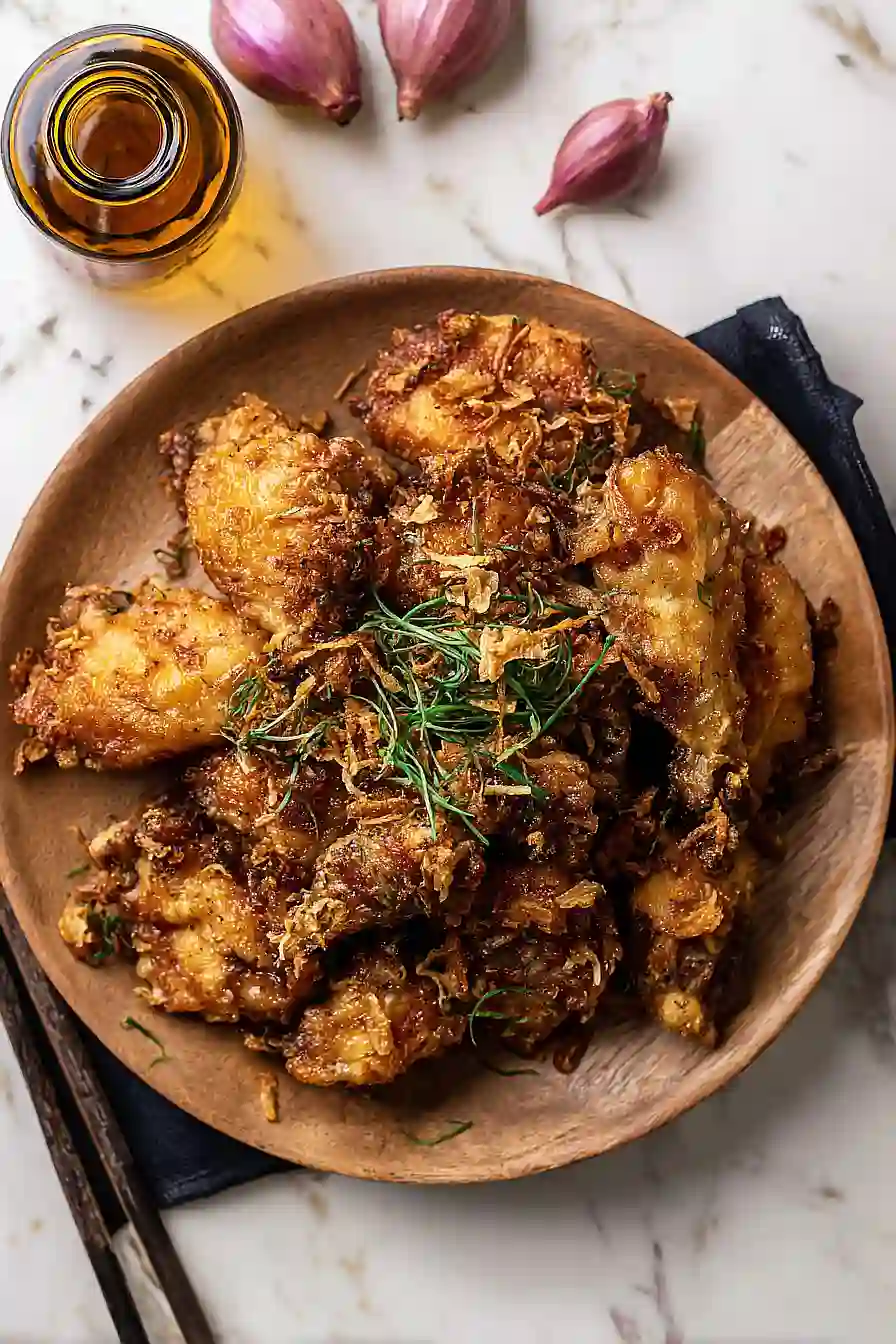
Why You’ll Love This Thai Fried Chicken
- Incredibly flavorful marinade – The garlic, cilantro, and white peppercorns create an aromatic blend that infuses the chicken with authentic Thai flavors you won’t find in regular fried chicken.
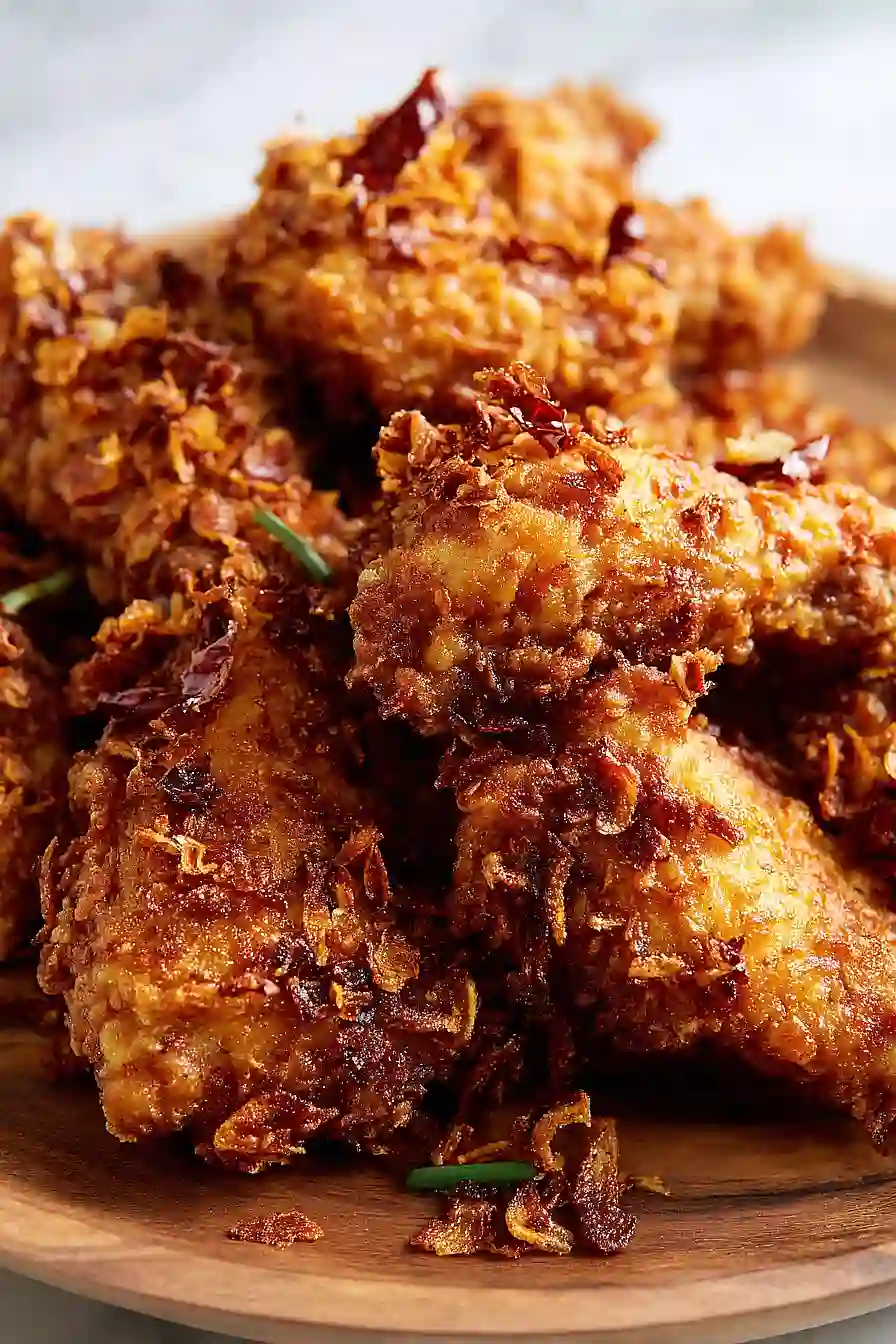
- Extra crispy coating – Rice flour gives you that signature crackly, super-crispy crust that stays crunchy even after it cools down a bit.
- Perfect for sharing – This makes a great party dish or family dinner, especially when served with sticky rice and sweet chili sauce for dipping.
- Restaurant-quality at home – You can recreate that crispy, fragrant Thai street food experience right in your own kitchen without needing any special equipment.
What Kind of Chicken Should I Use?
For this Thai fried chicken, bone-in, skin-on pieces are the way to go because the bones help keep the meat juicy while frying and the skin gets incredibly crispy. You can use any cuts you like – drumsticks, thighs, wings, or even cut-up breast pieces all work great. If you’re at the grocery store, look for chicken pieces that are roughly the same size so they cook evenly, and don’t worry about trimming off excess skin since that’s where all the crispiness happens. While you could technically use boneless chicken, you’ll get much better flavor and texture by sticking with bone-in pieces for this recipe.

Options for Substitutions
This Thai fried chicken recipe has some room for swaps if you need them:
- Bone-in, skin-on chicken: You can use boneless thighs or drumsticks instead, but keep in mind the cooking time will be shorter. The skin is important for that crispy texture, so try to keep it on if possible.
- White peppercorns: Black peppercorns work just fine here. The flavor will be slightly different but still tasty. You can also use ground white or black pepper – just use about ½ teaspoon instead.
- Thai soy sauce: Regular soy sauce can work in a pinch, but it’s saltier, so start with 1 ½ tablespoons and taste before adding more. Chinese light soy sauce is closer to Thai soy sauce if you have it.
- Fish sauce: If you don’t have fish sauce, you can use extra soy sauce, but the flavor won’t be quite as authentic. For a closer match, try mixing soy sauce with a tiny bit of anchovy paste.
- Rice flour: All-purpose flour or cornstarch will work, though rice flour gives the crispiest coating. If using cornstarch, you might want to mix it half and half with all-purpose flour.
- Cilantro stems: You can use cilantro leaves if that’s all you have, or substitute with parsley, though the flavor will be milder.
Watch Out for These Mistakes While Cooking
The biggest mistake when making Thai fried chicken is frying at too high a temperature the entire time, which will burn the coating before the chicken cooks through – after adding the chicken, drop the heat to 300°F to ensure the meat stays juicy while the skin gets crispy. Another common error is skipping the marinating time or cutting it short, but those 4 hours are crucial for the garlic-cilantro paste to penetrate the meat and give you that authentic Thai flavor. Don’t forget to cut those slits into the thickest parts of the chicken before marinating, as this helps the marinade work its way deeper into the meat and ensures even cooking. Finally, resist the urge to serve the chicken immediately after frying – letting it rest for 5-10 minutes allows the juices to redistribute and the coating to set up properly, giving you a crunchier result.
What to Serve With Thai Fried Chicken?
Thai fried chicken is amazing with sticky rice, which is perfect for soaking up all the crispy, garlicky goodness. I love serving it alongside a simple cucumber salad with rice vinegar and a touch of sugar to balance out the richness of the fried chicken. Sweet chili sauce is a must for dipping, but you can also try it with sriracha mayo or a tangy lime and fish sauce dipping sauce. For a complete meal, add some papaya salad or stir-fried vegetables like bok choy or Chinese broccoli on the side.
Storage Instructions
Store: Fried chicken is always best fresh and crispy, but you can keep leftovers in an airtight container in the fridge for up to 3 days. Just know that the coating will soften a bit as it sits, but it’ll still taste good!
Freeze: You can freeze the fried chicken in a freezer-safe container or bag for up to 2 months. Make sure it’s completely cooled first, and try to remove as much air as possible to prevent freezer burn.
Crisp Up: To bring back that crispy texture, reheat the chicken in a 375°F oven for about 15-20 minutes until it’s heated through and the skin gets crispy again. You can also use an air fryer at the same temperature for about 10 minutes. The microwave will make it soggy, so skip that if you want it crispy.
| Preparation Time | 20-30 minutes |
| Cooking Time | 25-35 minutes |
| Total Time | 4 hours 45 minutes – 5 hours 305 hours-5 hours 35 minutes |
| Level of Difficulty | Medium |
| Servings | 4 servings |
Estimated Nutrition
Estimated nutrition for the whole recipe (without optional ingredients):
- Calories: 1900-2200
- Protein: 95-110 g
- Fat: 100-115 g
- Carbohydrates: 135-155 g
Ingredients
For the marinade:
- 6 garlic cloves (freshly minced for best flavor)
- 8 cilantro stems
- 1 tsp white peppercorns (toasted and ground for more aroma)
- 2 1/2 tsp sugar
- 2 tbsp soy sauce (I prefer Kikkoman for its balanced saltiness)
- 1 tbsp fish sauce
- 1 tbsp oyster sauce
- 1/2 cup water
For the chicken and coating:
- 1 1/2 lb chicken (cut into 2-inch pieces for even frying)
- 1 1/4 cups rice flour (I always use Erawan brand for a crispier crunch)
- 1/4 tsp baking soda
- 2 cups frying oil (to ensure proper submersion)
For the fried shallots:
- 3/4 cup shallots (thinly sliced into 1/8-inch rings)
- 1/4 tsp salt
For serving:
- 2 cups sticky rice
- 1/2 cup Thai sweet chili sauce
- Fresh cilantro sprigs for garnish
Step 1: Prepare the Marinade Paste and Marinate Chicken
- 1 tsp white peppercorns, toasted and ground
- 6 garlic cloves, freshly minced
- 8 cilantro stems
- 2 1/2 tsp sugar
- 1 tbsp fish sauce
- 2 tbsp soy sauce
- 1/2 cup water
- 1 1/2 lb chicken, cut into 2-inch pieces
Toast the white peppercorns in a dry skillet over medium heat for 1-2 minutes until fragrant, then grind them into a fine powder using a mortar and pestle or spice grinder.
Using the same mortar and pestle, crush the minced garlic, cilantro stems, and sugar together into a coarse paste.
In a bowl, combine the paste with fish sauce, soy sauce, and water to create the marinade.
Cut the chicken into 2-inch pieces and make shallow 1 cm slits into the thicker parts to help the marinade penetrate evenly.
Add the chicken to the marinade, ensuring all pieces are submerged, then cover and refrigerate for at least 4 hours or overnight for deeper flavor development.
Step 2: Prepare Crispy Shallots and Set Up Frying Station
- 3/4 cup shallots, thinly sliced
- 1/4 tsp salt
- 2 cups frying oil
Thinly slice the shallots into 1/8-inch rings and toss with salt in a small bowl.
Let them sit for 10 minutes to draw out excess moisture, which prevents splattering during frying.
Gently pat the shallots dry with paper towels.
Pour the frying oil into a heavy-bottomed pot or wok and heat to 250°F on medium-low heat.
Add the dried shallots and fry slowly for 5-8 minutes, stirring occasionally, until they turn golden and crispy.
The low temperature ensures they brown gently without burning.
Using a slotted spoon, transfer the crispy shallots to a paper towel-lined plate and set aside.
Step 3: Coat Chicken and Achieve Crispy Exterior
- marinated chicken from Step 1
- 1 1/4 cups rice flour
- 1/4 tsp baking soda
In a shallow bowl, combine the rice flour and baking soda—the baking soda creates a light, airy coating that fries up extra crispy.
I always use Erawan brand rice flour because it yields that signature crunch.
Remove the marinated chicken from the refrigerator and, working in batches, coat each piece thoroughly in the flour mixture, shaking off excess.
Increase the oil temperature to 375°F over medium-high heat.
Once the oil reaches temperature, carefully add the coated chicken pieces in batches—avoid overcrowding, which lowers oil temperature and creates greasy results.
Immediately reduce heat to 300°F and fry for 6-8 minutes for smaller pieces like wings or 10-12 minutes for thicker thighs, stirring occasionally for even cooking.
Step 4: Rest and Serve with Accompaniments
- fried chicken from Step 3
- crispy shallots from Step 2
- 2 cups sticky rice
- 1/2 cup Thai sweet chili sauce
- Fresh cilantro sprigs for garnish
Transfer the fried chicken to a clean paper towel-lined plate and let it rest for 5-10 minutes—this brief resting period allows the coating to set and the residual heat to cook the chicken through while it cools.
The chicken will continue to crisp up as it cools.
Arrange the chicken on a serving platter and top with the crispy shallots from Step 2.
Serve immediately alongside warm sticky rice, Thai sweet chili sauce for dipping, and fresh cilantro sprigs as garnish.

Rice Flour Thai Fried Chicken
Ingredients
For the marinade
- 6 garlic cloves (freshly minced for best flavor)
- 8 cilantro stems
- 1 tsp white peppercorns (toasted and ground for more aroma)
- 2 1/2 tsp sugar
- 2 tbsp soy sauce (I prefer Kikkoman for its balanced saltiness)
- 1 tbsp fish sauce
- 1 tbsp oyster sauce
- 1/2 cup water
For the chicken and coating
- 1 1/2 lb chicken (cut into 2-inch pieces for even frying)
- 1 1/4 cups rice flour (I always use Erawan brand for a crispier crunch)
- 1/4 tsp baking soda
- 2 cups frying oil (to ensure proper submersion)
For the fried shallots
- 3/4 cup shallots (thinly sliced into 1/8-inch rings)
- 1/4 tsp salt
For serving
- 2 cups sticky rice
- 1/2 cup Thai sweet chili sauce
- Fresh cilantro sprigs for garnish
Instructions
- Toast the white peppercorns in a dry skillet over medium heat for 1-2 minutes until fragrant, then grind them into a fine powder using a mortar and pestle or spice grinder. Using the same mortar and pestle, crush the minced garlic, cilantro stems, and sugar together into a coarse paste. In a bowl, combine the paste with fish sauce, soy sauce, and water to create the marinade. Cut the chicken into 2-inch pieces and make shallow 1 cm slits into the thicker parts to help the marinade penetrate evenly. Add the chicken to the marinade, ensuring all pieces are submerged, then cover and refrigerate for at least 4 hours or overnight for deeper flavor development.
- Thinly slice the shallots into 1/8-inch rings and toss with salt in a small bowl. Let them sit for 10 minutes to draw out excess moisture, which prevents splattering during frying. Gently pat the shallots dry with paper towels. Pour the frying oil into a heavy-bottomed pot or wok and heat to 250°F on medium-low heat. Add the dried shallots and fry slowly for 5-8 minutes, stirring occasionally, until they turn golden and crispy. The low temperature ensures they brown gently without burning. Using a slotted spoon, transfer the crispy shallots to a paper towel-lined plate and set aside.
- In a shallow bowl, combine the rice flour and baking soda—the baking soda creates a light, airy coating that fries up extra crispy. I always use Erawan brand rice flour because it yields that signature crunch. Remove the marinated chicken from the refrigerator and, working in batches, coat each piece thoroughly in the flour mixture, shaking off excess. Increase the oil temperature to 375°F over medium-high heat. Once the oil reaches temperature, carefully add the coated chicken pieces in batches—avoid overcrowding, which lowers oil temperature and creates greasy results. Immediately reduce heat to 300°F and fry for 6-8 minutes for smaller pieces like wings or 10-12 minutes for thicker thighs, stirring occasionally for even cooking.
- Transfer the fried chicken to a clean paper towel-lined plate and let it rest for 5-10 minutes—this brief resting period allows the coating to set and the residual heat to cook the chicken through while it cools. The chicken will continue to crisp up as it cools. Arrange the chicken on a serving platter and top with the crispy shallots from Step 2. Serve immediately alongside warm sticky rice, Thai sweet chili sauce for dipping, and fresh cilantro sprigs as garnish.

