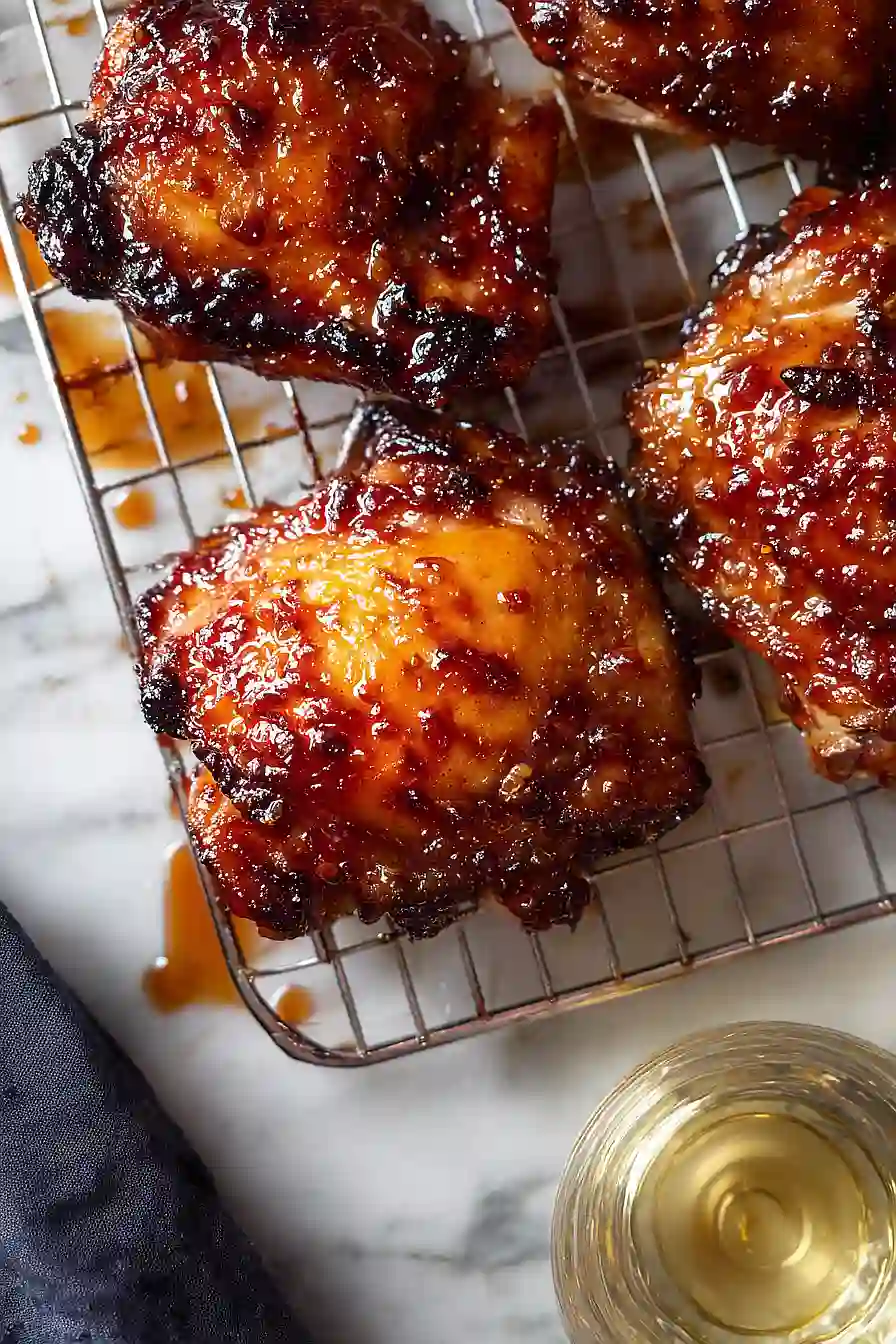
If you ask me, crispy teriyaki chicken is one of those recipes that never gets old.
This Japanese-inspired dish features chicken thighs coated in potato starch and pan-fried until the skin turns golden and crispy. A homemade teriyaki sauce made with soy sauce, mirin, and sake glazes each piece with sweet and savory flavors.
The sauce comes together in minutes with ingredients like brown sugar, ginger, and a splash of dashi for that smoky umami taste. The potato starch creates a crispy coating that holds up beautifully when the sauce hits the pan.
It’s the kind of weeknight dinner that feels special but doesn’t require any fancy techniques or hard-to-find ingredients.
Why You’ll Love This Crispy Teriyaki Chicken
- Restaurant-quality results at home – The crispy skin and glossy teriyaki glaze rival what you’d get at your favorite Japanese restaurant, but you can make it in your own kitchen.
- Ready in under 30 minutes – From start to finish, this dish comes together quickly, making it perfect for busy weeknights when you want something special without the wait.
- Simple ingredients – You probably have most of these pantry staples already, and chicken thighs are easy to find at any grocery store.
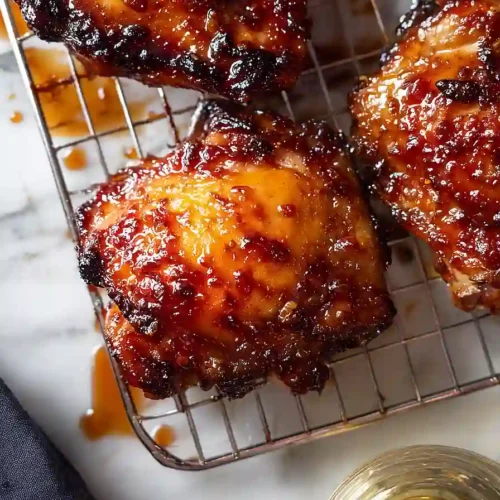
- Perfectly crispy skin – The potato starch creates an incredibly crispy exterior that stays crunchy even after you add the sauce, giving you that satisfying texture in every bite.
- Juicy, flavorful meat – Chicken thighs stay tender and moist while the homemade teriyaki sauce adds that sweet and savory flavor everyone loves.
What Kind of Chicken Should I Use?
For this recipe, boneless chicken thighs with the skin still on are your best bet. The skin is what gets wonderfully crispy when you cook it, and thigh meat stays juicy and tender even if you cook it a bit longer than planned. If you can only find skinless thighs, the recipe will still work, but you’ll miss out on that crispy texture that makes this dish so good. Dark meat from the thighs also holds up better to the teriyaki sauce than chicken breast would, which can dry out more easily. Just make sure your chicken is at room temperature before cooking so it cooks evenly throughout.
Options for Substitutions
This recipe is pretty forgiving when it comes to swaps, so here are some options if you’re missing an ingredient:
- Boneless chicken thigh (skin-on): You can use skinless chicken thighs if that’s what you have, but you’ll lose some of that crispy texture. Chicken breast works too, though it won’t be quite as juicy – just watch the cooking time so it doesn’t dry out.
- Potato starch: Cornstarch works perfectly as a substitute in equal amounts. Both will give you that crispy coating you’re looking for.
- Mirin: If you don’t have mirin, mix 1½ tablespoons of sake (or white wine) with ½ teaspoon of sugar. It’ll give you a similar sweet, tangy flavor.
- Sake: Dry white wine or dry sherry makes a good stand-in for sake. Use the same amount and you’re good to go.
- Dashi stock: Plain water works fine here, especially since the sauce has plenty of other flavors going on. If you want a bit more depth, add a tiny pinch of MSG or use chicken stock instead.
- Japanese soy sauce: Regular soy sauce is totally fine to use. Japanese soy sauce (koikuchi shoyu) is a bit less salty and more balanced, but the difference won’t make or break your dish.
Watch Out for These Mistakes While Cooking
The biggest mistake when making crispy teriyaki chicken is not drying the skin thoroughly after salting – any moisture left on the surface will steam the chicken instead of creating that crispy texture you’re after, so pat it really well with paper towels.
Another common error is moving the chicken around while it cooks skin-side down, which prevents proper browning and crisping – resist the urge to peek and let that weight do its job for the full 7 minutes.
Burning the teriyaki sauce is easier than you think since it contains sugar and honey, so make sure to reduce it quickly over medium-high heat for just 60 seconds before adding the chicken back in, and keep the pan moving to prevent hot spots.
Finally, skipping the 3-minute rest after cooking means you’ll lose all those delicious juices when you slice, so be patient and let the meat relax before cutting into it.
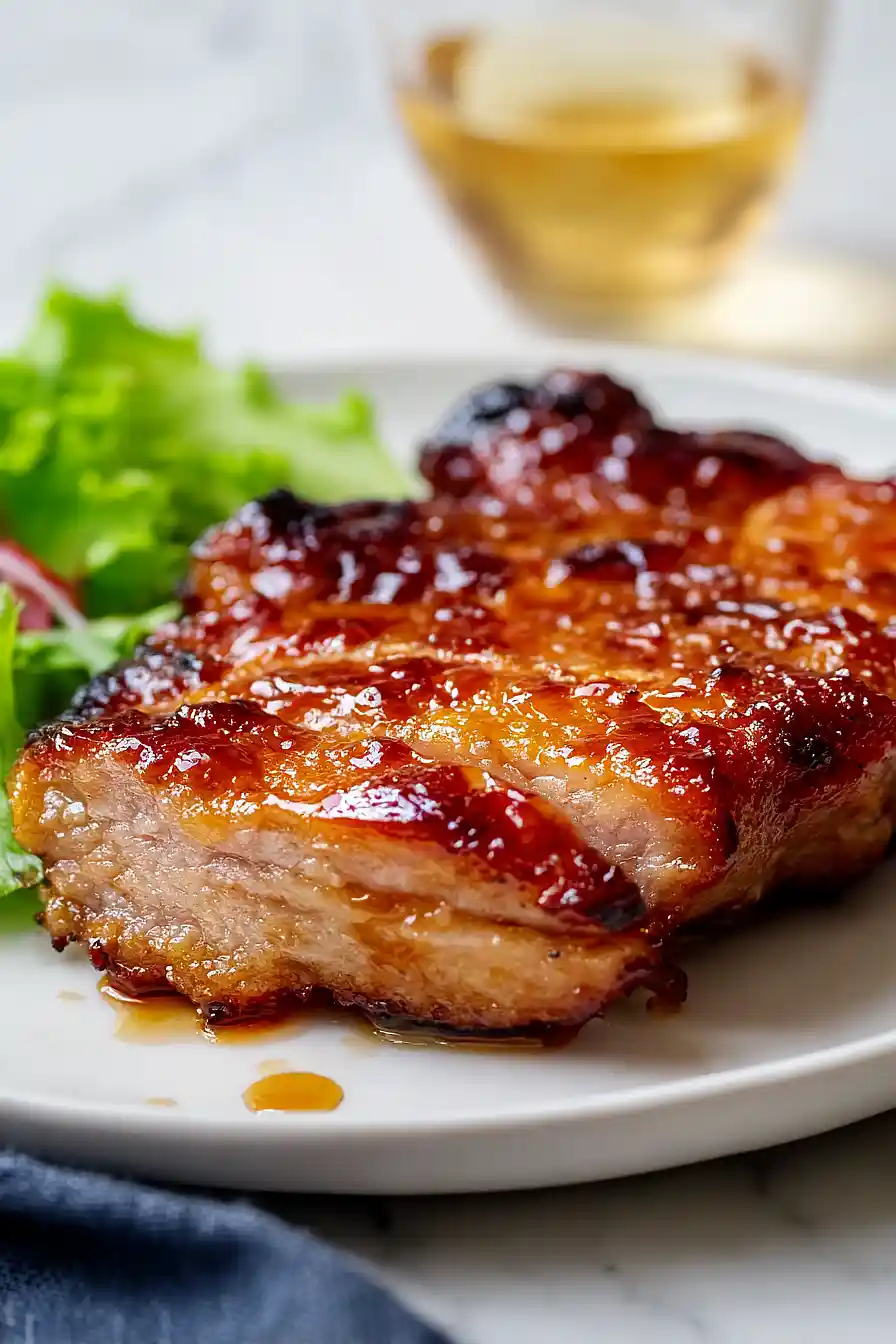
What to Serve With Crispy Teriyaki Chicken?
This crispy teriyaki chicken is perfect over a bowl of steamed white rice, which soaks up all that sweet and savory sauce. I like to add a side of stir-fried vegetables like broccoli, snap peas, or bok choy to balance out the richness of the chicken. A simple cucumber salad with rice vinegar and sesame seeds makes a refreshing addition, or you could go with some edamame sprinkled with sea salt. For a more filling meal, serve it alongside fried rice or noodles like udon or soba, and don’t forget to drizzle any extra teriyaki sauce from the pan over everything.
Storage Instructions
Store: Keep your leftover teriyaki chicken in an airtight container in the fridge for up to 3 days. The skin won’t stay quite as crispy as when it’s fresh, but the flavor is still really good. I like to slice it up and toss it over a rice bowl or salad for an easy lunch the next day.
Freeze: You can freeze the cooked chicken for up to 2 months in a freezer-safe container. Let it cool completely first, and I recommend slicing it before freezing so you can grab just what you need. The teriyaki sauce freezes well and keeps everything moist.
Reheat: To get that crispy skin back, reheat the chicken in a hot skillet for a few minutes on each side, or pop it in the oven at 400°F for about 10 minutes. The microwave works in a pinch, but you’ll lose that nice crispiness on the skin.
| Preparation Time | 10-15 minutes |
| Cooking Time | 10-15 minutes |
| Total Time | 20-30 minutes |
| Level of Difficulty | Medium |
| Servings | 2 servings |
Estimated Nutrition
Estimated nutrition for the whole recipe (without optional ingredients):
- Calories: 1050-1200
- Protein: 65-75 g
- Fat: 72-85 g
- Carbohydrates: 25-32 g
Ingredients
For the chicken:
- 21 oz chicken thigh (skin-on provides much better texture and moisture)
- 4 pinches salt
- 1 tbsp potato starch (for a predictably crispy coating)
- 1 tbsp oil
- 1/2 tsp toasted sesame oil
For the glaze:
- 1.5 tbsp soy sauce (I prefer Kikkoman for the most authentic savory depth)
- 2 tbsp mirin
- 1.5 tbsp sake
- 1.5 tsp brown sugar
- 1.5 tbsp dashi (prepared liquid dashi adds a nice smoky umami)
- 1/2 tsp honey
- 1/2 tsp freshly grated ginger
Step 1: Prepare the Chicken and Build the Teriyaki Sauce
- 21 oz chicken thigh
- 4 pinches salt
- 1.5 tbsp soy sauce
- 2 tbsp mirin
- 1.5 tbsp sake
- 1.5 tsp brown sugar
- 1.5 tbsp dashi
- 1/2 tsp honey
- 1/2 tsp freshly grated ginger
Pat the chicken thighs dry with paper towels, then use a fork to poke holes all over the skin side—this helps render the fat and creates texture.
Season generously with salt on both sides and let sit for 2 minutes to allow the seasoning to penetrate.
While the chicken rests, whisk together the soy sauce, mirin, sake, brown sugar, dashi, honey, and grated ginger in a small bowl until the sugar dissolves.
Set the sauce aside—this is your teriyaki glaze, ready to go when you need it.
Step 2: Coat and Sear the Chicken Skin-Side Down
- prepared chicken from Step 1
- 1 tbsp potato starch
- 1 tbsp oil
Pat the salted chicken completely dry with paper towels once more—this is crucial for crispiness.
Dust both sides lightly with potato starch, shaking off any excess.
Heat 1 tablespoon of oil in a large skillet over medium heat until shimmering.
Place the chicken skin-side down in the pan and immediately weight it down with a heavy pan lid or cast iron skillet to press the skin directly against the heat.
Cook undisturbed for 7 minutes—I like to resist the urge to peek; the pressure is what creates that crackling, golden skin.
I’ve found that pressing the chicken this way renders the fat perfectly and creates the crispiest texture you’ll get.
Step 3: Finish Cooking and Prepare for Glaze
- prepared chicken from Step 2
- rendered fat from cooking
Remove the weight and flip the chicken skin-side up.
Cook for 2 minutes without pressure until the flesh side is cooked through.
Transfer the chicken to a clean plate, leaving the rendered fat in the pan.
Drain all but 1 tablespoon of the fat from the skillet—this fat is liquid gold for flavor, so keep just enough to coat the pan and help emulsify the sauce.
Step 4: Build and Reduce the Glaze
- teriyaki sauce mixture from Step 1
- 1/2 tsp toasted sesame oil
Pour the teriyaki sauce mixture from Step 1 directly into the pan with the remaining fat.
Turn the heat to medium-high and let it bubble for 60 seconds, stirring gently.
The sauce will reduce slightly and meld with the flavorful drippings in the pan, creating a silky glaze that clings beautifully to the chicken.
You’ll notice it becoming more concentrated and glossy—that’s exactly what you want.
Step 5: Coat the Chicken and Rest
- chicken from Step 3
- glaze from Step 4
Return the chicken skin-side up to the pan and gently toss or spoon the sauce over it for 30 to 60 seconds, coating all sides evenly.
The heat will create a light glaze that sticks to the skin and meat.
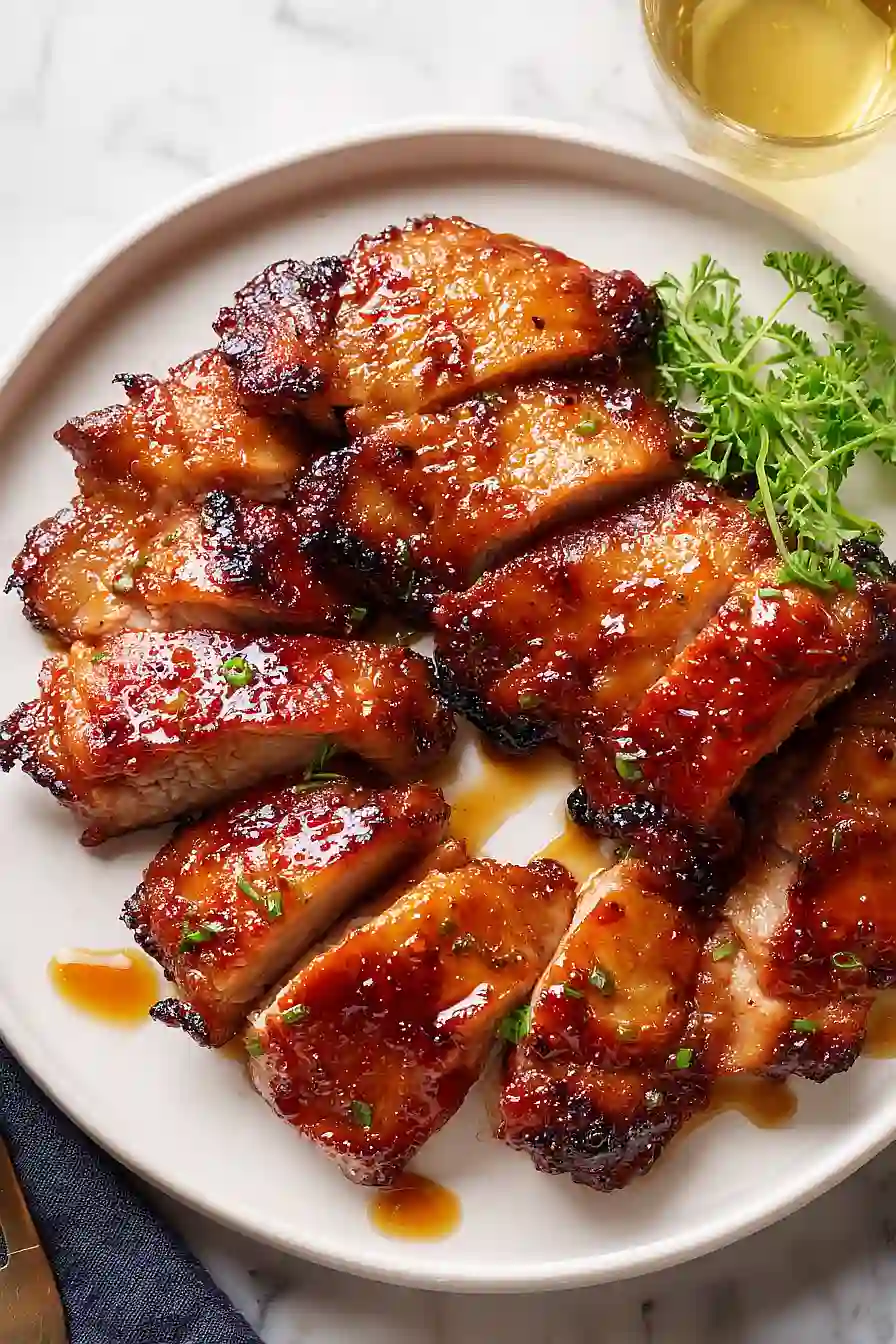
Transfer the chicken to a cutting board and let it rest for 3 minutes—this allows the juices to redistribute, keeping the meat tender and moist even with the crispy skin.
Slice and serve immediately, drizzling any remaining sauce from the pan over the top.
Mouthwatering Crispy Teriyaki Chicken
Ingredients
For the chicken
- 21 oz chicken thigh (skin-on provides much better texture and moisture)
- 4 pinches salt
- 1 tbsp potato starch (for a predictably crispy coating)
- 1 tbsp oil
- 1/2 tsp toasted sesame oil
For the glaze
- 1.5 tbsp soy sauce (I prefer Kikkoman for the most authentic savory depth)
- 2 tbsp mirin
- 1.5 tbsp sake
- 1.5 tsp brown sugar
- 1.5 tbsp dashi (prepared liquid dashi adds a nice smoky umami)
- 1/2 tsp honey
- 1/2 tsp freshly grated ginger
Instructions
- Pat the chicken thighs dry with paper towels, then use a fork to poke holes all over the skin side—this helps render the fat and creates texture. Season generously with salt on both sides and let sit for 2 minutes to allow the seasoning to penetrate. While the chicken rests, whisk together the soy sauce, mirin, sake, brown sugar, dashi, honey, and grated ginger in a small bowl until the sugar dissolves. Set the sauce aside—this is your teriyaki glaze, ready to go when you need it.
- Pat the salted chicken completely dry with paper towels once more—this is crucial for crispiness. Dust both sides lightly with potato starch, shaking off any excess. Heat 1 tablespoon of oil in a large skillet over medium heat until shimmering. Place the chicken skin-side down in the pan and immediately weight it down with a heavy pan lid or cast iron skillet to press the skin directly against the heat. Cook undisturbed for 7 minutes—I like to resist the urge to peek; the pressure is what creates that crackling, golden skin. I've found that pressing the chicken this way renders the fat perfectly and creates the crispiest texture you'll get.
- Remove the weight and flip the chicken skin-side up. Cook for 2 minutes without pressure until the flesh side is cooked through. Transfer the chicken to a clean plate, leaving the rendered fat in the pan. Drain all but 1 tablespoon of the fat from the skillet—this fat is liquid gold for flavor, so keep just enough to coat the pan and help emulsify the sauce.
- Pour the teriyaki sauce mixture from Step 1 directly into the pan with the remaining fat. Turn the heat to medium-high and let it bubble for 60 seconds, stirring gently. The sauce will reduce slightly and meld with the flavorful drippings in the pan, creating a silky glaze that clings beautifully to the chicken. You'll notice it becoming more concentrated and glossy—that's exactly what you want.
- Return the chicken skin-side up to the pan and gently toss or spoon the sauce over it for 30 to 60 seconds, coating all sides evenly. The heat will create a light glaze that sticks to the skin and meat. Transfer the chicken to a cutting board and let it rest for 3 minutes—this allows the juices to redistribute, keeping the meat tender and moist even with the crispy skin. Slice and serve immediately, drizzling any remaining sauce from the pan over the top.
