Meal prep used to feel like a chore until I discovered teriyaki chicken bowls. Now Sunday afternoons mean I get to spend an hour in the kitchen so I don’t have to scramble for lunch all week. There’s something satisfying about lining up those containers in the fridge, knowing I’ve got my meals handled.
The best part about these bowls is that everything comes together in one cooking session. While the rice is doing its thing, I’m cutting broccoli and cooking the chicken. By the time I’m done making the teriyaki sauce, everything else is ready to go. It’s efficient without feeling rushed.
These bowls have saved me on those crazy weekdays when I’m tempted to grab takeout. The homemade teriyaki sauce tastes better than anything from a bottle, and I actually know what’s in it. Plus, chicken, rice, and broccoli never gets old when it’s covered in that sweet and savory glaze.
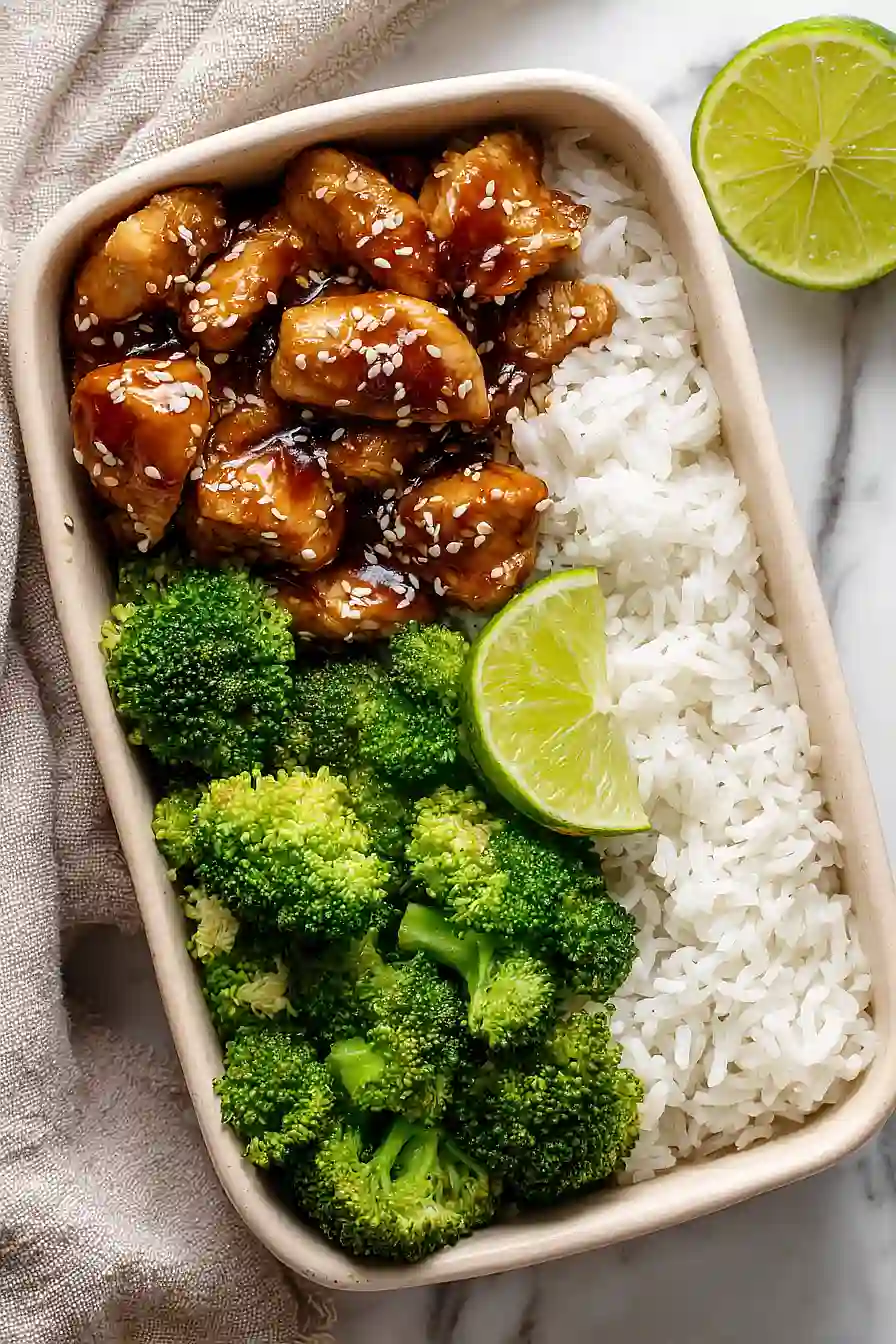
Why You’ll Love These Teriyaki Chicken Meal Prep Bowls
- Perfect for meal prep – Make these bowls once and you’ve got lunch or dinner sorted for the entire week. Just grab one from the fridge and you’re good to go.
- Ready in under an hour – From start to finish, you’ll have multiple meals prepared in less time than it takes to watch your favorite show.
- Healthier than takeout – You get all the flavors of your favorite teriyaki bowl without the extra sodium and mystery ingredients, plus you control exactly what goes in.
- Budget-friendly – Using simple ingredients like chicken breast, rice, and broccoli, these bowls cost way less than ordering takeout multiple times a week.
- Balanced and filling – Each bowl has protein, veggies, and rice, so you’re getting a complete meal that’ll keep you satisfied for hours.
What Kind of Chicken Should I Use?
For this recipe, boneless, skinless chicken breasts are the go-to choice since they’re lean and cut easily into bite-size pieces that cook quickly and evenly. That said, chicken thighs are a great alternative if you prefer darker meat – they’re a bit more forgiving if you accidentally overcook them and add extra flavor to your teriyaki sauce. Whether you go with breasts or thighs, try to cut your pieces roughly the same size so everything cooks at the same rate. If you’re meal prepping for the week, fresh chicken is ideal, but you can absolutely use frozen chicken as long as you thaw it completely and pat it dry before cutting and cooking.
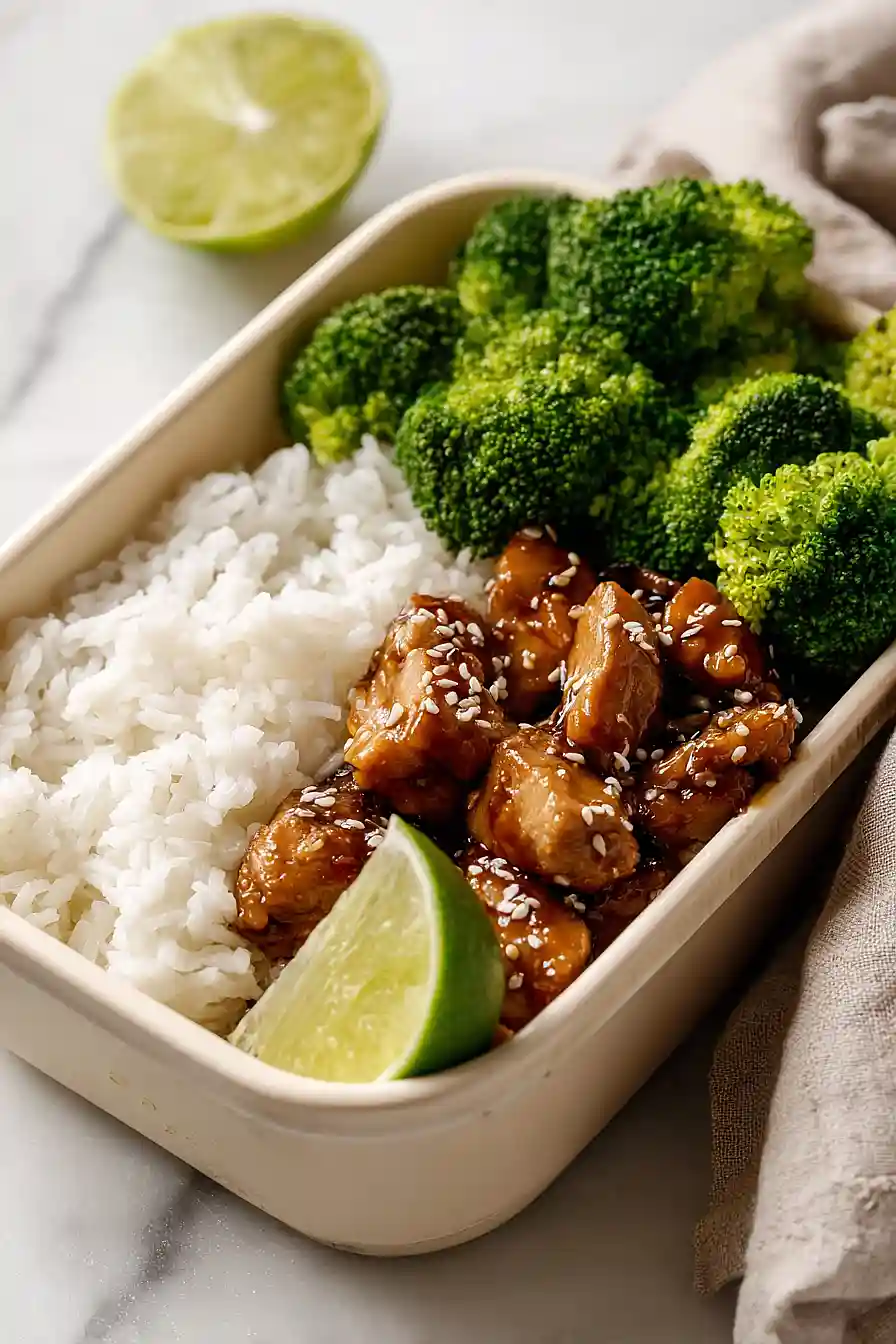
Options for Substitutions
This meal prep recipe is pretty forgiving when it comes to swaps:
- Rice: White rice works great here, but you can use brown rice, jasmine rice, or even cauliflower rice for a low-carb option. Just adjust cooking times accordingly – brown rice takes longer, while cauliflower rice cooks much faster.
- Chicken breasts: Chicken thighs are actually a great swap here since they stay juicier during meal prep. You can also use turkey breast or firm tofu cut into cubes if you prefer.
- Broccoli: Not a broccoli fan? Try snap peas, bell peppers, carrots, or green beans instead. They all work well with teriyaki sauce.
- Mirin: If you don’t have mirin, mix 3 tablespoons of rice vinegar with 1 teaspoon of sugar. You can also use dry white wine with a pinch of sugar in a pinch.
- Fresh ginger: Ground ginger works in a pinch – use about 1/4 teaspoon instead of the fresh grated ginger. It won’t be quite as bright, but it’ll still taste good.
- Brown sugar: Honey or maple syrup can replace the brown sugar, though you might want to start with a bit less since they’re sweeter. White sugar works too, but you’ll lose that slight molasses flavor.
Watch Out for These Mistakes While Cooking
The biggest mistake when making teriyaki chicken is adding the sauce too early, which can cause the sugar to burn and turn bitter – always cook your chicken until it’s nearly done before pouring in the teriyaki mixture.
Another common error is skipping the cornstarch coating on the chicken, as this step creates a light crust that helps the sauce cling to each piece instead of pooling at the bottom of your bowl.
To avoid a watery sauce that won’t coat your chicken properly, let it simmer for a few extra minutes until it’s thick enough to coat the back of a spoon, and if it’s still too thin, mix a teaspoon of cornstarch with a tablespoon of cold water and stir it in.
For meal prep, store the sauce-coated chicken separately from the rice and broccoli to prevent everything from getting soggy by day three or four.
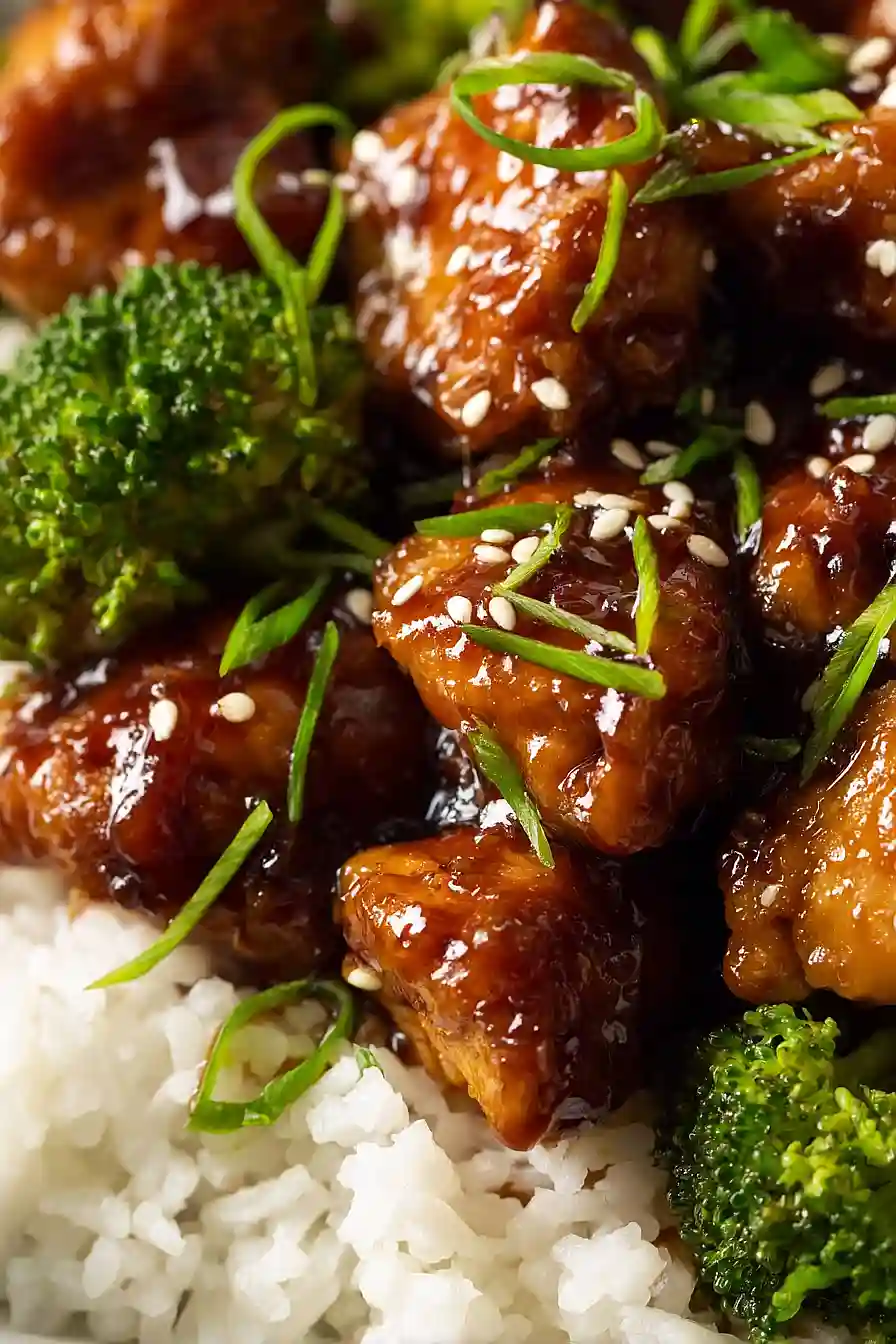
What to Serve With Teriyaki Chicken Meal Prep Bowls?
These bowls are pretty complete on their own, but I love adding some extra veggies to make them even more filling. Edamame is a great choice – just toss some steamed or roasted edamame right into the bowl for extra protein and a pop of color. If you want to switch things up throughout the week, try adding different vegetables like snap peas, shredded carrots, or sliced bell peppers to keep your meal prep interesting. A sprinkle of sesame seeds on top adds a nice crunch, and if you like a bit of heat, drizzle some sriracha or chili oil over everything before digging in.
Storage Instructions
Store: These meal prep bowls are perfect for the week ahead! Divide everything into airtight containers and keep them in the fridge for up to 4 days. I like to keep the sauce and rice together, but if you prefer your broccoli extra crispy, you can store it separately and add it when you’re ready to eat.
Freeze: You can freeze these bowls for up to 2 months, though the broccoli might get a bit softer after thawing. Let them cool completely first, then portion into freezer-safe containers. Just know that the rice texture might change slightly, but it still tastes great!
Reheat: Warm up your bowl in the microwave for 2-3 minutes, stirring halfway through to heat evenly. You can also reheat on the stovetop with a splash of water to keep everything moist. If the sauce seems too thick after reheating, just add a tablespoon or two of water and stir it through.
| Preparation Time | 20-30 minutes |
| Cooking Time | 20-30 minutes |
| Total Time | 40-60 minutes |
| Level of Difficulty | Medium |
| Servings | 4 servings |
Estimated Nutrition
Estimated nutrition for the whole recipe (without optional ingredients):
- Calories: 1150-1300
- Protein: 70-80 g
- Fat: 17-22 g
- Carbohydrates: 170-190 g
Ingredients
For the bowls:
- 1 cup rice (Mahatma long-grain white rice)
- 1 large head of broccoli (cut into 1-inch florets)
- 2 large chicken breasts (diced into 1/2-inch cubes)
- 4 tbsp cornstarch
- 1 tbsp olive oil
For the sauce:
- 3 garlic cloves (freshly minced)
- 1/4 cup brown sugar
- 2 tsp ginger
- 3 tbsp mirin
- 3 tbsp soy sauce
- 1/2 cup water
- 1 tsp toasted sesame oil
For the garnish:
- 2 scallions, thinly sliced
- 1 tsp toasted sesame seeds
Step 1: Cook Rice and Prepare Mise en Place
- 1 cup rice
- 3 garlic cloves, freshly minced
- 2 scallions, thinly sliced
- 1 large head of broccoli, cut into 1-inch florets
- 2 large chicken breasts, diced into 1/2-inch cubes
Start cooking the rice according to package directions—this is the longest-cooking element and should go first.
While the rice cooks, mince the garlic cloves and slice the scallions, setting them aside in separate bowls.
Cut the broccoli into 1-inch florets and dice the chicken breasts into 1/2-inch cubes, keeping the chicken on a plate or cutting board until needed.
Step 2: Coat Chicken and Build the Teriyaki Sauce
- 2 large chicken breasts, diced into 1/2-inch cubes
- 4 tbsp cornstarch
- 1/4 cup brown sugar
- 2 tsp ginger
- 3 tbsp mirin
- 3 tbsp soy sauce
- 1/2 cup water
Place the diced chicken in a bowl or resealable bag and add the cornstarch, tossing until all pieces are evenly coated—this creates a light crust that helps thicken the sauce and keeps the chicken tender.
In a separate bowl, whisk together the brown sugar, ginger, mirin, soy sauce, and water until the sugar dissolves and the mixture is smooth.
I like to use a fork to really break down any ginger lumps so the sauce is silky, not gritty.
Step 3: Roast Broccoli While Searing Chicken
- 1 tbsp olive oil
- coated chicken from Step 2
- 1 large head of broccoli florets from Step 1
While the rice finishes cooking, heat a large skillet over medium-high heat.
Add the olive oil and let it shimmer, then add the cornstarch-coated chicken in a single layer, letting it sit undisturbed for 2-3 minutes before stirring.
Continue cooking until the chicken is golden on the edges and no longer pink inside, about 5-7 minutes total.
Meanwhile, you can roast the broccoli florets in a separate oven-safe pan at 400°F for about 12-15 minutes until lightly charred and tender—or simply blanch them in boiling salted water for 3-4 minutes if you prefer.
Step 4: Build the Glaze and Finish the Chicken
- 3 garlic cloves, freshly minced from Step 1
- teriyaki sauce mixture from Step 2
- seared chicken from Step 3
- 1 tsp toasted sesame oil
Reduce the skillet heat to medium and add the minced garlic from Step 1, stirring constantly for about 30 seconds until fragrant.
Pour in the teriyaki sauce mixture from Step 2 and stir well, bringing it to a gentle simmer.
I’ve found that cooking the sauce for 2-3 minutes allows the flavors to meld beautifully and the sauce to thicken slightly—it should coat the back of a spoon but still be pourable.
The cornstarch on the chicken will help thicken the sauce naturally, creating that glossy teriyaki consistency.
Step 5: Assemble Bowls and Garnish
- cooked rice from Step 1
- roasted broccoli from Step 3
- teriyaki chicken with sauce from Step 4
- 1 tsp toasted sesame oil
- 2 scallions, thinly sliced from Step 1
- 1 tsp toasted sesame seeds
Divide the cooked rice from Step 1 among meal prep bowls or containers.
Top each bowl with a portion of the roasted broccoli from Step 3, then spoon the teriyaki chicken and its glaze over the top.
Drizzle with the toasted sesame oil for extra flavor, then sprinkle with the sliced scallions from Step 1 and the toasted sesame seeds.
These bowls keep well refrigerated for 3-4 days, making them perfect for meal prep.
Irresistible Teriyaki Chicken Meal Prep Bowls
Ingredients
For the bowls
- 1 cup rice (Mahatma long-grain white rice)
- 1 large head of broccoli (cut into 1-inch florets)
- 2 large chicken breasts (diced into 1/2-inch cubes)
- 4 tbsp cornstarch
- 1 tbsp olive oil
For the sauce
- 3 garlic cloves (freshly minced)
- 1/4 cup brown sugar
- 2 tsp ginger
- 3 tbsp mirin
- 3 tbsp soy sauce
- 1/2 cup water
- 1 tsp toasted sesame oil
For the garnish
- 2 scallions, thinly sliced
- 1 tsp toasted sesame seeds
Instructions
- Start cooking the rice according to package directions—this is the longest-cooking element and should go first. While the rice cooks, mince the garlic cloves and slice the scallions, setting them aside in separate bowls. Cut the broccoli into 1-inch florets and dice the chicken breasts into 1/2-inch cubes, keeping the chicken on a plate or cutting board until needed.
- Place the diced chicken in a bowl or resealable bag and add the cornstarch, tossing until all pieces are evenly coated—this creates a light crust that helps thicken the sauce and keeps the chicken tender. In a separate bowl, whisk together the brown sugar, ginger, mirin, soy sauce, and water until the sugar dissolves and the mixture is smooth. I like to use a fork to really break down any ginger lumps so the sauce is silky, not gritty.
- While the rice finishes cooking, heat a large skillet over medium-high heat. Add the olive oil and let it shimmer, then add the cornstarch-coated chicken in a single layer, letting it sit undisturbed for 2-3 minutes before stirring. Continue cooking until the chicken is golden on the edges and no longer pink inside, about 5-7 minutes total. Meanwhile, you can roast the broccoli florets in a separate oven-safe pan at 400°F for about 12-15 minutes until lightly charred and tender—or simply blanch them in boiling salted water for 3-4 minutes if you prefer.
- Reduce the skillet heat to medium and add the minced garlic from Step 1, stirring constantly for about 30 seconds until fragrant. Pour in the teriyaki sauce mixture from Step 2 and stir well, bringing it to a gentle simmer. I've found that cooking the sauce for 2-3 minutes allows the flavors to meld beautifully and the sauce to thicken slightly—it should coat the back of a spoon but still be pourable. The cornstarch on the chicken will help thicken the sauce naturally, creating that glossy teriyaki consistency.
- Divide the cooked rice from Step 1 among meal prep bowls or containers. Top each bowl with a portion of the roasted broccoli from Step 3, then spoon the teriyaki chicken and its glaze over the top. Drizzle with the toasted sesame oil for extra flavor, then sprinkle with the sliced scallions from Step 1 and the toasted sesame seeds. These bowls keep well refrigerated for 3-4 days, making them perfect for meal prep.

