Finding the perfect balance between sweet and spicy in your kitchen can feel like an impossible task. You want something that adds a kick to your cheese board or sandwich, but you don’t want to blow your taste buds away completely. And let’s be honest, store-bought pepper jellies are either too mild or way too hot, with no middle ground.
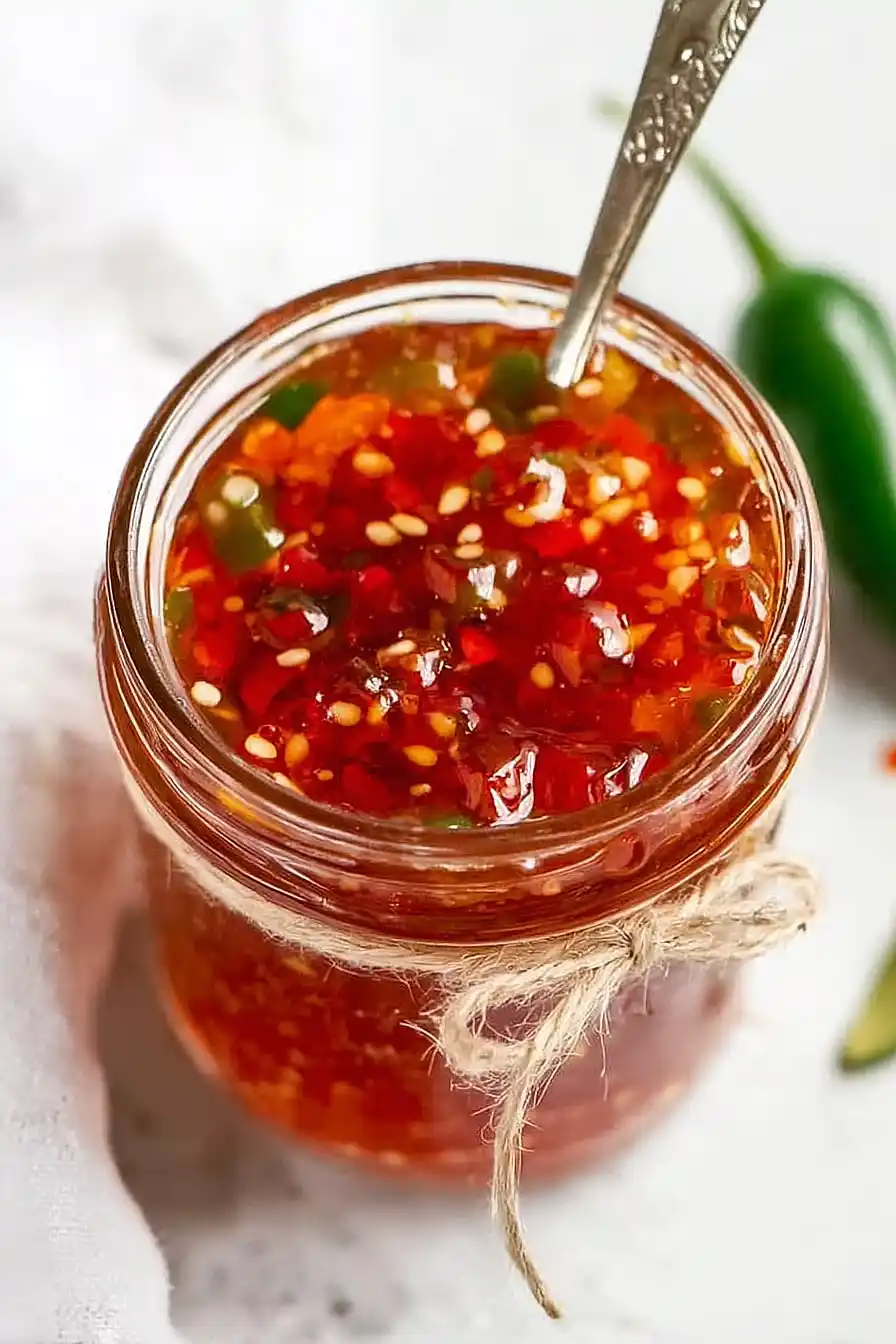
That’s where this jalapeno pepper jelly comes in. It’s got just the right amount of heat to wake up your taste buds, plus a sweet finish that keeps you coming back for more. Best of all, you can control exactly how spicy it gets by adjusting the peppers to your liking.
Why You’ll Love This Jalapeño Pepper Jelly
- Perfect balance of sweet and spicy – The combination of sugar and jalapeños creates that addictive sweet heat that pairs beautifully with cream cheese and crackers or as a glaze for meats.
- Quick and easy to make – Ready in under an hour, this homemade jelly comes together much faster than you’d expect and doesn’t require any special canning skills.
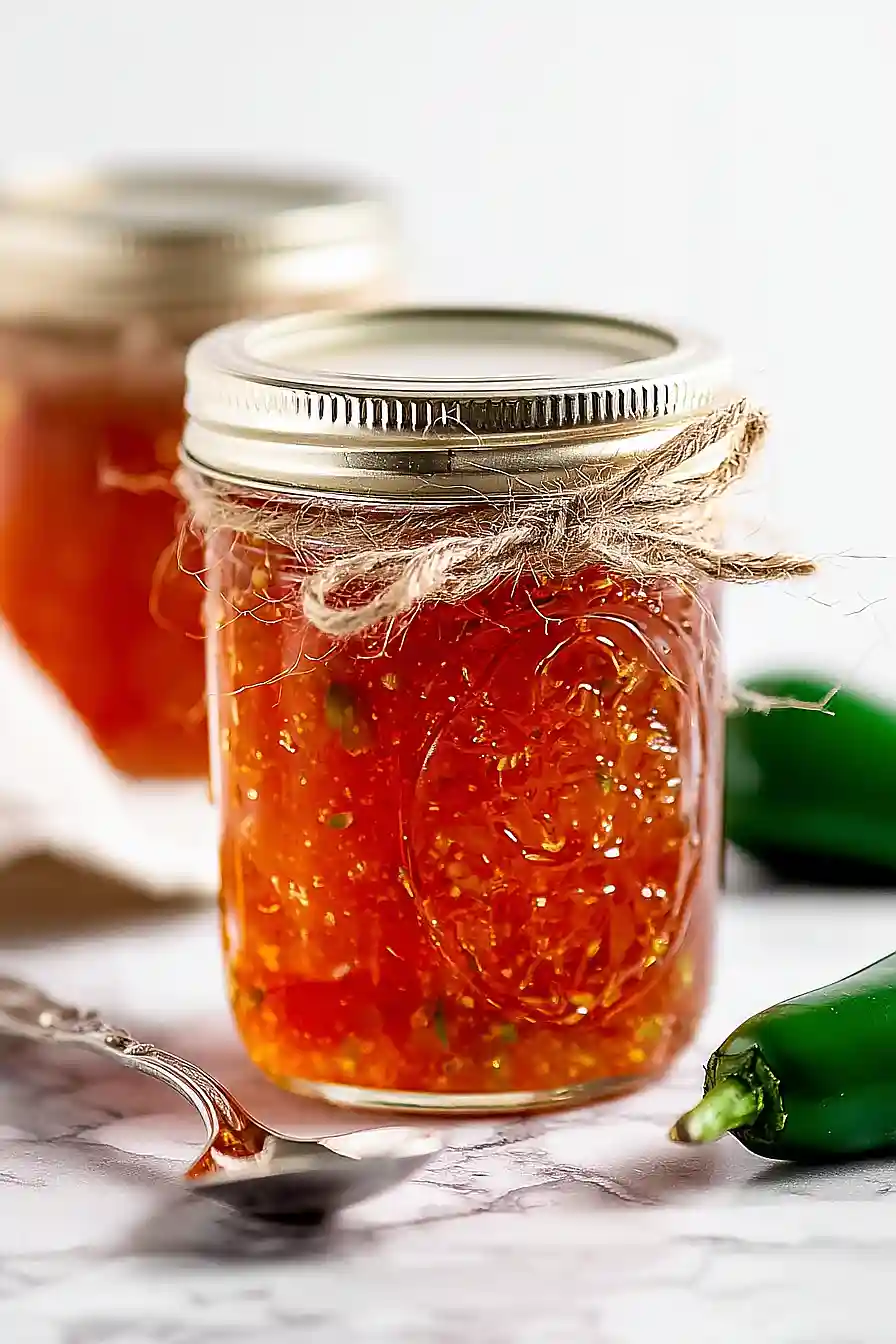
- Great for gifting – This colorful jelly makes thoughtful homemade gifts that friends and family will actually use and appreciate during the holidays or any time of year.
- Simple pantry ingredients – You probably already have most of these basic ingredients at home, making it an easy recipe to whip up whenever the mood strikes.
- Customizable heat level – By seeding only half the jalapeños, you get a nice medium heat, but you can easily adjust the spice level up or down to suit your taste.
What Kind of Jalapeno Peppers Should I Use?
Fresh jalapenos are definitely the way to go for this jelly – avoid using pickled or canned ones since they’ll throw off the flavor balance. You can find jalapenos at pretty much any grocery store, and they’re usually available year-round. Look for peppers that feel firm and have smooth, shiny skin without any wrinkled spots or soft areas. The heat level can vary quite a bit between individual peppers, so if you’re sensitive to spice, you might want to seed all of them instead of just half. On the flip side, if you like things extra spicy, leave more seeds in or even throw in a serrano pepper or two for an extra kick.
Options for Substitutions
This pepper jelly recipe has some room for customization, but a few ingredients are pretty important to keep:
- Jalapeno peppers: You can swap jalapenos for other peppers like serranos (for more heat), poblanos (for milder flavor), or even habaneros if you’re feeling brave. Just keep the same amount by weight.
- Bell peppers: Feel free to use any color bell peppers you have on hand – yellow, orange, or even purple work great. You can also try sweet mini peppers for a slightly different flavor.
- White vinegar: Apple cider vinegar works as a substitute and adds a nice fruity note to the jelly. Just use the same amount.
- Sugar: Don’t substitute the sugar amount here – it’s crucial for the jelly to set properly and for food safety in canning.
- Liquid pectin: Stick with liquid pectin for this recipe. Powdered pectin requires different timing and sugar ratios, so it’s not a simple swap.
- Salt: You can leave out the salt if you prefer, but it really helps balance the sweetness and brings out the pepper flavors.
Watch Out for These Mistakes While Cooking
The biggest mistake when making jalapeño pepper jelly is not wearing gloves while handling the peppers, which can leave your hands burning for hours and accidentally transfer heat to your eyes or other sensitive areas.
Another common error is adding the pectin too early or at the wrong temperature – always wait until the mixture reaches a rolling boil that can’t be stirred down, then add the pectin and boil for exactly one more minute to ensure proper setting.
Don’t skip the step of removing seeds from half the jalapeños, as leaving all the seeds in will make your jelly painfully hot, and be sure to finely chop your peppers so they distribute evenly throughout the jelly.
Finally, test for proper gel consistency by dropping a small amount on a chilled plate – if it wrinkles when you push it with your finger, it’s ready to pour into sterilized jars.
What to Serve With Jalapeño Pepper Jelly?
This sweet and spicy jelly is perfect spread over cream cheese and served with crackers for an easy appetizer that always gets people talking. I love pairing it with sharp cheddar cheese and water crackers, or even spooning it over a block of goat cheese for something a little fancier. It’s also amazing as a glaze for grilled chicken or pork, giving your meat a nice kick of heat with that sweet finish. For breakfast lovers, try it on a warm biscuit with butter, or even on toast with some scrambled eggs for a morning treat with a little spice.
Storage Instructions
Store: Your homemade jalapeño pepper jelly will keep beautifully in sealed jars in the refrigerator for up to 6 months. Once you open a jar, it’ll stay fresh for about 3 weeks in the fridge. I love having a few jars on hand because this jelly makes such a great gift for friends and neighbors!
Preserve: If you want to store your pepper jelly at room temperature, you’ll need to process the sealed jars in a boiling water bath for 10 minutes. This way, unopened jars can sit in your pantry for up to a year. Just make sure to follow proper canning safety guidelines if you go this route.
Serve: This jelly tastes amazing straight from the jar at room temperature or slightly chilled. I like to let it sit out for about 15 minutes before serving if it’s been in the fridge, as it spreads more easily when it’s not super cold. It’s perfect with cream cheese and crackers or as a glaze for chicken!
| Preparation Time | 15-20 minutes |
| Cooking Time | 20-30 minutes |
| Total Time | 35-50 minutes |
| Level of Difficulty | Medium |
Estimated Nutrition
Estimated nutrition for the whole recipe (without optional ingredients):
- Calories: 2050-2150
- Protein: 3-5 g
- Fat: 0-2 g
- Carbohydrates: 530-550 g
Ingredients
- 10 jalapeño chiles, half with seeds removed
- 1 red bell pepper, diced
- 1 green bell pepper, diced
- 5 1/2 cups granulated sugar
- 1 1/2 cups distilled white vinegar
- 1/2 tsp salt
- 1 pouch (3 oz) liquid fruit pectin
Step 1: Prepare Jars and Set Up Water Bath
Wash your canning jars with hot, soapy water and keep them warm while preparing the jelly.
Place the jar lids in a small saucepan and let them simmer lightly on the stove.
Fill your water bath canner or a large pot about halfway with water, and let it come to a simmer as you proceed with making the jelly.
Step 2: Chop and Drain the Peppers
- 10 jalapeño chiles, half with seeds removed
- 1 red bell pepper, diced
- 1 green bell pepper, diced
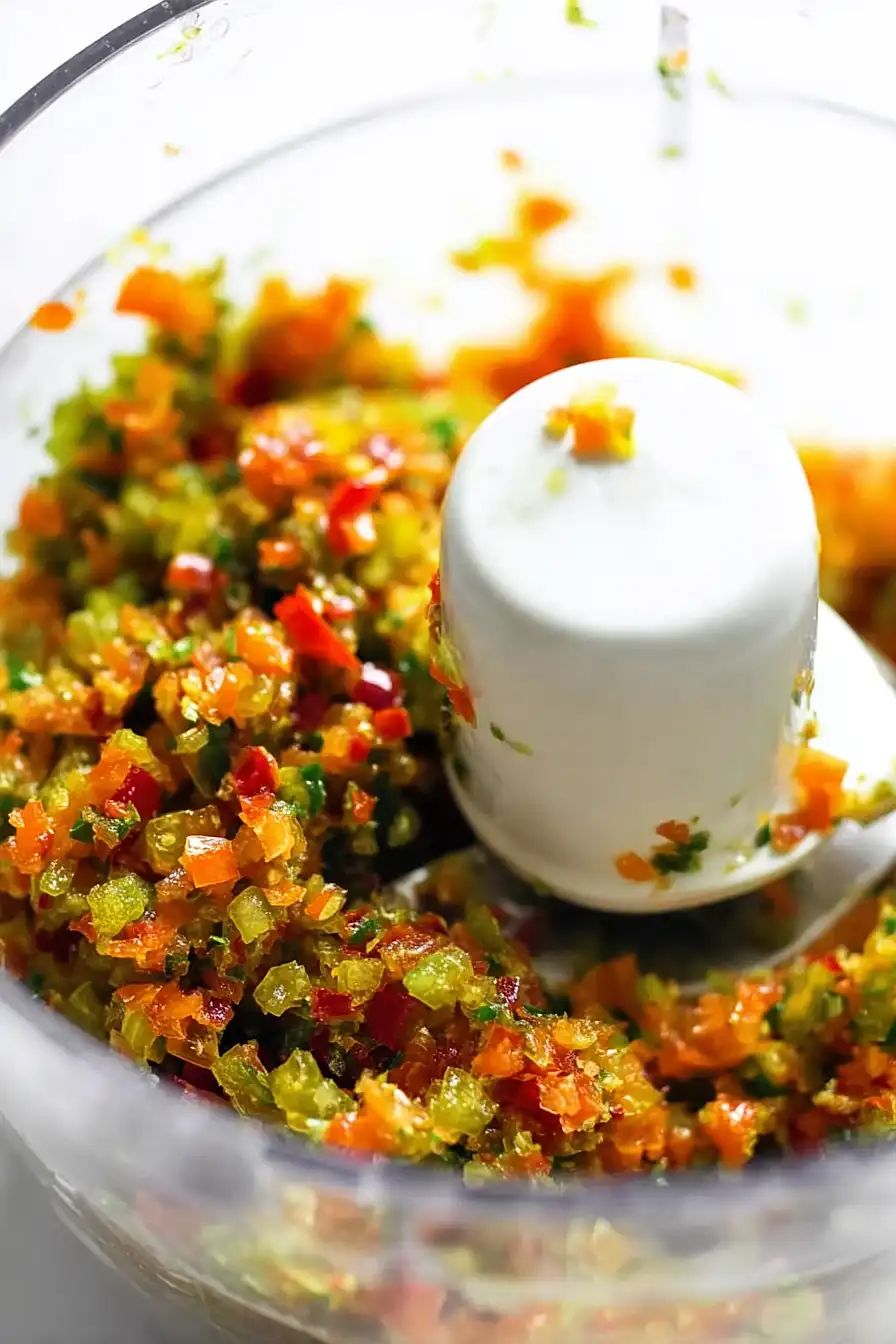
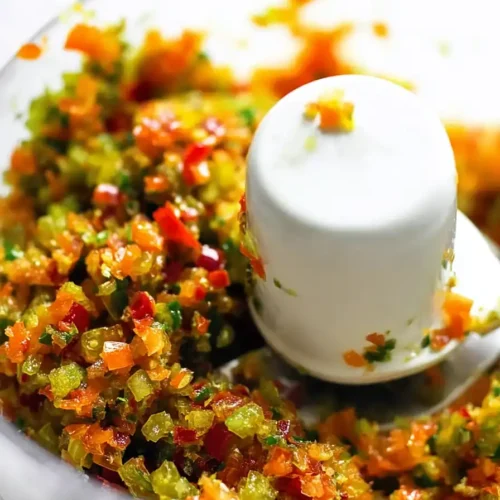
In a food processor, add the jalapeño chiles (half with seeds removed), along with the diced red and green bell peppers.
Pulse until the mixture is finely chopped but not pureed.
Transfer the chopped peppers to a mesh strainer and drain off any excess liquid to prevent the jelly from becoming watery.
Step 3: Cook the Jelly Base
- chopped and drained peppers from Step 2
- 5 1/2 cups granulated sugar
- 1 1/2 cups distilled white vinegar
- 1/2 tsp salt
Place the drained, chopped peppers (from Step 2) into a large stockpot.
Add the granulated sugar, distilled white vinegar, and salt.
Stir well, then bring the mixture to a boil over medium-high heat.
Continue boiling, stirring occasionally, for 10 minutes.
I find that stirring often prevents the sugar from scorching and gives the jelly a cleaner taste.
Step 4: Add Pectin and Final Boil
- 1 pouch (3 oz) liquid fruit pectin
After the mixture has boiled for 10 minutes, add the liquid fruit pectin.
Continue boiling for exactly 1 more minute, stirring constantly.
Remove the pot from heat once the minute is up.
Step 5: Ladle and Seal the Jelly
- cooked pepper jelly from Step 4
Carefully ladle the hot jelly into your hot, sterile jars, leaving about 1/4 inch of headspace at the top.
Wipe the rims of the jars with a damp paper towel to ensure a clean seal.
Place lids on top and screw on the rings just until you feel resistance, then give a 1/4 turn more.
This ensures a secure but not overtightened seal.
Step 6: Process in Water Bath
Gently place the filled jars onto the rack in your simmering water bath canner.
If needed, add more hot water so the jars are covered by at least 1-2 inches of water.
Bring the water to a full boil, then process the jars for 10 minutes.
(If you’re above 1,000 feet elevation, add 1 minute for each additional 1,000 feet.)
Step 7: Cool and Store the Jelly
Carefully remove the processed jars from the water bath and place them on a kitchen towel, spacing them about 1 inch apart.
As the jars cool, you should hear a ‘pop’ as they seal.
Leave them undisturbed for 12-24 hours.
Jelly that has sealed properly can be stored on the shelf, while any unsealed jars should be refrigerated.
I like to let the jars sit for the full 24 hours—this helps the jelly set up perfectly and makes for easier cleanup if any have failed to seal.
Irresistible Jalapeno Pepper Jelly
Ingredients
- 10 jalapeño chiles, half with seeds removed
- 1 red bell pepper, diced
- 1 green bell pepper, diced
- 5 1/2 cups granulated sugar
- 1 1/2 cups distilled white vinegar
- 1/2 tsp salt
- 1 pouch (3 oz) liquid fruit pectin
Instructions
- Wash your canning jars with hot, soapy water and keep them warm while preparing the jelly. Place the jar lids in a small saucepan and let them simmer lightly on the stove. Fill your water bath canner or a large pot about halfway with water, and let it come to a simmer as you proceed with making the jelly.
- In a food processor, add the jalapeño chiles (half with seeds removed), along with the diced red and green bell peppers. Pulse until the mixture is finely chopped but not pureed. Transfer the chopped peppers to a mesh strainer and drain off any excess liquid to prevent the jelly from becoming watery.
- Place the drained, chopped peppers (from Step 2) into a large stockpot. Add the granulated sugar, distilled white vinegar, and salt. Stir well, then bring the mixture to a boil over medium-high heat. Continue boiling, stirring occasionally, for 10 minutes. I find that stirring often prevents the sugar from scorching and gives the jelly a cleaner taste.
- After the mixture has boiled for 10 minutes, add the liquid fruit pectin. Continue boiling for exactly 1 more minute, stirring constantly. Remove the pot from heat once the minute is up.
- Carefully ladle the hot jelly into your hot, sterile jars, leaving about 1/4 inch of headspace at the top. Wipe the rims of the jars with a damp paper towel to ensure a clean seal. Place lids on top and screw on the rings just until you feel resistance, then give a 1/4 turn more. This ensures a secure but not overtightened seal.
- Gently place the filled jars onto the rack in your simmering water bath canner. If needed, add more hot water so the jars are covered by at least 1-2 inches of water. Bring the water to a full boil, then process the jars for 10 minutes. (If you're above 1,000 feet elevation, add 1 minute for each additional 1,000 feet.)
- Carefully remove the processed jars from the water bath and place them on a kitchen towel, spacing them about 1 inch apart. As the jars cool, you should hear a 'pop' as they seal. Leave them undisturbed for 12-24 hours. Jelly that has sealed properly can be stored on the shelf, while any unsealed jars should be refrigerated. I like to let the jars sit for the full 24 hours—this helps the jelly set up perfectly and makes for easier cleanup if any have failed to seal.
