I’ve never met anyone who doesn’t have an opinion about pickles. You either love them or you really don’t. If you’re in the love camp like I am, then this dip is about to become your new party favorite.
Pickle dip hits that perfect spot between creamy and tangy. It’s got all the flavor of your favorite dill pickle, but in a form you can scoop up with chips or veggies. I started making this for game day gatherings, and now people actually ask me to bring it to every get-together. The best part? It takes about five minutes to throw together, and you probably have most of these ingredients in your fridge right now.
The cream cheese makes it smooth and rich, while the pickle juice adds that signature zing. And yes, it’s naturally gluten-free, so everyone at your party can dig in without worry.
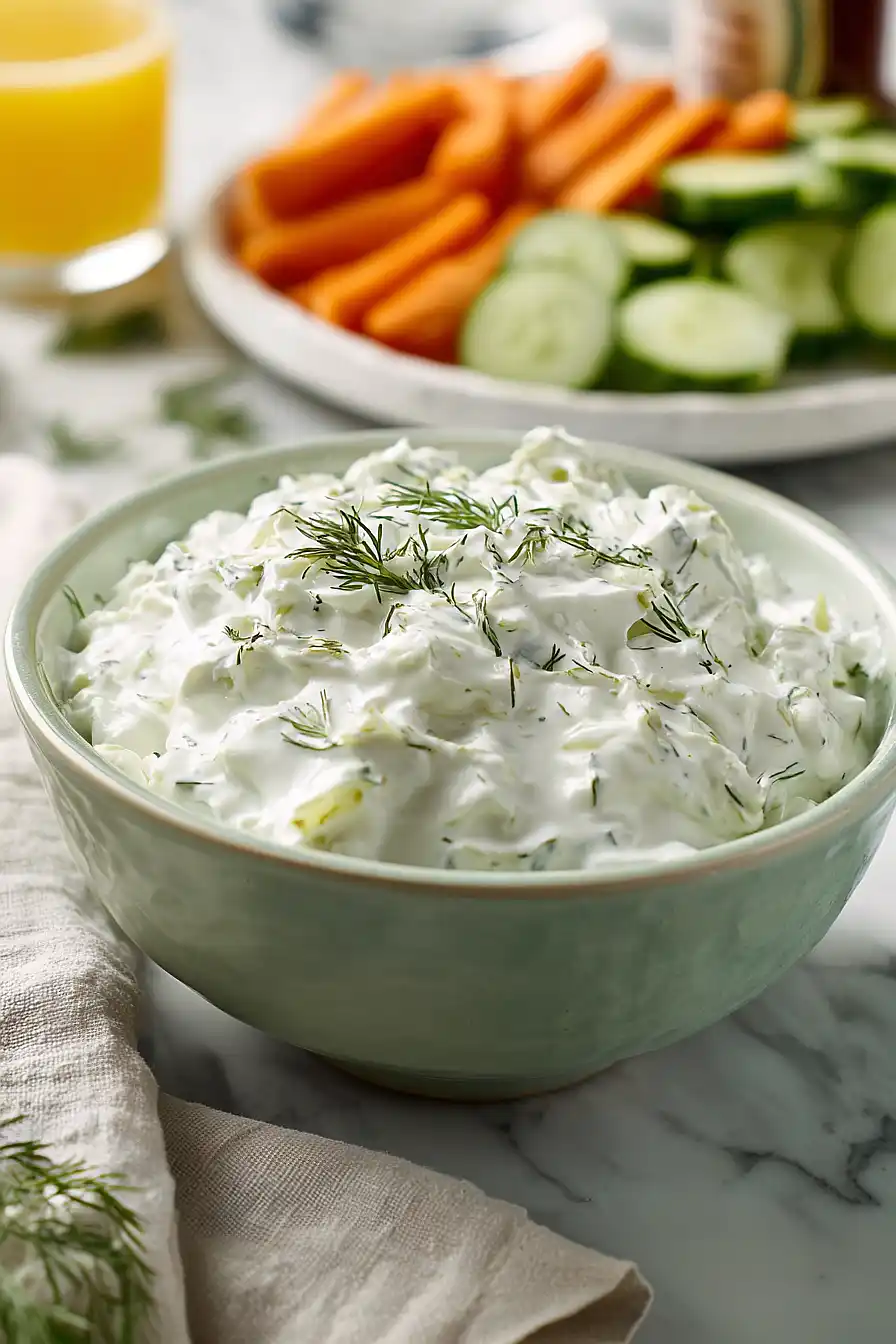
Why You’ll Love This Dill Pickle Dip
- Naturally gluten-free – This dip works perfectly for anyone avoiding gluten, so you can serve it at parties without worrying about dietary restrictions.
- Quick and easy to make – Just mix everything together and let it chill – no cooking required, and you’ll have a crowd-pleasing appetizer ready in no time.
- Perfect for pickle lovers – If you’re obsessed with pickles, this creamy, tangy dip brings all those briny flavors you crave in every bite.
- Great for parties and gatherings – This dip is always a hit at get-togethers, and it pairs well with chips, crackers, or fresh veggies for dipping.
What Kind of Pickles Should I Use?
For this dip, baby dill pickles are your best bet since they tend to be crunchier and have a more concentrated flavor than larger pickles. You can use either whole baby dills or pickle chips – just make sure they’re the dill variety and not bread and butter or sweet pickles, which would throw off the savory flavor profile. If you only have regular-sized dill pickles on hand, they’ll work just fine too, you’ll just need to chop them up a bit smaller. When it comes to brand, go with whatever you like to eat straight from the jar, since that pickle flavor is going to shine through in the dip.
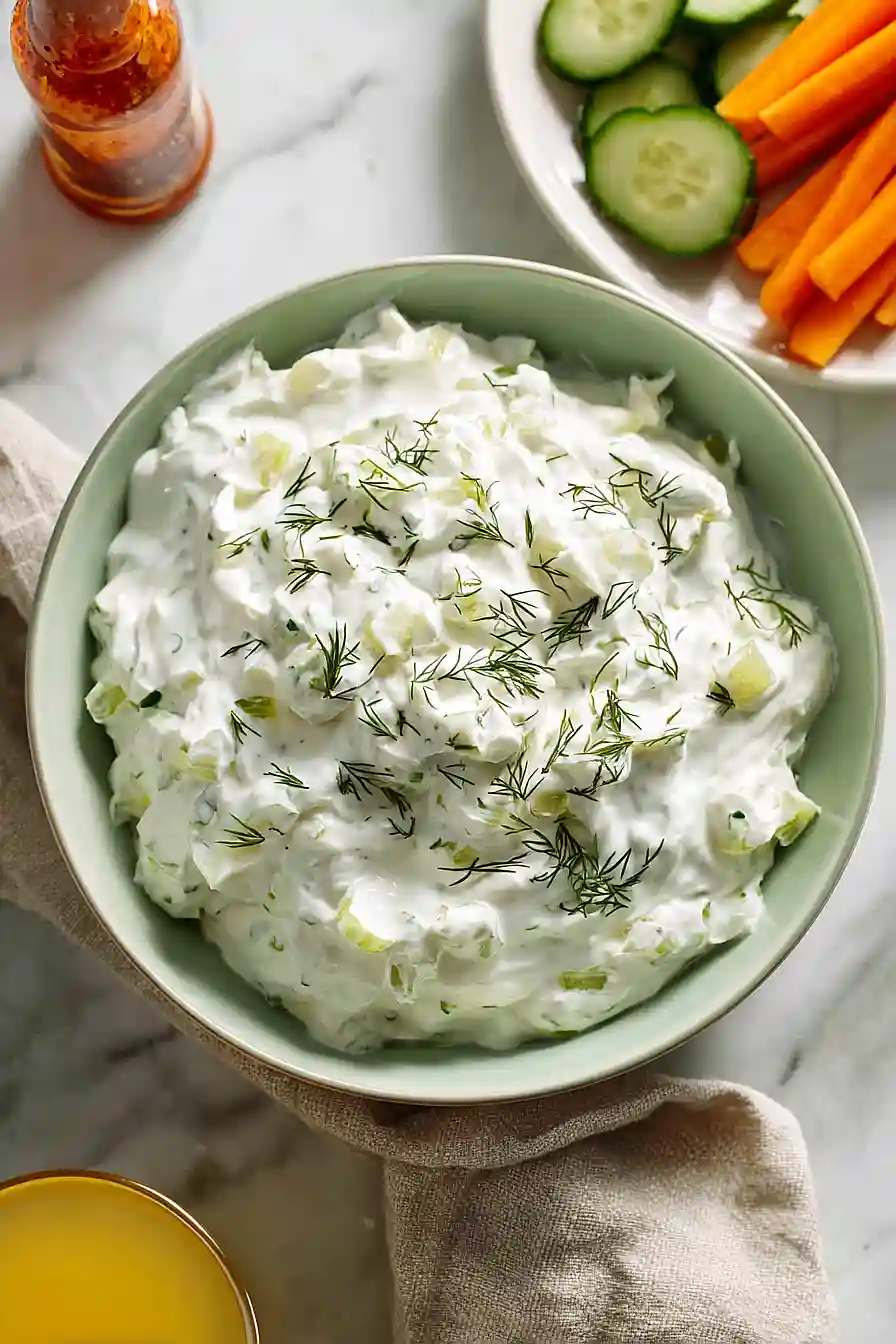
Options for Substitutions
This dip is pretty straightforward, but here are some swaps you can make if needed:
- Cream cheese: You can use Greek yogurt or sour cream for a tangier, lighter dip. Just note that the texture will be a bit thinner, so you might want to chill it longer to firm it up.
- Mayo: Sour cream works as a substitute here too, or you can do half mayo and half Greek yogurt for a lighter option without losing that creamy texture.
- Baby dill pickles: Regular dill pickles work just fine – just chop them up small. You can also use dill pickle relish, but drain it well and reduce the amount slightly since it’s more concentrated.
- Dried dill weed: Fresh dill is actually better if you have it! Use about 1 tablespoon of chopped fresh dill instead of the dried. It gives a brighter flavor.
- Minced onion flakes: You can swap these with 1 tablespoon of finely minced fresh onion or 2 teaspoons of onion powder if that’s all you’ve got.
- Hot sauce: This is totally optional, so skip it if you don’t like heat. Or add more if you want extra kick – it’s all about your taste preference.
Watch Out for These Mistakes While Cooking
The biggest mistake people make with this dip is not letting the cream cheese soften completely at room temperature, which leads to lumps that are tough to mix out – give it at least 30 minutes on the counter before you start.
Another common error is adding too much pickle juice along with the chopped pickles, so make sure to drain them well and pat them dry with a paper towel to avoid a watery dip.
Skipping the chilling time might be tempting, but those flavors really need at least an hour in the fridge to blend together properly, and honestly, it tastes even better if you make it the night before.
Finally, be careful not to overdo the hot sauce on your first try – start with just a couple dashes and taste before adding more, since you can always add but can’t take away.
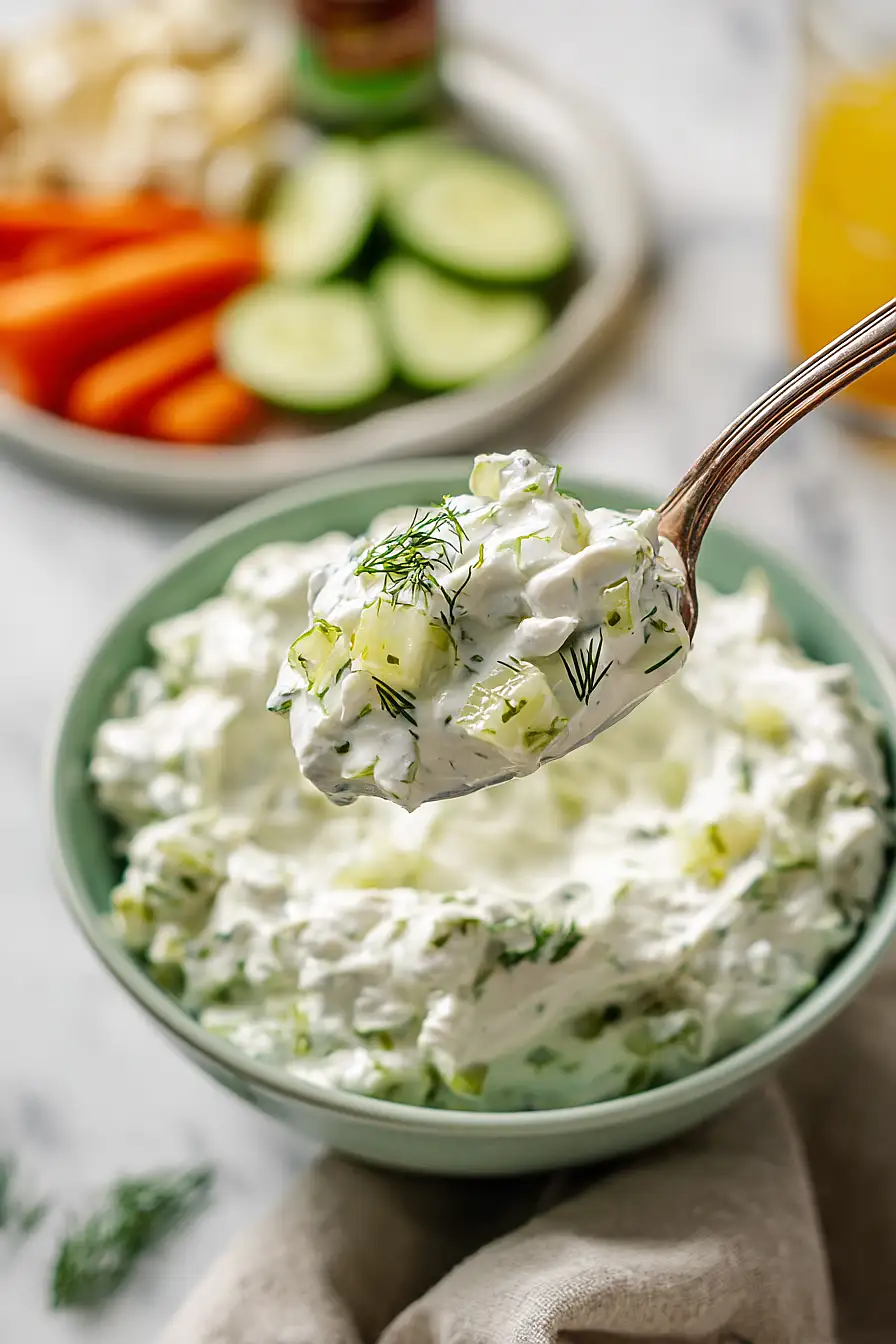
What to Serve With Dill Pickle Dip?
This tangy dip is perfect for parties and pairs wonderfully with crunchy vegetables like celery sticks, baby carrots, and bell pepper strips. Potato chips are always a crowd favorite – especially kettle-cooked or ridged chips that can really scoop up the creamy dip. If you want to keep things gluten-free, try serving it with rice crackers, corn chips, or even cucumber rounds for a lighter option. For game day or casual get-togethers, I like setting out a platter with pretzels (gluten-free ones work great), cherry tomatoes, and sliced radishes alongside the dip.
Storage Instructions
Store: This dip actually gets better after sitting in the fridge for a few hours, so it’s perfect for making ahead! Keep it in an airtight container in the refrigerator for up to 5 days. The flavors really meld together nicely overnight, so don’t be surprised if it tastes even better the next day.
Make Ahead: I always make this dip at least a few hours before serving, sometimes even the night before a party. Just give it a good stir before serving and maybe add a fresh sprinkle of dill on top to make it look pretty again.
| Preparation Time | 10-15 minutes |
| Cooking Time | 0 minutes |
| Total Time | 70-75 minutes |
| Level of Difficulty | Easy |
| Servings | 2 cups of dip |
Estimated Nutrition
Estimated nutrition for the whole recipe (without optional ingredients):
- Calories: 650-750
- Protein: 7-10 g
- Fat: 65-75 g
- Carbohydrates: 7-9 g
Ingredients
- 6 oz cream cheese, softened
- 1/2 cup mayonnaise
- 3 large dill pickles, finely diced
- 1/2 tsp garlic powder
- 1/2 tsp onion powder
- 1/2 tsp dried dill weed
- 1 tsp onion flakes
- 3 dashes hot sauce
- 1 tbsp pickle juice (from the jar)
- 1 tbsp fresh chives, finely chopped
Step 1: Prepare Ingredients and Mise en Place
- 3 large dill pickles, finely diced
- 1 tbsp fresh chives, finely chopped
- 1/2 tsp garlic powder
- 1/2 tsp onion powder
- 1/2 tsp dried dill weed
- 1 tsp onion flakes
- 6 oz cream cheese, softened
Dice the 3 large dill pickles into small, uniform pieces and finely chop the fresh chives.
Set both aside.
Measure out all the dried seasonings (garlic powder, onion powder, dried dill weed, and onion flakes) into a small bowl so they’re ready to add at once.
Remove the cream cheese from the refrigerator so it can soften to room temperature, which will make blending smooth and lump-free.
Step 2: Create the Creamy Base
- 6 oz cream cheese, softened
- 1/2 cup mayonnaise
In a medium bowl, combine the softened cream cheese and mayonnaise together, stirring until completely smooth and well-blended.
I like to use a rubber spatula to ensure there are no lumps of cream cheese, which gives the dip a better texture.
This base will take about a minute to fully combine.
Step 3: Build the Flavor Profile
- creamy base from Step 2
- 3 large dill pickles, finely diced
- 1 tbsp pickle juice
- 3 dashes hot sauce
- combined seasonings from Step 1
Add the diced pickles, pickle juice, hot sauce, and the combined seasonings from Step 1 to the creamy base.
Stir everything together until evenly distributed, making sure the pickles and seasonings are fully incorporated throughout the dip.
The pickle juice adds tanginess and helps loosen the consistency slightly, so the dip isn’t too thick for scooping.
Step 4: Finish and Chill
- dip mixture from Step 3
- 1 tbsp fresh chives, finely chopped
Fold in the fresh chives to preserve their bright flavor—avoid over-mixing as you want them to remain visible throughout the dip.
Transfer the dip to a serving bowl, cover, and refrigerate for at least 1 hour before serving.
This resting time allows the flavors to meld together and the dip to reach the ideal cold temperature.
The dip will keep in the refrigerator for up to 3 days.
Irresistible Gluten Free Dill Pickle Dip
Ingredients
- 6 oz cream cheese, softened
- 1/2 cup mayonnaise
- 3 large dill pickles, finely diced
- 1/2 tsp garlic powder
- 1/2 tsp onion powder
- 1/2 tsp dried dill weed
- 1 tsp onion flakes
- 3 dashes hot sauce
- 1 tbsp pickle juice (from the jar)
- 1 tbsp fresh chives, finely chopped
Instructions
- Dice the 3 large dill pickles into small, uniform pieces and finely chop the fresh chives. Set both aside. Measure out all the dried seasonings (garlic powder, onion powder, dried dill weed, and onion flakes) into a small bowl so they're ready to add at once. Remove the cream cheese from the refrigerator so it can soften to room temperature, which will make blending smooth and lump-free.
- In a medium bowl, combine the softened cream cheese and mayonnaise together, stirring until completely smooth and well-blended. I like to use a rubber spatula to ensure there are no lumps of cream cheese, which gives the dip a better texture. This base will take about a minute to fully combine.
- Add the diced pickles, pickle juice, hot sauce, and the combined seasonings from Step 1 to the creamy base. Stir everything together until evenly distributed, making sure the pickles and seasonings are fully incorporated throughout the dip. The pickle juice adds tanginess and helps loosen the consistency slightly, so the dip isn't too thick for scooping.
- Fold in the fresh chives to preserve their bright flavor—avoid over-mixing as you want them to remain visible throughout the dip. Transfer the dip to a serving bowl, cover, and refrigerate for at least 1 hour before serving. This resting time allows the flavors to meld together and the dip to reach the ideal cold temperature. The dip will keep in the refrigerator for up to 3 days.

