Game day snacks are always a hit at my house, but honestly, I never want to spend the whole game stuck in the kitchen. I want to be out there with everyone, cheering and chatting, not scrambling to keep the food coming. That’s why I love recipes that I can prep ahead and just pop in the oven when it’s time.
These garlic parmesan chicken sliders check all my boxes. They’re easy to put together, feed a crowd, and taste like you spent way more time on them than you actually did. Plus, using those King’s Hawaiian rolls means they’re already a little sweet, which goes perfectly with all that garlicky, cheesy goodness.
Want something that’ll disappear in minutes? Make a double batch. Trust me, once people try these sliders, they’ll keep coming back for more.
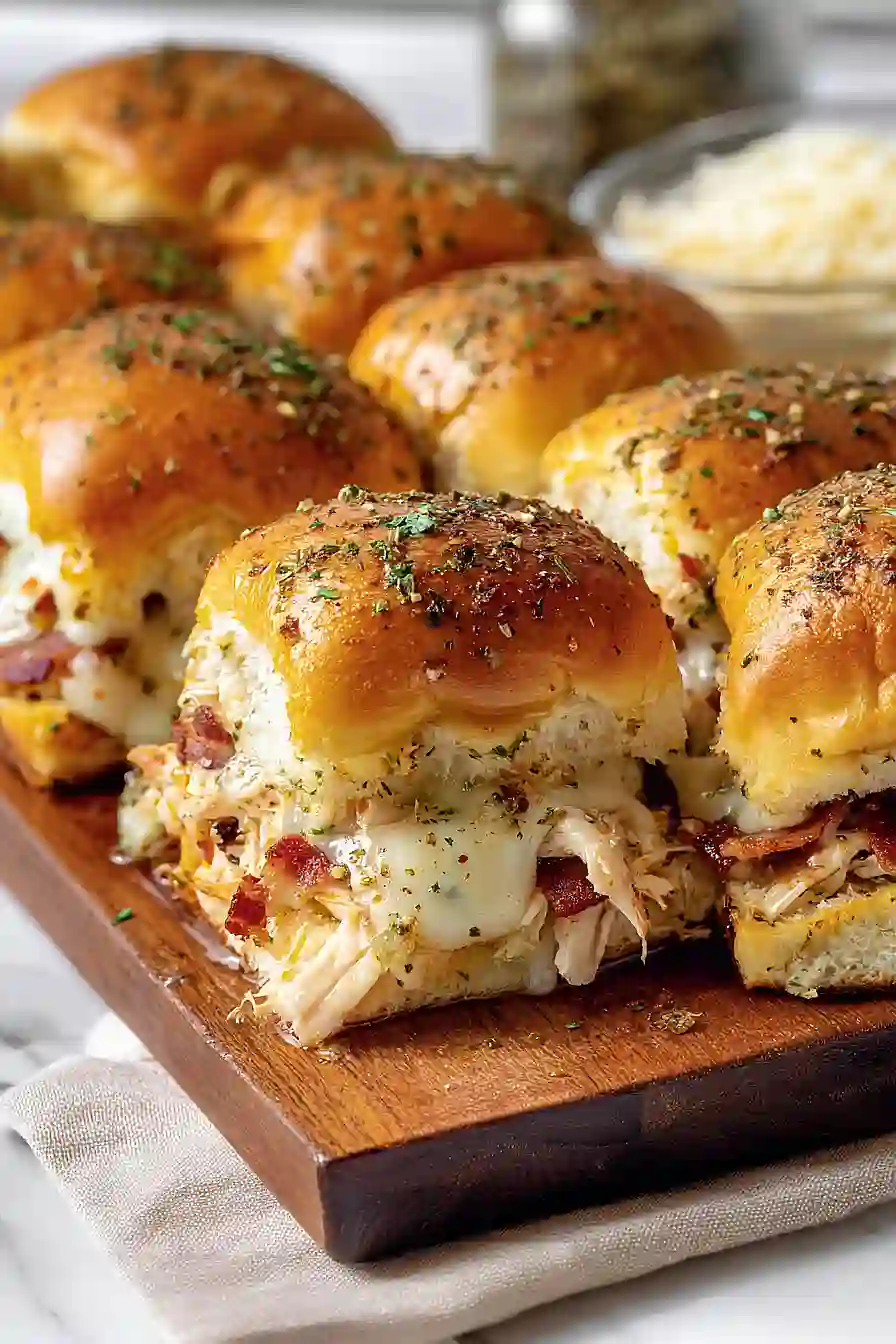
Why You’ll Love These Garlic Parmesan Chicken Sliders
- Quick and easy – Using rotisserie chicken and precooked bacon means you can have these sliders ready in under an hour with minimal effort.
- Perfect for feeding a crowd – These sliders are great for game day, parties, or family gatherings since you can make a dozen at once in one pan.
- Cheesy, creamy goodness – The combination of cream cheese, provolone, and mozzarella creates an irresistibly gooey filling that everyone will love.
- Minimal cleanup – Everything bakes together in one dish, so you won’t be stuck doing a mountain of dishes afterward.
What Kind of Rolls Should I Use?
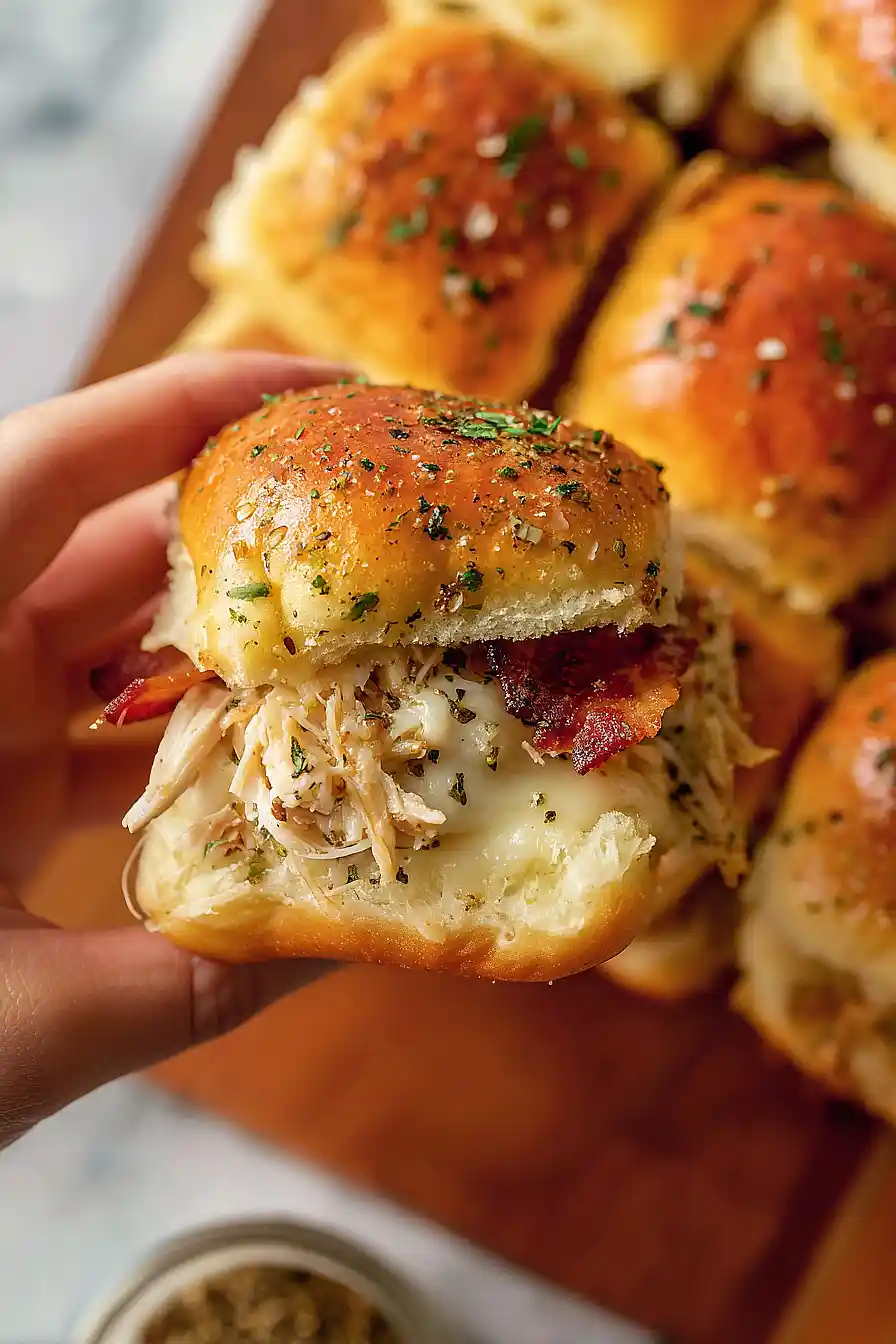
Brioche dinner rolls are my top pick for these sliders because they’re soft, slightly sweet, and hold up well to all that cheesy, saucy goodness. If you can’t find brioche, Hawaiian sweet rolls are another great option that adds a nice touch of sweetness to balance the savory garlic parmesan flavors. Regular slider buns or potato rolls will also work just fine if that’s what you have on hand. Just make sure whatever rolls you choose are fresh and soft – stale or overly crusty buns won’t give you that perfect slider experience. You’ll want rolls that are connected in a sheet if possible, as this makes assembly and slicing much easier than working with individual buns.
Options for Substitutions
These sliders are pretty forgiving when it comes to swapping ingredients:
- Rotisserie chicken: If you don’t have rotisserie chicken, you can use leftover cooked chicken, canned chicken (drained well), or even cook up some chicken breasts and shred them yourself.
- Buffalo Wild Wings Parmesan Garlic Sauce: Can’t find this specific sauce? Mix together 1/2 cup ranch dressing with 2 tablespoons melted butter, 2 minced garlic cloves, and 1/4 cup grated parmesan cheese for a similar flavor.
- Brioche rolls: Hawaiian rolls work great here and add a touch of sweetness, or use regular slider buns or even split dinner rolls if that’s what you have.
- Provolone cheese: Feel free to swap with Swiss, white cheddar, or even more mozzarella if that’s what’s in your fridge.
- Bacon: Turkey bacon works fine if you prefer it, or you can skip the bacon entirely for a lighter version. The precooked bacon is just for convenience – regular bacon works too, just cook it first.
- Cream cheese: In a pinch, you can use sour cream or Greek yogurt, though the mixture will be slightly thinner.
Watch Out for These Mistakes While Cooking
The biggest mistake when making these sliders is skipping the foil cover during baking, which can lead to burnt, hard buns while the filling stays cold – keeping them covered for most of the baking time ensures the cheese melts properly and the filling heats through evenly.
Another common error is not letting the cream cheese soften completely before mixing, which makes it nearly impossible to blend smoothly with the chicken and creates lumpy pockets in your filling.
To prevent soggy bottom buns, lightly toast the brioche rolls before assembling, and make sure to drain any excess grease from the bacon before adding it to the sliders.
Finally, resist the urge to cut the sliders apart before baking – keeping them connected helps them steam together and stay moist, plus they’re much easier to handle when you separate them after baking.
What to Serve With Garlic Parmesan Chicken Sliders?
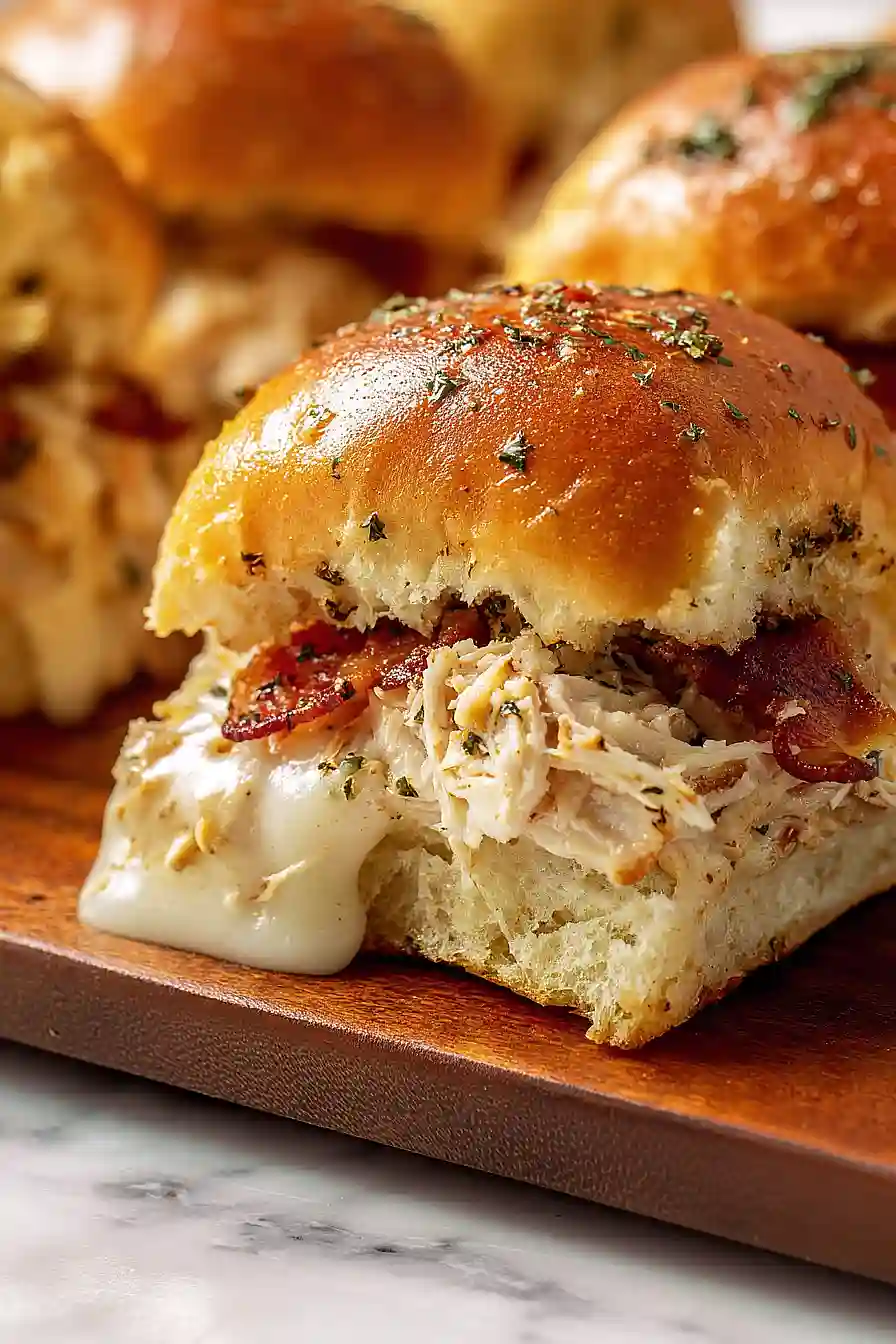
These sliders are pretty filling on their own, but a simple side salad with ranch dressing is always a good call to balance out the richness. I love serving them with crispy sweet potato fries or regular fries for dipping – they’re perfect for soaking up any extra garlic parmesan sauce that drips out. If you’re feeding a crowd, a big bowl of coleslaw or pasta salad works great as a side, and both can be made ahead of time. For a lighter option, try some raw veggies like carrots, celery, and bell peppers with a creamy dip on the side.
Storage Instructions
Store: These sliders are great for making ahead! You can assemble them completely (before baking) and keep them covered tightly in the fridge for up to 24 hours. When you’re ready to eat, just pop them in the oven and bake as directed. Leftover baked sliders will keep in an airtight container in the fridge for 3-4 days.
Freeze: Want to prep these for later? Assemble the sliders completely but don’t bake them yet. Wrap the whole pan tightly in plastic wrap and then foil, and freeze for up to 2 months. You can bake them straight from frozen, just add about 10-15 extra minutes to the baking time.
Reheat: To warm up leftover sliders, cover them with foil and bake at 350°F for about 10-12 minutes until heated through. You can also microwave individual sliders for 30-45 seconds, though the oven keeps them crispier on top.
| Preparation Time | 20-30 minutes |
| Cooking Time | 15-25 minutes |
| Total Time | 35-55 minutes |
| Level of Difficulty | Medium |
| Servings | 12 sliders |
Estimated Nutrition
Estimated nutrition for the whole recipe (without optional ingredients):
- Calories: 3300-3600
- Protein: 170-190 g
- Fat: 170-190 g
- Carbohydrates: 210-240 g
Ingredients
For the filling:
- 8 slices bacon (I prefer Applegate Naturals for a smokier flavor)
- 4 oz cream cheese (room temperature, about 70°F)
- 2.5 cups cooked chicken, shredded
- 7 oz garlic sauce (I use Buffalo Wild Wings Garlic Parmesan sauce)
- 1 tablespoon fresh parsley, finely chopped
For the sliders:
- 12 rolls (I always use King’s Hawaiian Original Sweet Rolls)
- 8 slices provolone cheese
- 1.5 cups shredded mozzarella
- 2 tbsp butter (melted and cooled to room temperature)
- 1/2 tbsp italian seasoning
- 1/2 tsp garlic powder
Step 1: Cook the Bacon and Prepare the Filling
- 8 slices bacon
- 4 oz cream cheese
- 2.5 cups cooked chicken, shredded
- 7 oz garlic sauce
Cook the bacon in a skillet over medium-high heat until crisp, about 8-10 minutes, then transfer to a paper towel-lined plate and chop into bite-sized pieces once cooled.
In the same skillet (no need to clean—those browned bits add flavor), reduce heat to medium and add the room-temperature cream cheese.
Stir constantly until it begins to soften and meld with the residual bacon fat, about 2 minutes.
Add the shredded chicken and stir until combined, then pour in the garlic sauce and fold everything together until the mixture is uniform and heated through, about 3-4 minutes.
Taste and adjust seasoning if needed—I like to add a small pinch of extra garlic powder here for deeper flavor.
Remove from heat and fold in the chopped bacon.
Step 2: Assemble the Sliders
- 12 rolls
- 8 slices provolone cheese
- chicken mixture from Step 1
- 1.5 cups shredded mozzarella
- bacon from Step 1
Preheat your oven to 375°F.
Arrange the 12 Hawaiian rolls on a 9×13 inch baking dish (or similar size), cutting them in half horizontally so the bottom halves sit flat on the dish.
Place one slice of provolone cheese on each bottom bun half, then evenly distribute the warm chicken filling mixture from Step 1 over the cheese, about 2-3 tablespoons per slider.
Top each slider with a generous handful of shredded mozzarella (roughly 2 tablespoons per slider, using about 1.5 cups total), then add a piece of the chopped bacon.
Finally, place the top bun halves over each slider.
Step 3: Season and Bake
- 2 tbsp butter, melted
- 1/2 tbsp italian seasoning
- 1/2 tsp garlic powder
- 1 tablespoon fresh parsley, finely chopped
In a small bowl, combine the melted butter (cooled to room temperature) with the italian seasoning and garlic powder, stirring well.
Brush this mixture evenly over the tops of all the buns—I find using a pastry brush helps distribute it more evenly than drizzling.
Cover the entire baking dish tightly with foil to trap steam and prevent the tops from browning too quickly, then bake for 18-22 minutes until the cheese is fully melted and the buns are golden.
Remove the foil carefully (watch out for steam), and if the tops need a bit more color, bake uncovered for an additional 1-2 minutes.
Sprinkle the fresh parsley over the sliders just before serving for a fresh, herbaceous finish.
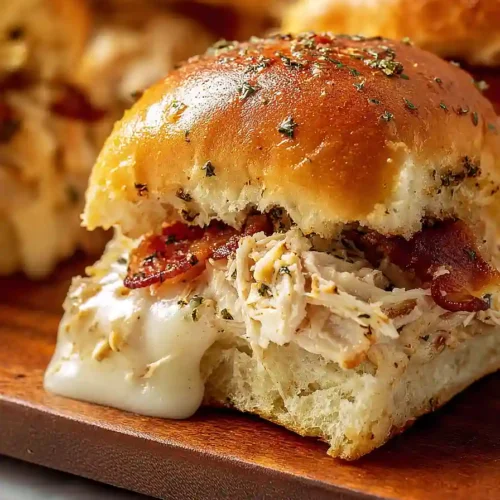
Irresistible Garlic Parmesan Chicken Sliders
Ingredients
For the filling:
- 8 slices bacon (I prefer Applegate Naturals for a smokier flavor)
- 4 oz cream cheese (room temperature, about 70°F)
- 2.5 cups cooked chicken, shredded
- 7 oz garlic sauce (I use Buffalo Wild Wings Garlic Parmesan sauce)
- 1 tablespoon fresh parsley, finely chopped
For the sliders:
- 12 rolls (I always use King's Hawaiian Original Sweet Rolls)
- 8 slices provolone cheese
- 1.5 cups shredded mozzarella
- 2 tbsp butter (melted and cooled to room temperature)
- 1/2 tbsp italian seasoning
- 1/2 tsp garlic powder
Instructions
- Cook the bacon in a skillet over medium-high heat until crisp, about 8-10 minutes, then transfer to a paper towel-lined plate and chop into bite-sized pieces once cooled. In the same skillet (no need to clean—those browned bits add flavor), reduce heat to medium and add the room-temperature cream cheese. Stir constantly until it begins to soften and meld with the residual bacon fat, about 2 minutes. Add the shredded chicken and stir until combined, then pour in the garlic sauce and fold everything together until the mixture is uniform and heated through, about 3-4 minutes. Taste and adjust seasoning if needed—I like to add a small pinch of extra garlic powder here for deeper flavor. Remove from heat and fold in the chopped bacon.
- Preheat your oven to 375°F. Arrange the 12 Hawaiian rolls on a 9x13 inch baking dish (or similar size), cutting them in half horizontally so the bottom halves sit flat on the dish. Place one slice of provolone cheese on each bottom bun half, then evenly distribute the warm chicken filling mixture from Step 1 over the cheese, about 2-3 tablespoons per slider. Top each slider with a generous handful of shredded mozzarella (roughly 2 tablespoons per slider, using about 1.5 cups total), then add a piece of the chopped bacon. Finally, place the top bun halves over each slider.
- In a small bowl, combine the melted butter (cooled to room temperature) with the italian seasoning and garlic powder, stirring well. Brush this mixture evenly over the tops of all the buns—I find using a pastry brush helps distribute it more evenly than drizzling. Cover the entire baking dish tightly with foil to trap steam and prevent the tops from browning too quickly, then bake for 18-22 minutes until the cheese is fully melted and the buns are golden. Remove the foil carefully (watch out for steam), and if the tops need a bit more color, bake uncovered for an additional 1-2 minutes. Sprinkle the fresh parsley over the sliders just before serving for a fresh, herbaceous finish.

