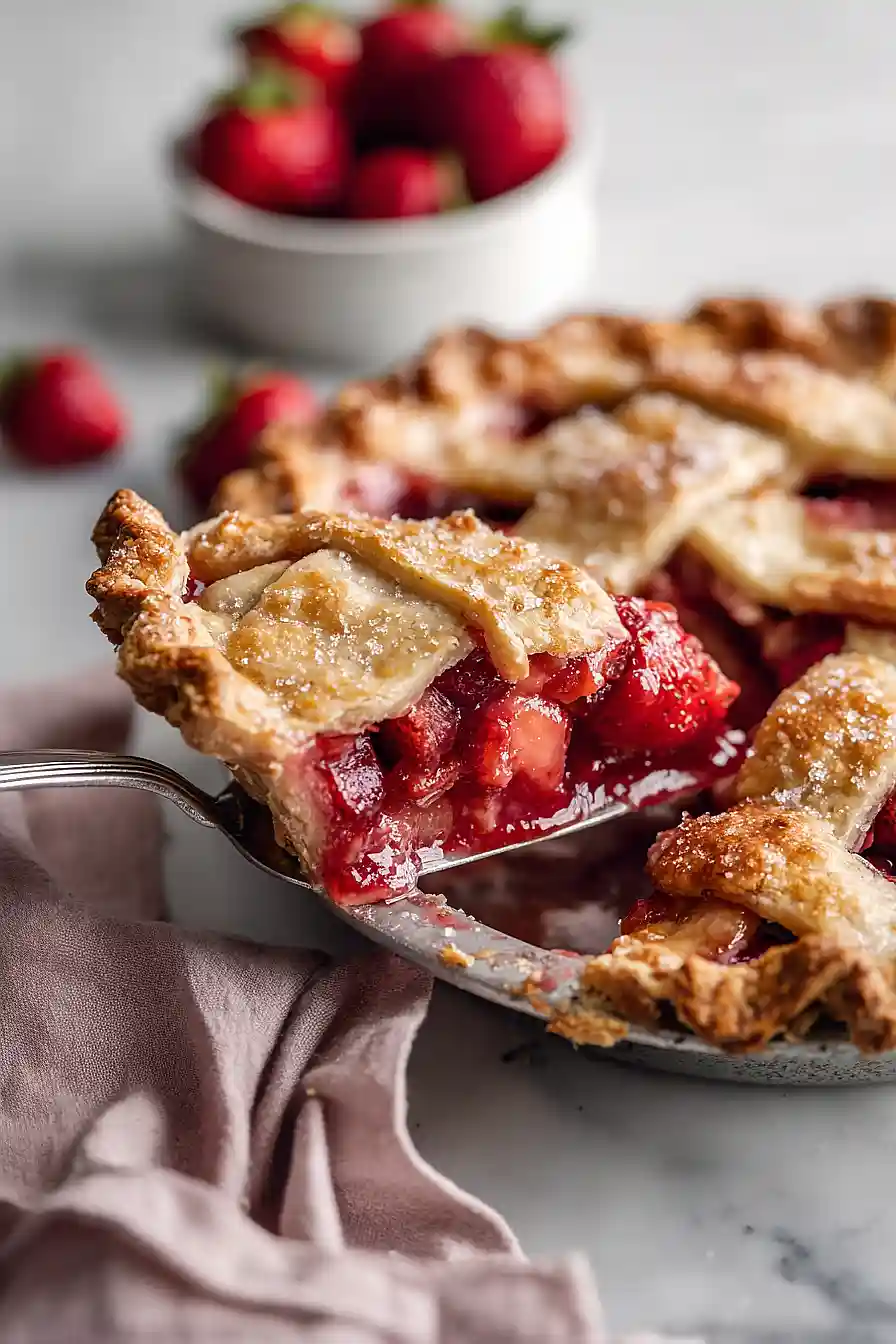
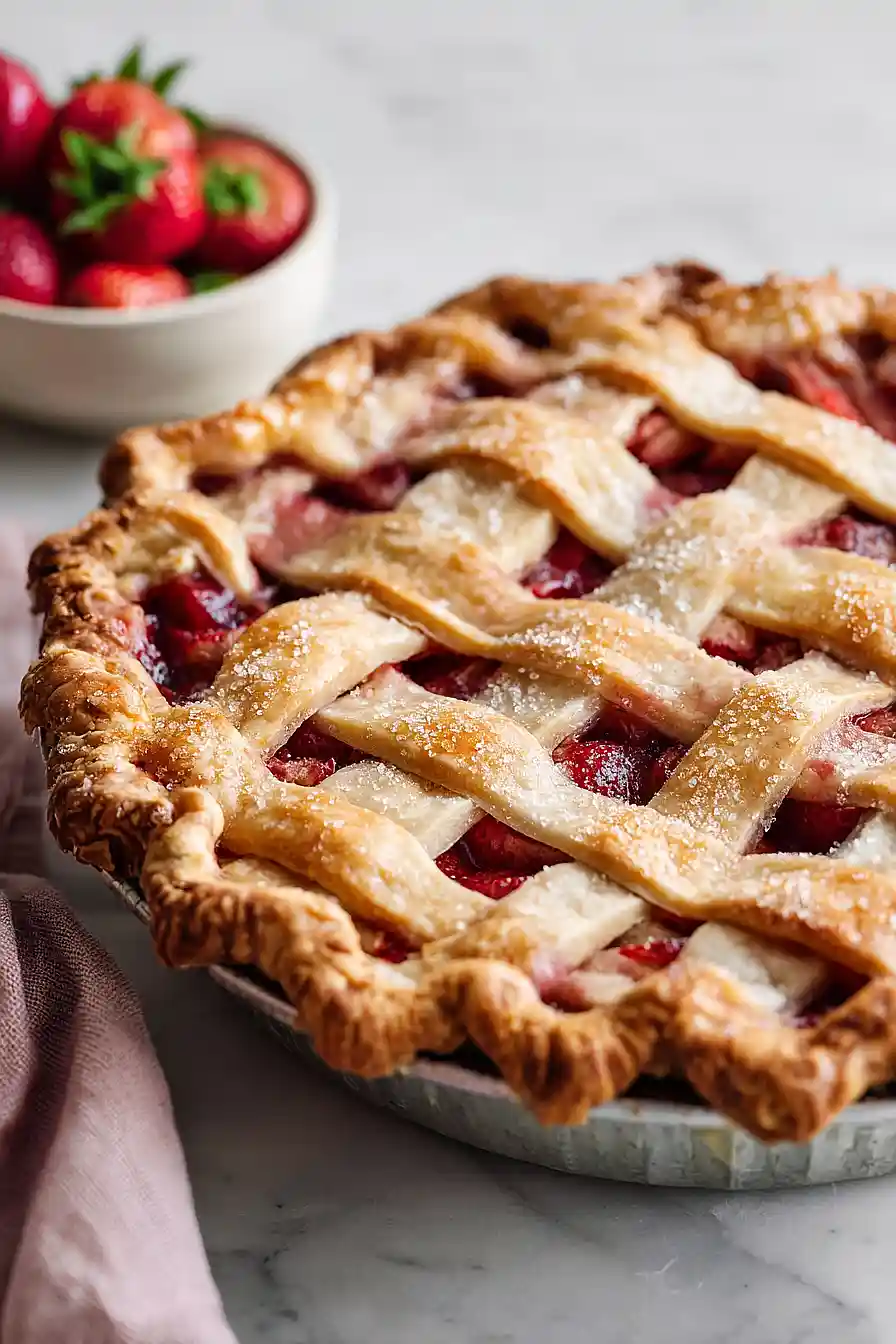
Here is my favorite vegan and gluten-free strawberry rhubarb pie recipe, with an almond flour crust that’s surprisingly flaky, and a filling bursting with tangy rhubarb, sweet strawberries, and warm spices.
This pie has become our go-to spring dessert when rhubarb season hits. I love that everyone can enjoy it, whether they’re vegan, gluten-free, or just looking for a delicious slice of pie. Plus, it tastes just as good as the traditional version—maybe even better!

Why You’ll Love This Strawberry Rhubarb Pie
- Vegan and gluten-free friendly – This pie works perfectly for anyone with dietary restrictions or preferences, so everyone at the table can enjoy a slice.
- Fresh, seasonal flavors – The sweet strawberries paired with tart rhubarb create that classic spring and summer taste that never gets old.
- Naturally sweetened – Using coconut sugar instead of refined white sugar gives you a dessert that feels a bit lighter and more wholesome.
- Perfect for gatherings – Whether it’s a potluck, holiday dinner, or weekend barbecue, this pie always impresses and disappears fast.
What Kind of Rhubarb Should I Use?
Fresh rhubarb is always your best bet for this pie, and you’ll find it at most grocery stores during spring and early summer. The stalks should be firm and crisp, not limp or bendy, and you can use either the red or green varieties – the red just looks prettier but they taste pretty much the same. If fresh rhubarb isn’t available, frozen rhubarb works just fine too, though you’ll want to thaw it first and drain off any excess liquid so your pie doesn’t get soggy. Just make sure you’re only using the stalks and not the leaves, since rhubarb leaves are actually toxic and should never be eaten.
Options for Substitutions
This pie is already vegan and gluten-free, but here are some swaps you can make based on what you have:
- Almond flour: If you have a nut allergy, try using oat flour or a gluten-free all-purpose flour blend instead. Keep in mind that oat flour may make the crust slightly denser, so you might need to add a tablespoon or two of extra liquid.
- Tapioca flour: Arrowroot powder works as a one-to-one swap for tapioca flour in both the crust and filling. Cornstarch also works in the filling, though it creates a slightly different texture.
- Butter and eggs: Wait – this recipe calls for butter and eggs, which aren’t vegan. For a truly vegan version, replace the butter with coconut oil or vegan butter, and use a flax egg (1 tablespoon ground flaxseed mixed with 3 tablespoons water) instead of the whole egg. For the egg white wash, brush the crust with plant-based milk instead.
- Coconut sugar: Regular granulated sugar, maple sugar, or even brown sugar work fine here. The coconut sugar adds a slight caramel note, but any sugar will sweeten the pie just as well.
- Rhubarb: If rhubarb isn’t in season, you can use all strawberries (6 cups total) or mix in other berries like raspberries or blackberries. You may need to reduce the sugar slightly if using only sweet berries.
Watch Out for These Mistakes While Baking
The biggest mistake with gluten-free pie crust is overworking the dough, which can make it crumbly and impossible to roll out – mix just until the dough comes together, then stop. Since almond flour behaves differently than regular flour, make sure your dough is well-chilled before rolling, and if it cracks while transferring to the pie dish, simply press it back together with your fingers. A common issue with fruit pies is a runny filling, so don’t skip the tapioca starch and make sure your rhubarb and strawberries aren’t overly wet before mixing them with the other ingredients. If your lattice strips are breaking apart, they’re probably too warm – pop them back in the fridge for a few minutes to firm up, and remember to tent the edges of your crust with foil halfway through baking if they’re browning too quickly.
What to Serve With Strawberry Rhubarb Pie?
This pie is absolutely perfect on its own, but a scoop of vanilla ice cream (or your favorite dairy-free alternative) takes it to the next level. The cold, creamy ice cream melting into the warm, tangy filling is just incredible. If you’re serving this for a special occasion, a dollop of coconut whipped cream adds a nice touch without being too heavy. For an afternoon treat, I love enjoying a slice with a hot cup of coffee or tea – the slight bitterness balances out the sweetness of the pie really nicely.
Storage Instructions
Store: Keep your strawberry rhubarb pie covered loosely with foil or plastic wrap at room temperature for up to 2 days. If you want it to last longer, pop it in the fridge where it’ll stay fresh for about 4-5 days. The crust might soften a bit in the fridge, but the flavors actually get better as they meld together.
Freeze: This pie freezes really well for up to 3 months. You can freeze it whole or slice it up first and wrap individual pieces in plastic wrap, then place in a freezer bag. Freezing slices makes it super easy to grab just one serving whenever a craving hits.
Serve: Let frozen pie thaw in the fridge overnight, or at room temperature for a few hours. If you want to crisp up the crust a bit, warm it in a 350°F oven for about 10-15 minutes. I think it tastes amazing both cold from the fridge or slightly warmed with a scoop of dairy-free ice cream on top.
| Preparation Time | 45-60 minutes |
| Cooking Time | 65-75 minutes |
| Total Time | 110-135 minutes |
| Level of Difficulty | Hard |
| Servings | 8 slices |
Estimated Nutrition
Estimated nutrition for the whole recipe (without optional ingredients):
- Calories: 2950-3200
- Protein: 37-43 g
- Fat: 180-200 g
- Carbohydrates: 335-360 g
Ingredients
For the crust:
- 3.25 cups almond flour (I always use King Arthur for a finer grind)
- 1 cup tapioca flour
- 2 tbsp coconut sugar
- 0.5 tsp salt
- 0.75 cup butter (I prefer Miyoko’s Creamery for the best buttery flavor)
- 1 egg
- 1 egg white
For the filling:
- 3 cups rhubarb (cut into 1/2-inch slices)
- 3 cups strawberries (hulled and quartered into even pieces)
- 0.75 cup coconut sugar
- 3 tbsp tapioca starch (thickens the fruit juices without making them cloudy)
- 1 tsp lemon zest
- 1 tsp lemon juice
- 2 tsp cinnamon
- 0.25 tsp nutmeg
- 0.25 tsp allspice
- 0.25 tsp ground ginger
- 0.25 tsp salt
- 1 tsp vanilla (I use Nielsen-Massey for the best aroma)
Step 1: Make the Pie Dough
- 3.25 cups almond flour
- 1 cup tapioca flour
- 2 tbsp coconut sugar
- 0.5 tsp salt
- 0.75 cup vegan butter
- 1 egg
In a food processor, combine almond flour, tapioca flour, coconut sugar, and salt, then pulse to combine.
Cut the vegan butter into small cubes and add to the dry mixture, pulsing until the mixture resembles coarse breadcrumbs with some pea-sized butter pieces remaining—this creates a flaky texture.
Add the egg and pulse just until the dough comes together into a shaggy mass; be careful not to overwork it or the crust will be tough.
Divide the dough in half, shape each into a disc, wrap in plastic, and refrigerate for at least 1 hour.
I like to make the dough the night before so it’s fully chilled and easier to work with.
Step 2: Prepare the Fruit Filling
- 3 cups rhubarb, cut into 1/2-inch slices
- 3 cups strawberries, hulled and quartered
- 0.75 cup coconut sugar
- 3 tbsp tapioca starch
- 1 tsp lemon zest
- 1 tsp lemon juice
- 2 tsp cinnamon
- 0.25 tsp nutmeg
- 0.25 tsp allspice
- 0.25 tsp ground ginger
- 0.25 tsp salt
- 1 tsp vanilla
While the dough chills, prepare the filling by combining the rhubarb, strawberries, coconut sugar, tapioca starch, lemon zest, lemon juice, cinnamon, nutmeg, allspice, ground ginger, salt, and vanilla in a large bowl.
Gently toss everything together until the fruit is evenly coated with the spice mixture and the tapioca starch is distributed throughout.
Let the filling sit at room temperature for 15-20 minutes; this allows the fruit to release some of its juices and the flavors to meld together.
I find that tapioca starch works beautifully here because it thickens the filling without creating that cloudy appearance that cornstarch sometimes does.
Step 3: Line the Pie Dish and Chill
- dough disc from Step 1
- fruit filling from Step 2
Preheat the oven to 425°F.
On a parchment-lined surface, roll out the first dough disc into a 12-inch circle, working gently and adding a light dusting of tapioca flour if needed to prevent sticking.
Transfer the rolled dough to a 9-inch pie dish, letting the edges drape slightly over the rim.
Pour the fruit filling from Step 2 into the crust, arranging the fruit evenly and leaving about 1/2 inch of space at the top.
Place the filled pie in the freezer while you prepare the lattice top—about 10 minutes of freezing will firm up the crust and help prevent it from shrinking.
Step 4: Create and Apply the Lattice Top
- second dough disc from Step 1
Roll out the second dough disc to about 1/8-inch thickness and cut into strips about 3/4-inch wide using a sharp knife or pastry cutter.
Retrieve the pie from the freezer and arrange the strips in a lattice pattern over the filling, weaving them over and under each other and trimming excess dough from the edges.
Fold the bottom crust edges up and over the lattice to create a sealed, finished edge, pressing gently to seal.
Chill the completed pie for another 10 minutes while the oven reaches temperature.
Step 5: Egg Wash and Initial Bake
- 1 egg white
In a small bowl, whisk together the egg white with 1 tablespoon of water to create an egg wash.
Remove the pie from the refrigerator and brush the entire crust—including the lattice strips and crimped edge—with the egg wash mixture; this creates a beautiful golden-brown finish.
Place the pie on a baking sheet (to catch any drips) and bake at 425°F for 15 minutes until the crust is lightly set and beginning to brown.
Step 6: Low-and-Slow Finish Bake
After 15 minutes, reduce the oven temperature to 350°F and continue baking for 50-60 minutes until the crust is deep golden brown and the fruit filling is bubbling slightly at the edges.
If the crust edges are browning too quickly, loosely tent the pie with aluminum foil halfway through baking.
The longer, gentler bake allows the filling to thicken properly and the flavors to develop fully.
Step 7: Cool and Set
Remove the pie from the oven and let it cool on a wire rack for at least 1 hour before slicing.
This cooling time is essential because it allows the tapioca starch to fully set, preventing the filling from running when you cut into it.
For the best texture and flavor, I prefer to let it cool to room temperature completely before serving, though it’s also delicious served slightly warm.
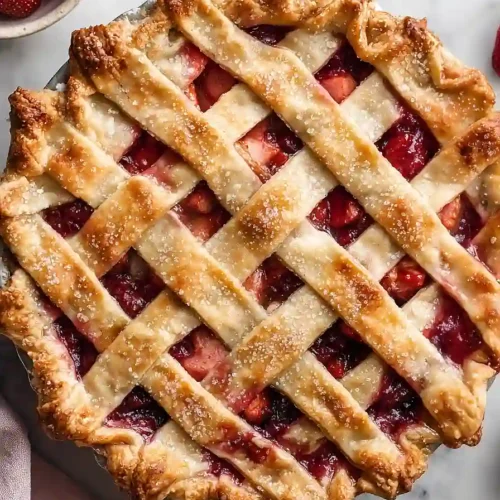
Easy Vegan Gluten Free Strawberry Rhubarb Pie
Ingredients
For the crust::
- 3.25 cups almond flour (I always use King Arthur for a finer grind)
- 1 cup tapioca flour
- 2 tbsp coconut sugar
- 0.5 tsp salt
- 0.75 cup butter (I prefer Miyoko's Creamery for the best buttery flavor)
- 1 egg
- 1 egg white
For the filling::
- 3 cups rhubarb (cut into 1/2-inch slices)
- 3 cups strawberries (hulled and quartered into even pieces)
- 0.75 cup coconut sugar
- 3 tbsp tapioca starch (thickens the fruit juices without making them cloudy)
- 1 tsp lemon zest
- 1 tsp lemon juice
- 2 tsp cinnamon
- 0.25 tsp nutmeg
- 0.25 tsp allspice
- 0.25 tsp ground ginger
- 0.25 tsp salt
- 1 tsp vanilla (I use Nielsen-Massey for the best aroma)
Instructions
- In a food processor, combine almond flour, tapioca flour, coconut sugar, and salt, then pulse to combine. Cut the vegan butter into small cubes and add to the dry mixture, pulsing until the mixture resembles coarse breadcrumbs with some pea-sized butter pieces remaining—this creates a flaky texture. Add the egg and pulse just until the dough comes together into a shaggy mass; be careful not to overwork it or the crust will be tough. Divide the dough in half, shape each into a disc, wrap in plastic, and refrigerate for at least 1 hour. I like to make the dough the night before so it's fully chilled and easier to work with.
- While the dough chills, prepare the filling by combining the rhubarb, strawberries, coconut sugar, tapioca starch, lemon zest, lemon juice, cinnamon, nutmeg, allspice, ground ginger, salt, and vanilla in a large bowl. Gently toss everything together until the fruit is evenly coated with the spice mixture and the tapioca starch is distributed throughout. Let the filling sit at room temperature for 15-20 minutes; this allows the fruit to release some of its juices and the flavors to meld together. I find that tapioca starch works beautifully here because it thickens the filling without creating that cloudy appearance that cornstarch sometimes does.
- Preheat the oven to 425°F. On a parchment-lined surface, roll out the first dough disc into a 12-inch circle, working gently and adding a light dusting of tapioca flour if needed to prevent sticking. Transfer the rolled dough to a 9-inch pie dish, letting the edges drape slightly over the rim. Pour the fruit filling from Step 2 into the crust, arranging the fruit evenly and leaving about 1/2 inch of space at the top. Place the filled pie in the freezer while you prepare the lattice top—about 10 minutes of freezing will firm up the crust and help prevent it from shrinking.
- Roll out the second dough disc to about 1/8-inch thickness and cut into strips about 3/4-inch wide using a sharp knife or pastry cutter. Retrieve the pie from the freezer and arrange the strips in a lattice pattern over the filling, weaving them over and under each other and trimming excess dough from the edges. Fold the bottom crust edges up and over the lattice to create a sealed, finished edge, pressing gently to seal. Chill the completed pie for another 10 minutes while the oven reaches temperature.
- In a small bowl, whisk together the egg white with 1 tablespoon of water to create an egg wash. Remove the pie from the refrigerator and brush the entire crust—including the lattice strips and crimped edge—with the egg wash mixture; this creates a beautiful golden-brown finish. Place the pie on a baking sheet (to catch any drips) and bake at 425°F for 15 minutes until the crust is lightly set and beginning to brown.
- After 15 minutes, reduce the oven temperature to 350°F and continue baking for 50-60 minutes until the crust is deep golden brown and the fruit filling is bubbling slightly at the edges. If the crust edges are browning too quickly, loosely tent the pie with aluminum foil halfway through baking. The longer, gentler bake allows the filling to thicken properly and the flavors to develop fully.
- Remove the pie from the oven and let it cool on a wire rack for at least 1 hour before slicing. This cooling time is essential because it allows the tapioca starch to fully set, preventing the filling from running when you cut into it. For the best texture and flavor, I prefer to let it cool to room temperature completely before serving, though it's also delicious served slightly warm.
