If you ask me, Easter is the perfect excuse to make cookies shaped like adorable bunnies.
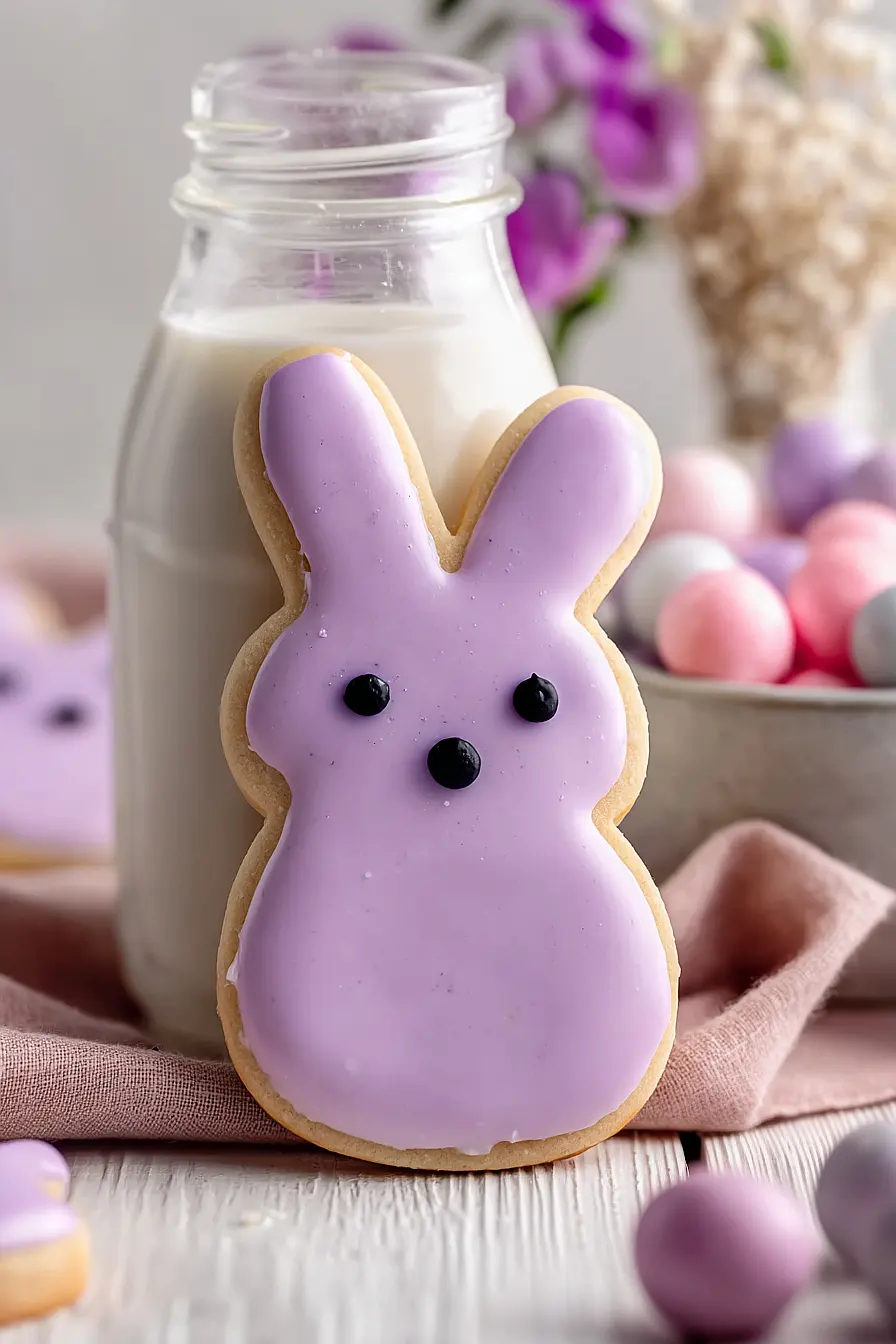
These soft sugar cookies are decorated with smooth royal icing that dries with a nice finish. The dough comes together easily with simple ingredients like butter, sugar, and eggs you probably already have in your pantry.
They’re rolled out, cut into bunny shapes, and baked until the edges just barely start to turn golden. The royal icing lets you add fun colors and details—pink ears, cute faces, whatever makes you smile.
It’s a fun baking project that works great for Easter baskets or spring celebrations with family and friends.

Why You’ll Love These Easter Bunny Cookies
- Perfect for Easter celebrations – These adorable bunny-shaped cookies make a fun activity to do with kids and create a festive centerpiece for your Easter table or basket.
- Customizable decorating – The royal icing and gel food coloring let you get creative with colors and designs, so each cookie can be unique and personalized however you like.
- Great for gifting – These cookies look impressive and hold up well, making them ideal for sharing with friends, neighbors, or bringing to Easter gatherings.
- Classic sugar cookie base – The recipe uses a tried-and-true sugar cookie dough that’s easy to work with and tastes delicious, with just the right amount of sweetness.
What Kind of Flour Should I Use?
For these Easter bunny cookies, all-purpose flour is your best bet and what you probably already have in your pantry. You’ll want to measure your flour correctly by spooning it into your measuring cup and leveling it off with a knife, rather than scooping directly from the bag, which can pack in too much flour and make your cookies dense. If you only have self-rising flour on hand, skip the baking powder and salt since those are already mixed in. Bread flour will work in a pinch, but it might make your cookies a bit chewier than you want, so stick with all-purpose if you can.

Options for Substitutions
These cookies are pretty forgiving when it comes to swaps, so here are some options if you need them:
- Butter: You can use margarine or shortening instead of butter, though the flavor won’t be quite as rich. If using salted butter, reduce the salt in the recipe to 1/2 teaspoon.
- Vanilla essence: Almond extract makes a nice substitute and gives the cookies a slightly different flavor profile. Use the same amount, or try half vanilla and half almond for something interesting.
- Cream of tartar: If you don’t have cream of tartar, substitute with 1 teaspoon of lemon juice or white vinegar. This helps stabilize the egg whites in your icing.
- Gel food coloring: Regular liquid food coloring works too, but you’ll need more of it to get bright colors. Start with a few drops and add more until you reach your desired shade. Keep in mind that liquid coloring can thin out your icing slightly.
- Powdered sugar: You can make your own by blending regular granulated sugar in a blender or food processor until it becomes a fine powder. Add 1 tablespoon of cornstarch per cup to prevent clumping.
Watch Out for These Mistakes While Baking
The biggest mistake people make with sugar cookies is skipping or shortening the 6-hour chill time, which leads to dough that spreads too much in the oven and loses its bunny shape – if you’re short on time, freeze the dough for 2 hours instead.
Over-baking is another common issue that turns soft cookies into hard, crunchy ones, so pull them from the oven when the edges are just barely set and the centers still look slightly underdone.
When making royal icing, be careful not to over-beat it or add too much liquid, as the consistency should be thick enough to hold its shape but thin enough to pipe smoothly – if it’s too runny, your designs will bleed together.
Finally, rushing the drying process between icing layers will cause colors to mix and smudge, so give each layer the full 2-3 hours to set before adding details like the eyes and nose.
What to Serve With Easter Bunny Cookies?
These cookies are perfect for an Easter brunch spread alongside fresh fruit like strawberries, grapes, and melon chunks that kids can easily grab. I love setting them out with a big pitcher of cold milk or lemonade, which pairs nicely with the sweet vanilla flavor. If you’re hosting a bigger gathering, consider adding some deviled eggs, a simple veggie tray with ranch dip, and maybe some cheese cubes to balance out all the sweetness. These cookies also work great as party favors – just wrap a few in cellophane bags tied with pastel ribbons for guests to take home.
Storage Instructions
Store: These Easter bunny cookies stay fresh in an airtight container at room temperature for up to a week. Just make sure the icing is completely dry before you stack them, or they’ll stick together and make a mess!
Freeze: You can freeze the baked cookies before decorating for up to 3 months. Layer them between sheets of parchment paper in a freezer-safe container. When you’re ready to decorate, just let them thaw at room temperature for about 30 minutes.
Make Ahead: The cookie dough can be made ahead and refrigerated for up to 3 days, or frozen for up to 2 months. This is great if you want to spread out the work and decorate closer to Easter. Just let the dough soften slightly before rolling it out.
| Preparation Time | 360-480 minutes |
| Cooking Time | 8-10 minutes |
| Total Time | 370-490 minutes |
| Level of Difficulty | Medium |
| Servings | 48 cookies |
Estimated Nutrition
Estimated nutrition for the whole recipe (without optional ingredients):
- Calories: 5600-6000
- Protein: 65-75 g
- Fat: 310-340 g
- Carbohydrates: 690-740 g
Ingredients
For the cookies:
- 5.25 cups flour (I always use King Arthur all-purpose flour)
- 2 tsp baking powder
- 0.75 tsp salt
- 1.5 cups butter (I like Kerrygold unsalted butter for this)
- 2.25 cups sugar
- 4 eggs (room temperature, about 70°F)
- 2.5 tsp vanilla
For the icing:
- 2 egg whites
- 1.25 cups powdered sugar (sifted to remove lumps)
- 0.5 tsp cream of tartar
- gel food coloring (I prefer AmeriColor for vibrant bunny ears)
Step 1: Prepare Mise en Place and Dry Ingredients
- 5.25 cups flour
- 2 tsp baking powder
- 0.75 tsp salt
Measure out all ingredients and sift together the flour, baking powder, and salt in a medium bowl, whisking gently to combine and aerate.
Set the dry mixture aside.
Remove eggs from the refrigerator to bring to room temperature (about 70°F) while you prepare the butter and sugar—this helps them incorporate smoothly into the dough and creates a better texture in the final cookies.
Step 2: Cream Butter and Sugar
- 1.5 cups butter
- 2.25 cups sugar
In a large mixing bowl, combine the softened butter and sugar, beating on medium speed for 3-4 minutes until the mixture is pale, fluffy, and nearly doubled in volume.
This creaming process incorporates air and creates a lighter, more tender cookie.
I like to use Kerrygold unsalted butter because it has a richer flavor that really comes through in the final cookie.
Step 3: Incorporate Eggs and Vanilla
- 4 eggs
- 2.5 tsp vanilla
Add room temperature eggs one at a time to the creamed butter and sugar, beating well after each addition.
Pour in the vanilla extract and mix until fully combined.
The mixture should look smooth and slightly lighter.
If it looks separated or curdled, don’t worry—it will come together when you add the dry ingredients.
Step 4: Combine and Chill Dough
- dry ingredient mixture from Step 1
- wet ingredient mixture from Step 3
Add the dry ingredient mixture from Step 1 to the wet mixture from Step 3, stirring on low speed until just combined—don’t overmix, as this keeps the cookies tender.
Divide the dough in half, wrap each portion tightly in plastic wrap, and refrigerate for at least 6 hours or overnight.
This chilling time allows the dough to rest and makes it much easier to roll out and cut without sticking.
Step 5: Roll, Cut, and Bake Cookies
- chilled dough from Step 4
Preheat your oven to 325°F.
Remove one portion of dough from the refrigerator and let it soften slightly for 10-15 minutes at room temperature for easier rolling.
On a lightly floured surface, roll the dough to about 1/4-inch thickness and cut out bunny shapes using a bunny-shaped cookie cutter.
Place cut-outs on parchment-lined baking sheets, spacing them about 1 inch apart.
Bake at 325°F for 8-10 minutes until the edges are just set but the centers are still slightly soft—the cookies will continue to cook slightly as they cool.
Let them cool on the baking sheet for 10 minutes, then transfer to a wire rack.
Step 6: Prepare Colored Royal Icing
- 2 egg whites
- 1.25 cups powdered sugar
- 0.5 tsp cream of tartar
- gel food coloring
In a clean, grease-free bowl, combine egg whites, powdered sugar (sifted to remove lumps), and cream of tartar.
Beat on medium speed for about 4 minutes until stiff peaks form—the icing should be glossy, smooth, and hold its shape when piped.
Divide the icing into separate bowls, add your desired gel food coloring to each bowl, and stir well.
I prefer AmeriColor gel coloring because it gives vibrant, consistent bunny ear colors without thinning the icing like liquid food coloring would.
Step 7: Decorate and Finish Cookies
- cooled cookies from Step 5
- colored icing from Step 6
Using a piping bag fitted with a small tip, pipe the colored icing onto the cooled cookies from Step 5, focusing on the bunny ears and face.
Let the icing set for 2-3 hours at room temperature.
Once the base colors have set, use black icing (or a black gel coloring in a fresh batch of white icing) to carefully pipe small eyes and a nose on each bunny.
Allow another 2-3 hours for all icing to fully cure and harden before serving or storing.
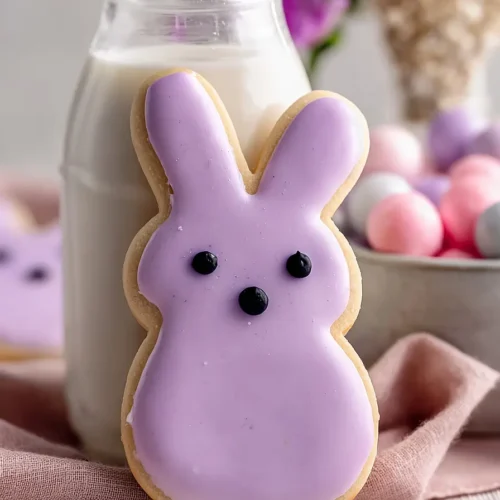
Decorated Easter Bunny Cookies
Ingredients
For the cookies::
- 5.25 cups flour (I always use King Arthur all-purpose flour)
- 2 tsp baking powder
- 0.75 tsp salt
- 1.5 cups butter (I like Kerrygold unsalted butter for this)
- 2.25 cups sugar
- 4 eggs (room temperature, about 70°F)
- 2.5 tsp vanilla
For the icing::
- 2 egg whites
- 1.25 cups powdered sugar (sifted to remove lumps)
- 0.5 tsp cream of tartar
- gel food coloring (I prefer AmeriColor for vibrant bunny ears)
Instructions
- Measure out all ingredients and sift together the flour, baking powder, and salt in a medium bowl, whisking gently to combine and aerate. Set the dry mixture aside. Remove eggs from the refrigerator to bring to room temperature (about 70°F) while you prepare the butter and sugar—this helps them incorporate smoothly into the dough and creates a better texture in the final cookies.
- In a large mixing bowl, combine the softened butter and sugar, beating on medium speed for 3-4 minutes until the mixture is pale, fluffy, and nearly doubled in volume. This creaming process incorporates air and creates a lighter, more tender cookie. I like to use Kerrygold unsalted butter because it has a richer flavor that really comes through in the final cookie.
- Add room temperature eggs one at a time to the creamed butter and sugar, beating well after each addition. Pour in the vanilla extract and mix until fully combined. The mixture should look smooth and slightly lighter. If it looks separated or curdled, don't worry—it will come together when you add the dry ingredients.
- Add the dry ingredient mixture from Step 1 to the wet mixture from Step 3, stirring on low speed until just combined—don't overmix, as this keeps the cookies tender. Divide the dough in half, wrap each portion tightly in plastic wrap, and refrigerate for at least 6 hours or overnight. This chilling time allows the dough to rest and makes it much easier to roll out and cut without sticking.
- Preheat your oven to 325°F. Remove one portion of dough from the refrigerator and let it soften slightly for 10-15 minutes at room temperature for easier rolling. On a lightly floured surface, roll the dough to about 1/4-inch thickness and cut out bunny shapes using a bunny-shaped cookie cutter. Place cut-outs on parchment-lined baking sheets, spacing them about 1 inch apart. Bake at 325°F for 8-10 minutes until the edges are just set but the centers are still slightly soft—the cookies will continue to cook slightly as they cool. Let them cool on the baking sheet for 10 minutes, then transfer to a wire rack.
- In a clean, grease-free bowl, combine egg whites, powdered sugar (sifted to remove lumps), and cream of tartar. Beat on medium speed for about 4 minutes until stiff peaks form—the icing should be glossy, smooth, and hold its shape when piped. Divide the icing into separate bowls, add your desired gel food coloring to each bowl, and stir well. I prefer AmeriColor gel coloring because it gives vibrant, consistent bunny ear colors without thinning the icing like liquid food coloring would.
- Using a piping bag fitted with a small tip, pipe the colored icing onto the cooled cookies from Step 5, focusing on the bunny ears and face. Let the icing set for 2-3 hours at room temperature. Once the base colors have set, use black icing (or a black gel coloring in a fresh batch of white icing) to carefully pipe small eyes and a nose on each bunny. Allow another 2-3 hours for all icing to fully cure and harden before serving or storing.
