I didn’t try my first cheesecake until I was in college, and honestly, I was scared to make one myself for years after that. The whole water bath thing, the cracking, the springform pan that might leak—it all felt like too much work for something that could go wrong so easily.
That’s why these little cheesecake jars changed everything for me. No baking, no water bath, no stress about whether the top will crack. You just layer everything in a jar and stick it in the fridge. My kids can even help without me worrying they’ll mess something up. Plus, when you’re done, everyone gets their own personal serving, which means no fighting over who got the bigger slice.
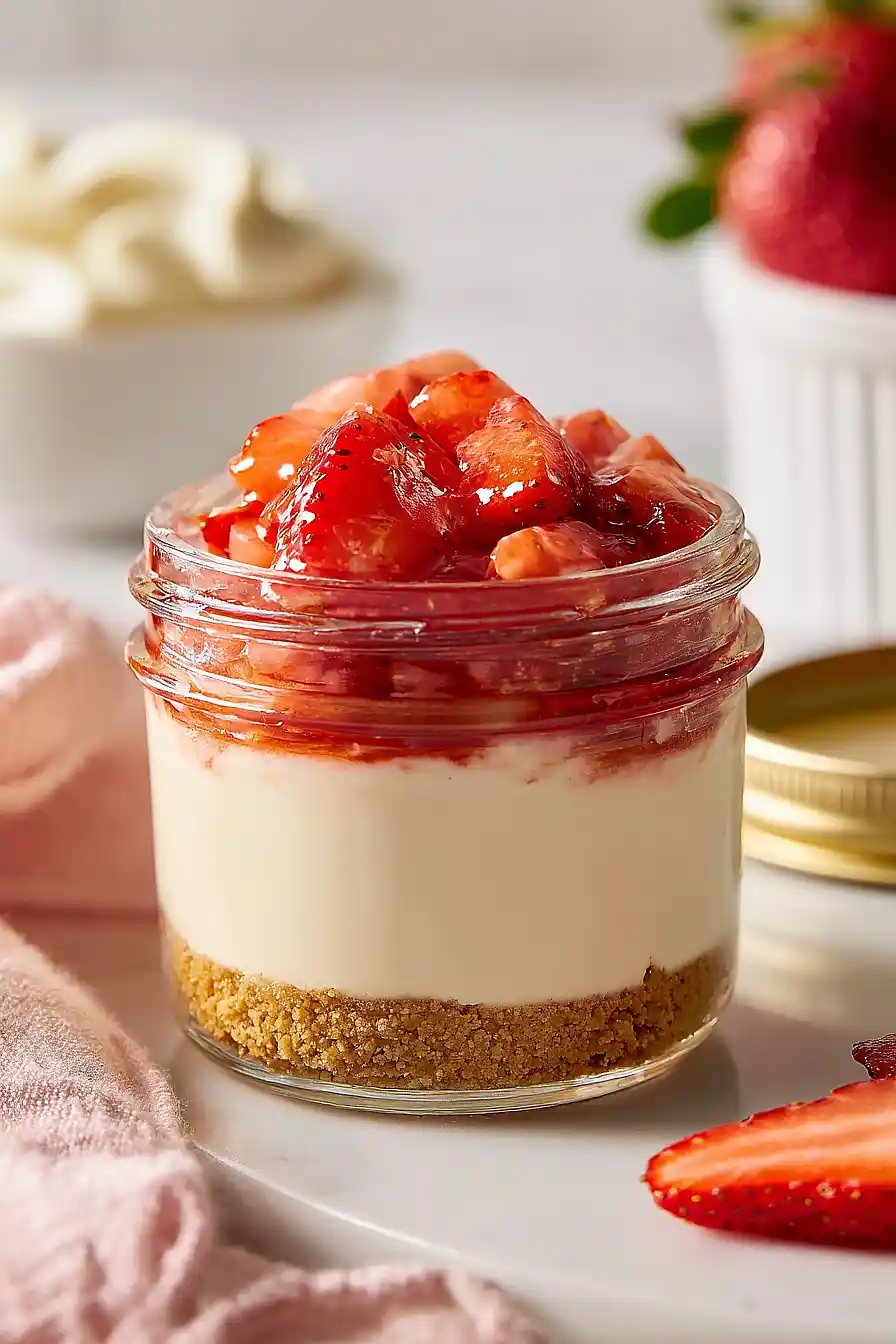
Why You’ll Love This Strawberry Cheesecake in a Jar
- No-bake dessert – You don’t need to turn on the oven for this one, making it perfect for hot summer days or when you want a quick sweet treat without the fuss.
- Ready in under 30 minutes – From start to finish, you’ll have these adorable desserts assembled and ready to chill in no time.
- Perfect portion control – Each jar is a single serving, so you can enjoy your cheesecake without worrying about cutting slices or overeating.
- Great for entertaining – These cute individual jars are easy to serve at parties, potlucks, or picnics, and they look impressive with minimal effort.
- Simple ingredients – You probably have most of these pantry staples on hand already, and fresh strawberries are the only special addition you’ll need.
What Kind of Cream Cheese Should I Use?
For this recipe, regular full-fat cream cheese is your best bet – it gives you that classic, rich cheesecake flavor and texture we’re all after. Make sure to use block-style cream cheese rather than the spreadable kind that comes in a tub, since those varieties have added ingredients that can make your cheesecake filling too soft. The most important thing is to let your cream cheese sit out at room temperature for about 30 minutes before you start mixing – this makes it way easier to blend smoothly without lumps. If you forget to take it out ahead of time, you can cut it into small cubes to help it soften faster, or give it a few seconds in the microwave on low power.
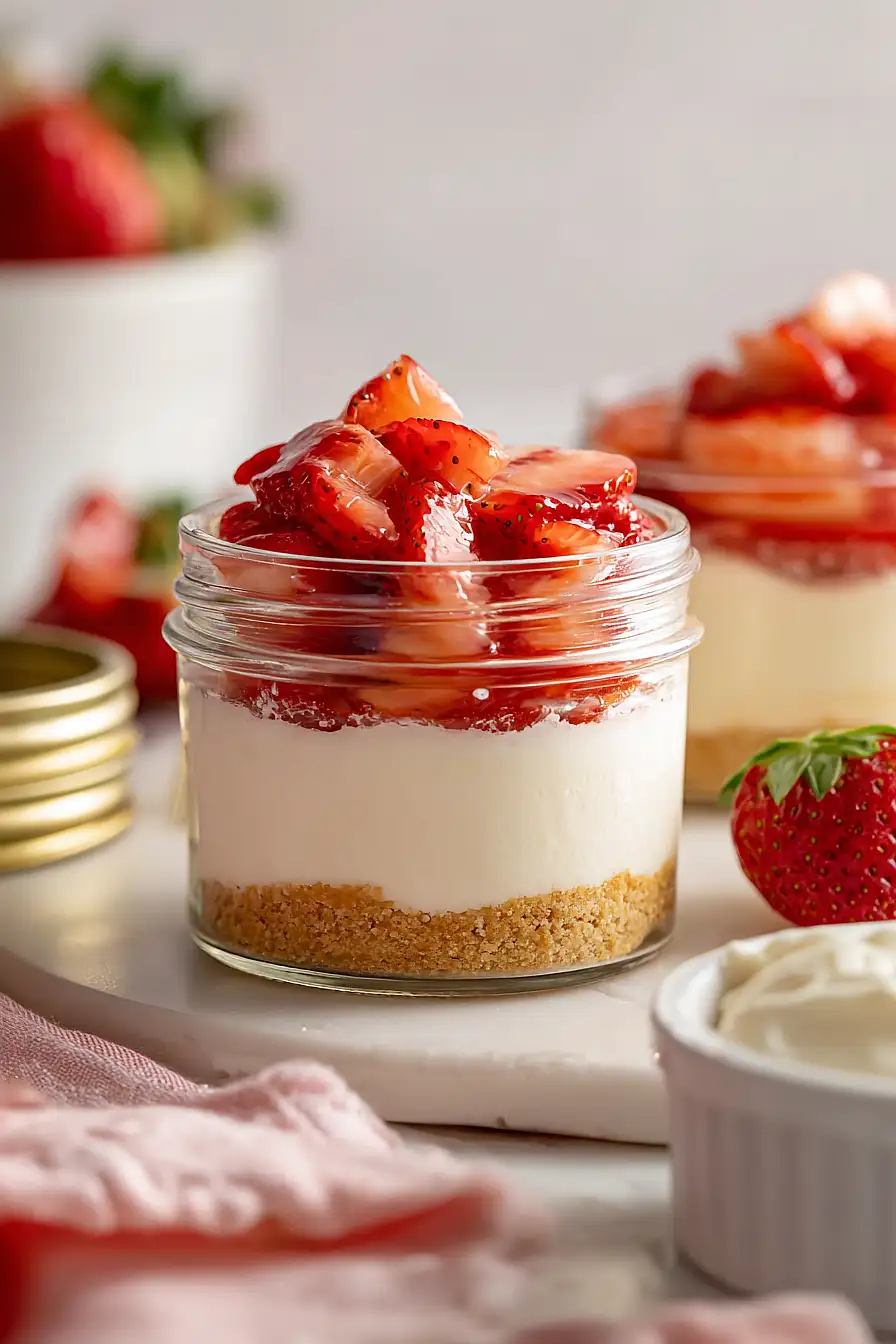
Options for Substitutions
This recipe is pretty straightforward, but here are some swaps you can make if needed:
- Graham cracker crumbs: You can use vanilla wafer cookies, digestive biscuits, or even Oreo cookies (without the filling) crushed up. Just pulse them in a food processor until you get fine crumbs.
- Cream cheese: Make sure to use full-fat cream cheese for the best texture and flavor. Low-fat versions can make the filling runny and less rich. This is one ingredient you don’t want to substitute.
- Frozen whipped topping: If you prefer, you can make your own whipped cream by beating 1 cup of heavy cream with 2 tablespoons of powdered sugar until stiff peaks form. It’ll taste even better than the frozen stuff.
- Fresh strawberries: When strawberries aren’t in season, try fresh blueberries, raspberries, or sliced peaches instead. You can also use thawed frozen berries, but drain them well so they don’t make the cheesecake watery.
- Butter: Melted coconut oil works as a substitute for the crust, though it’ll give a slight coconut flavor.
Watch Out for These Mistakes While Making
The biggest mistake when making cheesecake in a jar is not pressing the graham cracker crust firmly enough into the bottom, which can cause it to crumble and mix with the filling when you dig in – use the back of a spoon or a small glass to really pack it down.
Make sure your cream cheese is fully softened to room temperature before mixing, otherwise you’ll end up with lumps in your cheesecake filling that no amount of stirring will fix.
To keep your strawberries from releasing too much juice and making the top watery, add them just before serving rather than hours ahead of time, and pat them dry with a paper towel first.
Finally, give these jars at least 2-3 hours in the fridge to set properly – the filling needs time to firm up so it doesn’t run when you scoop into it.
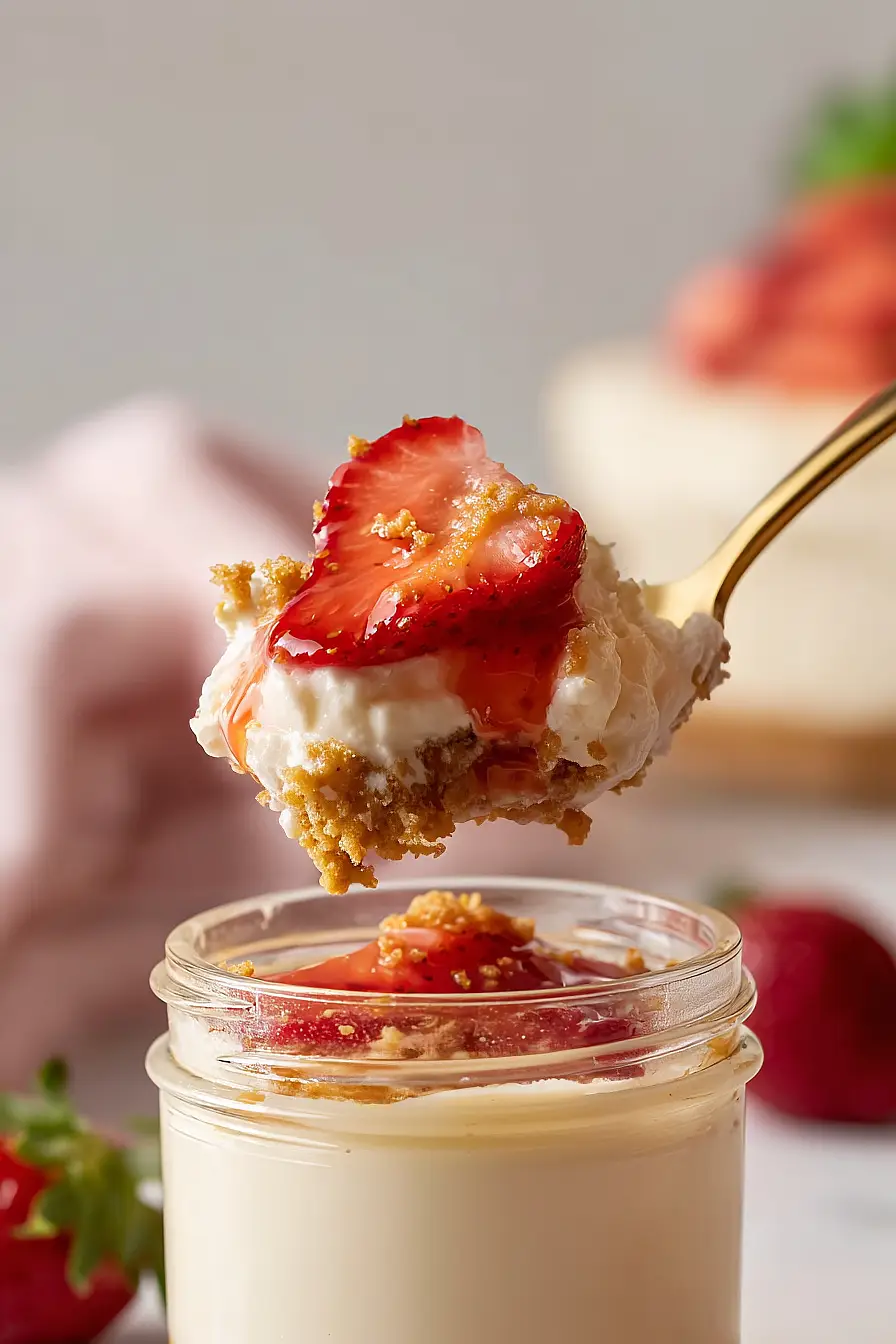
What to Serve With Strawberry Cheesecake in a Jar?
These little cheesecake jars are pretty much a complete dessert on their own, but they’re perfect for serving at parties or picnics since everyone gets their own portion. If you want to make it feel more like a full dessert spread, set out some extra fresh berries like blueberries, raspberries, or blackberries on the side so people can add more fruit if they want. A cup of coffee or hot tea pairs really nicely with the creamy, sweet flavors, and if you’re serving these at a summer gathering, some sparkling lemonade or iced tea would be great too. You could also put out some extra graham crackers for anyone who wants a little more crunch with each bite.
Storage Instructions
Refrigerate: These little jars of cheesecake heaven need to stay cold. Keep them in the fridge with the lids on for up to 3 days. They’re actually perfect for making the night before a party or picnic since they need time to set up anyway.
Make Ahead: You can definitely prep these a day or two in advance. I like to make the cheesecake layer and graham cracker base ahead, then add the fresh strawberries right before serving so they don’t get mushy. Just keep everything covered in the fridge until you’re ready to assemble.
Freeze: If you want to freeze these, skip adding the strawberries first. The cheesecake part freezes well for up to a month in the sealed jars. Just thaw in the fridge overnight and top with fresh strawberries when you’re ready to eat.
| Preparation Time | 20-30 minutes |
| Cooking Time | 0 minutes |
| Total Time | 20-30 minutes |
| Level of Difficulty | Easy |
| Servings | 4 jars |
Estimated Nutrition
Estimated nutrition for the whole recipe (without optional ingredients):
- Calories: 2000-2200
- Protein: 12-16 g
- Fat: 130-145 g
- Carbohydrates: 200-220 g
Ingredients
For the crust:
- 1.5 cups graham cracker crumbs
- 0.5 cup butter, melted and cooled
- 2 tablespoons sugar
- 1/4 teaspoon salt
For the filling:
- 8 oz cream cheese, room temperature
- 8 oz whipped topping
- 0.67 cup sugar
- 1.5 teaspoons vanilla extract
- 1/2 teaspoon lemon juice
For the assembly:
- 4 canning jars (8 oz wide-mouth)
- 8 large strawberries, sliced
Step 1: Prepare the Graham Cracker Crust Base
- 1.5 cups graham cracker crumbs
- 0.5 cup butter, melted and cooled
- 2 tablespoons sugar
- 1/4 teaspoon salt
- 4 canning jars
In a medium bowl, combine the graham cracker crumbs, melted and cooled butter, 2 tablespoons sugar, and salt, mixing until the texture resembles wet sand.
This mixture should hold together when pressed.
Divide the crust mixture evenly among the four 8 oz canning jars, pressing it firmly into the bottom of each jar to create a compact, even layer.
I like to use the bottom of a measuring cup to press down the crust—it gives you a nice, flat surface and takes just a few seconds per jar.
Step 2: Make the Creamy Cheesecake Filling
- 8 oz cream cheese, room temperature
- 8 oz whipped topping
- 0.67 cup sugar
- 1.5 teaspoons vanilla extract
- 0.5 teaspoon lemon juice
In a clean bowl, combine the room-temperature cream cheese and whipped topping, stirring until smooth and well blended.
Add the 0.67 cup sugar, vanilla extract, and lemon juice, mixing until the filling is light, fluffy, and free of lumps.
The lemon juice adds a subtle brightness that balances the richness of the cream cheese without being noticeable as a lemon flavor.
Step 3: Layer and Assemble the Jars
- creamy cheesecake filling from Step 2
- 8 large strawberries, sliced
Spoon the creamy cheesecake filling from Step 2 evenly over the graham cracker crust in each jar, dividing it among all four jars and smoothing the top of each layer.
Distribute the sliced strawberries evenly on top of the filling in each jar.
Cover the jars with lids and refrigerate for at least 2 hours before serving to allow the flavors to meld and the texture to set properly.
Classic Strawberry Cheesecake in a Jar
Ingredients
For the crust
- 1.5 cups graham cracker crumbs
- 0.5 cup butter, melted and cooled
- 2 tablespoons sugar
- 1/4 teaspoon salt
For the filling
- 8 oz cream cheese, room temperature
- 8 oz whipped topping
- 0.67 cup sugar
- 1.5 teaspoons vanilla extract
- 1/2 teaspoon lemon juice
For the assembly
- 4 canning jars (8 oz wide-mouth)
- 8 large strawberries, sliced
Instructions
- In a medium bowl, combine the graham cracker crumbs, melted and cooled butter, 2 tablespoons sugar, and salt, mixing until the texture resembles wet sand. This mixture should hold together when pressed. Divide the crust mixture evenly among the four 8 oz canning jars, pressing it firmly into the bottom of each jar to create a compact, even layer. I like to use the bottom of a measuring cup to press down the crust—it gives you a nice, flat surface and takes just a few seconds per jar.
- In a clean bowl, combine the room-temperature cream cheese and whipped topping, stirring until smooth and well blended. Add the 0.67 cup sugar, vanilla extract, and lemon juice, mixing until the filling is light, fluffy, and free of lumps. The lemon juice adds a subtle brightness that balances the richness of the cream cheese without being noticeable as a lemon flavor.
- Spoon the creamy cheesecake filling from Step 2 evenly over the graham cracker crust in each jar, dividing it among all four jars and smoothing the top of each layer. Distribute the sliced strawberries evenly on top of the filling in each jar. Cover the jars with lids and refrigerate for at least 2 hours before serving to allow the flavors to meld and the texture to set properly.

