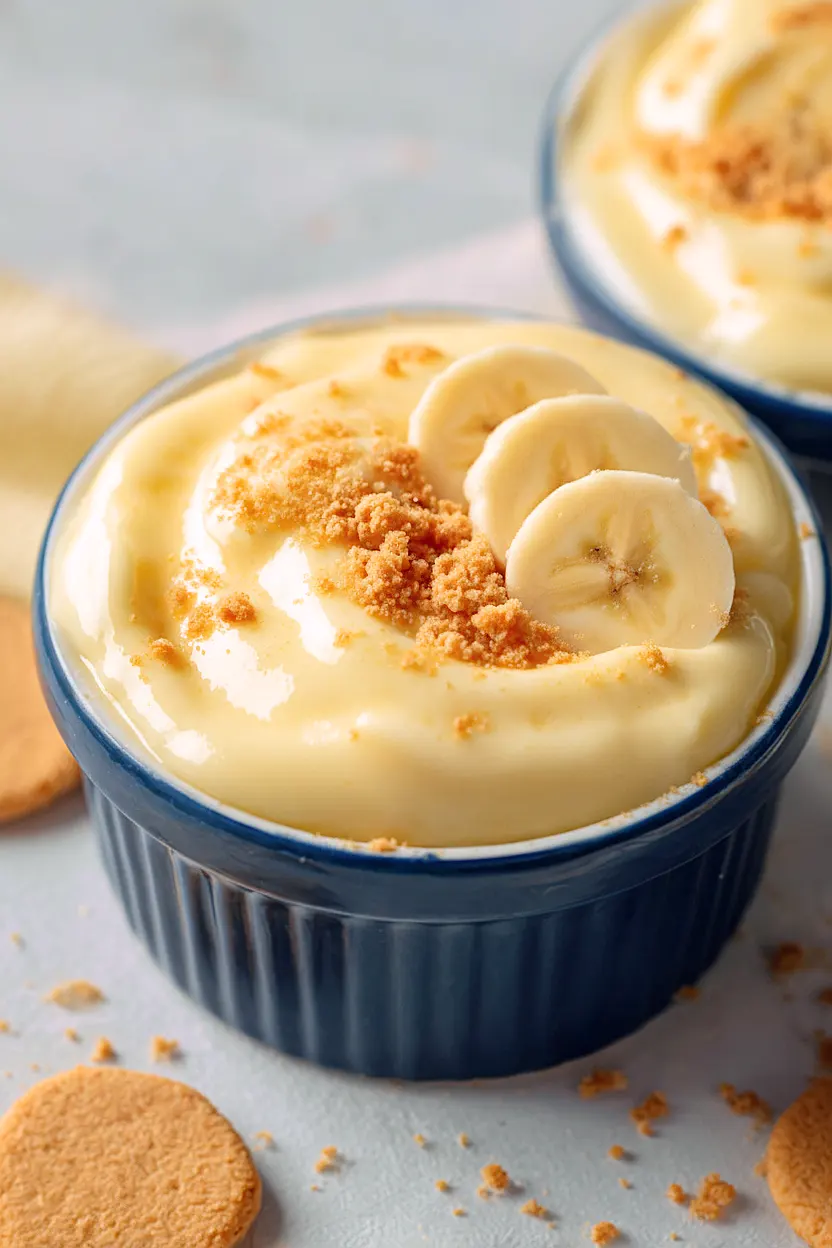
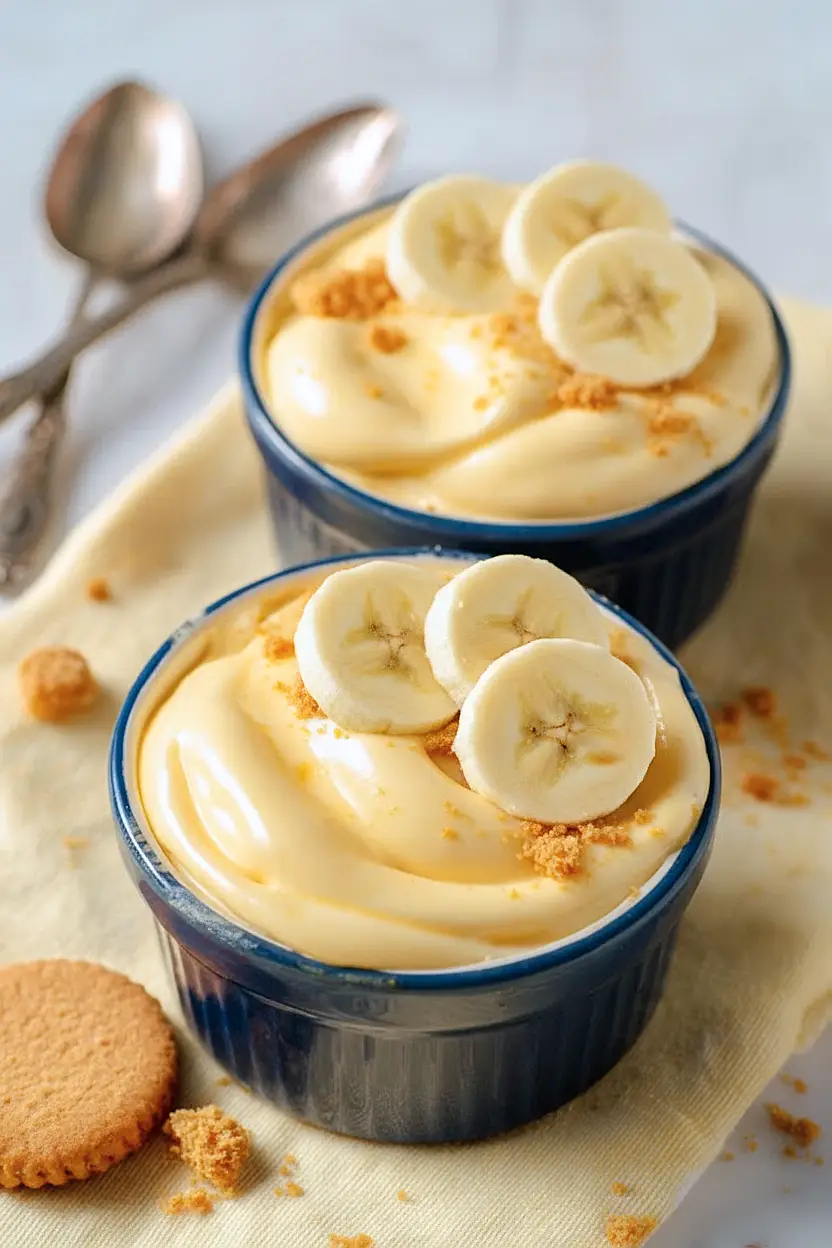
Here is my favorite banana pudding for two, with creamy vanilla pudding, fresh banana slices, and crispy vanilla wafers that make the perfect small-batch dessert when you don’t want a whole pan sitting around.
This recipe is great for weeknight cravings or when you just want something sweet without all the leftovers. I love that you can make it in under 30 minutes and have just enough for two people to enjoy without any guilt about wasting food.
Why You’ll Love This Banana Pudding
- Perfect portion size – This recipe makes just enough for two people, so you can enjoy fresh banana pudding without tons of leftovers sitting in your fridge.
- Quick and easy – Ready in under an hour with minimal effort, this dessert comes together faster than a trip to the store for pre-made pudding.
- Simple ingredients – You only need four basic ingredients that you might already have on hand, making this an accessible treat any day of the week.
- Classic comfort dessert – The creamy pudding, sweet bananas, and crunchy vanilla wafers create those nostalgic flavors we all love without the fuss of making a huge batch.
What Kind of Bananas Should I Use?
For banana pudding, you’ll want bananas that are ripe but still firm enough to hold their shape when sliced. Look for bananas that are mostly yellow with just a few brown spots – they’ll be sweet and flavorful without being mushy. If your bananas are still a bit green, just let them sit on the counter for a day or two until they ripen up. Avoid using overripe bananas with lots of brown spots, as they tend to get too soft and can make your pudding watery. And here’s a tip: slice your bananas right before assembling the pudding to prevent them from browning too quickly.

Options for Substitutions
This simple dessert is easy to customize based on what you have in your pantry:
- Vanilla pudding: You can use instant or cook-and-serve pudding – both work great. If you’re out of vanilla, try banana cream or even cheesecake pudding for a fun twist.
- Milk: Whole milk gives the creamiest results, but 2% or even almond milk will work. Just keep in mind that lower fat milks might make slightly thinner pudding.
- Bananas: Fresh bananas are really important for this recipe – they’re what makes it banana pudding! Make sure they’re ripe but not overly brown for the best flavor and texture.
- Vanilla wafers: No vanilla wafers? Try graham crackers broken into pieces, shortbread cookies, or even ladyfingers. They’ll all give you that nice cookie layer, just with slightly different flavors.
Watch Out for These Mistakes While Cooking
The biggest mistake people make with banana pudding is slicing the bananas too early, which causes them to turn brown and look unappetizing – cut them right before assembling to keep them fresh and yellow.
Another common error is not whisking the pudding mix long enough, so make sure you really mix it for the full 2 minutes until it’s completely smooth with no lumps.
Skipping the 5-minute resting period after mixing might seem like no big deal, but this time allows the pudding to thicken properly, giving you better layers that won’t run together.
Finally, resist the urge to dig in right away – the 20-30 minute chill time lets the wafers soften just enough to create that perfect texture between crunchy and soft.
What to Serve With Banana Pudding?
Banana pudding is pretty much a dessert that stands on its own, but I love serving it after a good Southern-style meal with fried chicken, mac and cheese, and collard greens. If you’re looking for something to go alongside it at a dessert table, fresh berries or a simple fruit salad work great since they cut through the richness of the pudding. You could also brew some coffee or sweet tea to sip on while you enjoy each creamy, vanilla wafer-filled bite. Sometimes I’ll even crumble an extra vanilla wafer or two on top right before serving for some added crunch.
Storage Instructions
Refrigerate: Keep your banana pudding covered in the fridge for up to 2 days. The wafers will get softer as time goes on, which some people actually prefer! Just know that the bananas might brown a bit after the first day, but it still tastes fine.
Best Enjoyed: This dessert is really at its best within the first few hours of making it, when the wafers still have a little texture and the bananas are fresh. If you want to prep ahead, you can make the pudding the night before and assemble it with the bananas and wafers right before serving.
| Preparation Time | 10-15 minutes |
| Cooking Time | 0 minutes |
| Total Time | 40-50 minutes |
| Level of Difficulty | Easy |
| Servings | 2 servings |
Estimated Nutrition
Estimated nutrition for the whole recipe (without optional ingredients):
- Calories: 500-600
- Protein: 8-10 g
- Fat: 8-12 g
- Carbohydrates: 100-120 g
Ingredients
- 2/3 package vanilla pudding mix (I use Jell-O Cook & Serve for the best texture)
- 1.75 cups milk (whole milk makes it extra creamy and rich)
- 2 tablespoons light cream or half-and-half
- 1.5 bananas (sliced into 1/4-inch rounds)
- 14 vanilla wafers (I prefer Nilla Wafers because they stay crisp longer)
- 1/4 teaspoon vanilla extract
Step 1: Prepare the Pudding Base
- 2/3 package vanilla pudding mix
- 1.75 cups whole milk
- 2 tablespoons light cream or half-and-half
- 1/4 teaspoon vanilla extract
- 1.5 bananas, sliced into 1/4-inch rounds
In a medium saucepan, whisk together the vanilla pudding mix and whole milk, stirring constantly for about 2 minutes until the mixture is smooth and well combined with no lumps.
Remove from heat and stir in the light cream and vanilla extract, which will add richness and deepen the flavor.
Let the pudding sit undisturbed for 5 minutes to thicken slightly—this is crucial for achieving the proper texture that holds its shape when layered.
While the pudding rests, slice your bananas into 1/4-inch rounds; I find that uniform thickness helps them distribute evenly through each layer and prevents mushy spots.
Step 2: Layer the Pudding in Ramekins
- pudding mixture from Step 1
- 14 vanilla wafers
- banana slices from Step 1
Divide your assembly between two ramekins or small bowls.
Start with a thin layer of 3-4 vanilla wafers on the bottom of each ramekin, breaking them as needed to fit.
Spoon about one-third of the pudding mixture from Step 1 over the wafers, then arrange half of your banana slices evenly over the pudding layer.
Top with another layer of 3-4 wafers, then add another third of the pudding.
Finish by arranging the remaining banana slices on top, followed by the last of the pudding, and crown each ramekin with two vanilla wafers standing upright or laid flat.
I like to reserve my best-looking wafers for the top since they’re what you see first—it makes the presentation feel more special for a dessert for two.
Step 3: Chill and Serve
Cover the ramekins lightly with plastic wrap or leave them uncovered, then refrigerate for 20-30 minutes before serving.
This chilling time allows the flavors to meld and the wafers to soften slightly while still maintaining some of their crisp texture against the creamy pudding.
Serve cold directly from the ramekin for an elegant individual dessert presentation.
Classic Banana Pudding for Two
Ingredients
- 2/3 package vanilla pudding mix (I use Jell-O Cook & Serve for the best texture)
- 1.75 cups milk (whole milk makes it extra creamy and rich)
- 2 tablespoons light cream or half-and-half
- 1.5 bananas (sliced into 1/4-inch rounds)
- 14 vanilla wafers (I prefer Nilla Wafers because they stay crisp longer)
- 1/4 teaspoon vanilla extract
Instructions
- In a medium saucepan, whisk together the vanilla pudding mix and whole milk, stirring constantly for about 2 minutes until the mixture is smooth and well combined with no lumps. Remove from heat and stir in the light cream and vanilla extract, which will add richness and deepen the flavor. Let the pudding sit undisturbed for 5 minutes to thicken slightly—this is crucial for achieving the proper texture that holds its shape when layered. While the pudding rests, slice your bananas into 1/4-inch rounds; I find that uniform thickness helps them distribute evenly through each layer and prevents mushy spots.
- Divide your assembly between two ramekins or small bowls. Start with a thin layer of 3-4 vanilla wafers on the bottom of each ramekin, breaking them as needed to fit. Spoon about one-third of the pudding mixture from Step 1 over the wafers, then arrange half of your banana slices evenly over the pudding layer. Top with another layer of 3-4 wafers, then add another third of the pudding. Finish by arranging the remaining banana slices on top, followed by the last of the pudding, and crown each ramekin with two vanilla wafers standing upright or laid flat. I like to reserve my best-looking wafers for the top since they're what you see first—it makes the presentation feel more special for a dessert for two.
- Cover the ramekins lightly with plastic wrap or leave them uncovered, then refrigerate for 20-30 minutes before serving. This chilling time allows the flavors to meld and the wafers to soften slightly while still maintaining some of their crisp texture against the creamy pudding. Serve cold directly from the ramekin for an elegant individual dessert presentation.
