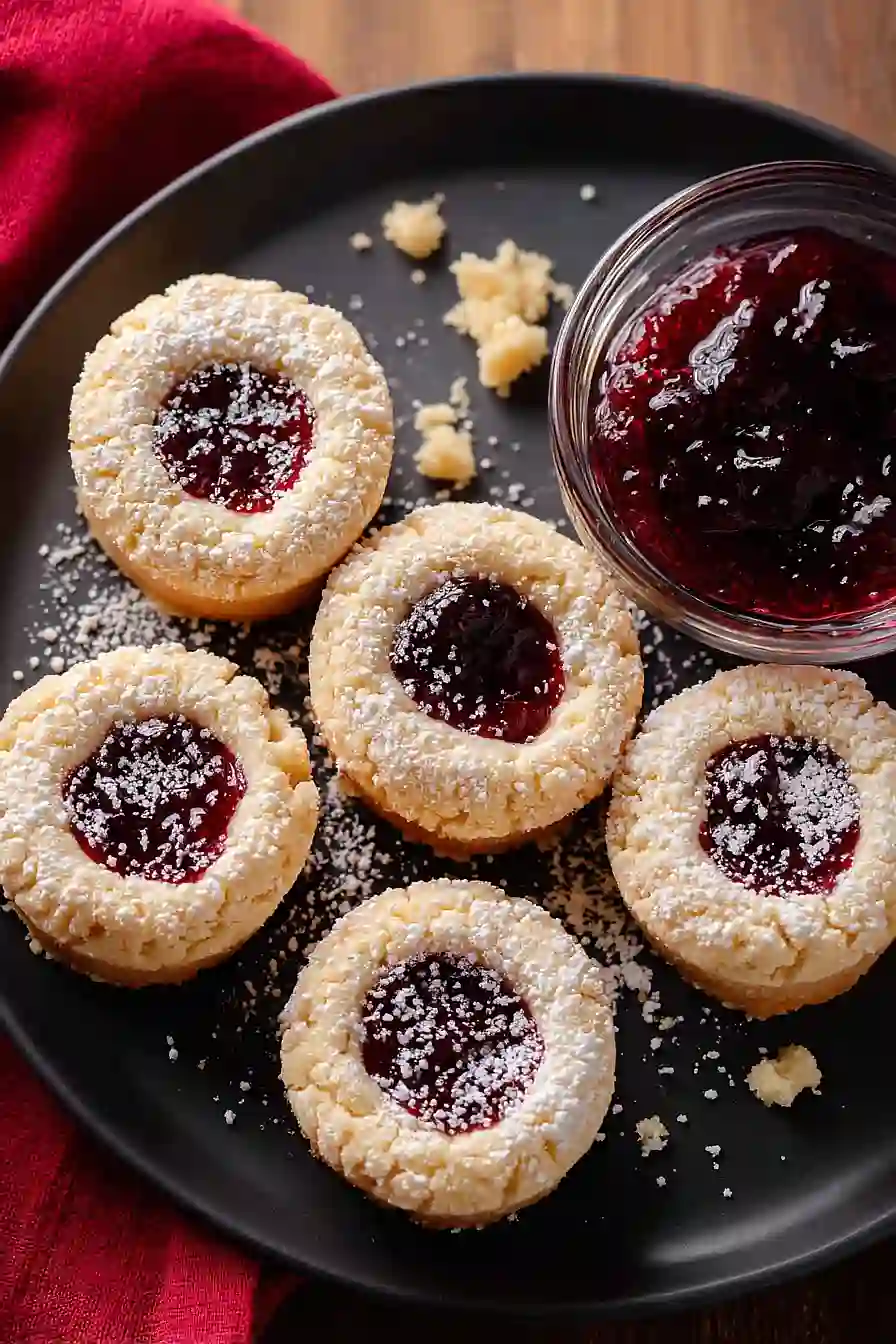
If you ask me, thumbprint cookies baked in a muffin tin are one of those ideas that makes you wonder why you didn’t think of it sooner.
These buttery cookies come together with simple ingredients you probably have on hand. The muffin tin gives them a nice shape and makes filling them with jam so much easier than wrestling with a traditional thumbprint.
They’re made with softened butter and a touch of vanilla, then pressed into the tin wells to create perfect little cups. A spoonful of your favorite jam goes right in the center once they’re done baking.
They’re great for holiday cookie trays or just having around the house when you need something sweet with your afternoon coffee.
Why You’ll Love These Muffin Tin Thumbprint Cookies
- Quick and easy – These cookies come together in just 30 minutes, making them perfect for last-minute baking or when you need a sweet treat fast.
- Simple ingredients – You probably already have butter, sugar, eggs, and flour in your pantry, so no special shopping trip required.
- Fun to customize – Use any jam or jelly you like – strawberry, raspberry, apricot – to make them your own every time you bake.
- Clever muffin tin method – Baking them in a muffin tin keeps the cookies perfectly shaped and makes the whole process easier than traditional thumbprint cookies.
- Great for sharing – These pretty cookies are perfect for cookie exchanges, holiday parties, or just treating your family to something homemade and delicious.
What Kind of Jam Should I Use?
The beauty of thumbprint cookies is that you can use pretty much any jam or jelly you have in your fridge. Classic choices like strawberry, raspberry, or apricot jam are always crowd-pleasers, but feel free to get creative with fig preserves, blueberry jam, or even lemon curd. If you’re making these for a party or cookie exchange, consider using two or three different flavors to give people variety. Just make sure your jam isn’t too runny – a thicker consistency will hold up better in the cookies and won’t overflow during baking.

Options for Substitutions
These cookies are pretty forgiving when it comes to swapping ingredients:
- Butter: You can use margarine or shortening in place of butter, though the flavor will be a bit different. If using margarine, make sure it’s the stick kind, not the spreadable tub variety.
- Sugar: White sugar works best here, but you can try half white and half brown sugar for a slightly deeper flavor. Just keep in mind the cookies might spread a bit more.
- Eggs: If you’re out of eggs, try using 2 tablespoons of milk mixed with 1 tablespoon of cornstarch per egg. The texture will be slightly different but still tasty.
- All purpose flour: This is one ingredient you’ll want to stick with – all purpose flour gives these cookies their structure. Swapping for other flours might make them too crumbly or dense.
- Jam or jelly: Any flavor works great here! Strawberry, raspberry, apricot, or even lemon curd are all good choices. You can also use Nutella or peanut butter for a different twist.
Watch Out for These Mistakes While Baking
The biggest mistake with thumbprint cookies is pressing the indentation too shallow, which causes the jam to overflow during baking – make sure to press down firmly with your thumb or the back of a small spoon to create a deep enough well.
Another common error is adding the jam before baking, which can lead to burnt or overly caramelized filling, so it’s best to bake the cookies for about 10 minutes first, then add the jam and return them to the oven for the remaining time.
To prevent your cookies from sticking to the muffin tin, lightly grease each cup or use a non-stick spray, and let them cool for at least 5 minutes before attempting to remove them.
If your dough seems too soft to work with, pop it in the fridge for 15-20 minutes to firm up, making it much easier to shape and handle.
What to Serve With Muffin Tin Thumbprint Cookies?
These little cookies are perfect alongside a hot cup of coffee or tea for an afternoon snack or dessert. I love setting them out on a platter with other bite-sized treats like brownies or lemon bars when I’m having people over, since they’re easy to grab and eat while chatting. They also make a great addition to a cookie exchange or holiday cookie platter because you can make them with different jam flavors to add variety. For a cozy evening treat, serve them with a glass of cold milk or hot cocoa, and they’re especially good when they’re still slightly warm from the oven.
Storage Instructions
Store: Keep your thumbprint cookies in an airtight container at room temperature for up to 5 days. I like to put a piece of parchment paper between layers so the jam doesn’t stick to other cookies. They stay soft and delicious for the whole week!
Freeze: These cookies freeze really well for up to 3 months. You can freeze them already baked with the jam, or freeze the dough before adding the jam and bake them fresh later. Just make sure they’re completely cool before freezing, and layer them with parchment paper in a freezer-safe container.
Thaw: If you froze baked cookies, just let them sit at room temperature for about 30 minutes and they’re ready to eat. For frozen dough, thaw it in the fridge overnight, then bring to room temperature before baking as usual.
| Preparation Time | 15-20 minutes |
| Cooking Time | 15 minutes |
| Total Time | 30-35 minutes |
| Level of Difficulty | Easy |
Estimated Nutrition
Estimated nutrition for the whole recipe (without optional ingredients):
- Calories: 2500-2700
- Protein: 25-30 g
- Fat: 125-135 g
- Carbohydrates: 330-350 g
Ingredients
- 1/2 cup sugar
- 1.75 cups all-purpose flour (I like King Arthur all-purpose flour)
- 2 eggs (room temperature)
- 1 cup softened butter (room temperature, about 70°F)
- 1 tsp vanilla extract (I use Madagascar vanilla for best flavor)
- 1 tsp baking powder (for tender, fluffy cookies)
- 1/2 cup jam (any flavor like raspberry or apricot works well)
Step 1: Prepare Your Mise en Place and Equipment
- Muffin tin
Start by greasing your muffin tin thoroughly with butter or non-stick spray, ensuring all the cups and the top surface are well-coated—this prevents sticking and makes removal easier.
While the oven preheats to 350°F, measure out all your ingredients and place them within arm’s reach.
Having everything ready before you start mixing ensures a smooth workflow and prevents the dough from sitting too long before baking.
Step 2: Mix the Butter, Sugar, and Wet Ingredients
- 1 cup softened butter
- 1/2 cup sugar
- 2 eggs
- 1 tsp vanilla extract
In a large bowl, cream together the softened butter and sugar using an electric mixer on medium speed for 2-3 minutes until the mixture is light, fluffy, and pale in color.
This aeration is crucial for tender cookies.
Add the eggs one at a time, beating well after each addition, then add the vanilla extract and mix until fully combined.
The mixture should look smooth and well-incorporated before moving to the next step.
Step 3: Combine Dry Ingredients and Create the Dough
- wet ingredient mixture from Step 2
- 1.75 cups all-purpose flour
- 1 tsp baking powder
In a separate bowl, whisk together the flour and baking powder to distribute the leavening agent evenly throughout.
Add the dry ingredient mixture to the wet ingredients from Step 2, stirring gently with a spatula until just combined—don’t overmix, as this can make the cookies tough.
The dough should come together smoothly without any visible streaks of flour.
I like to fold rather than stir at this point to keep the dough tender and light.
Step 4: Shape Dough and Create Indentations
- dough from Step 3
- greased muffin tin from Step 1
Using your hands or a small ice cream scoop, portion the dough into roughly 1-inch balls and place one in each greased muffin cup.
Gently press each ball down slightly so it sits flat on the bottom.
Using your thumb or the back of a small spoon, press down into the center of each dough ball to create a deep thumbprint—this indent is where the jam will sit, so make it substantial but don’t press all the way through to the bottom.
Step 5: Fill with Jam and Bake
- 1/2 cup jam
- prepared dough in muffin tin from Step 4
Spoon approximately 1 tablespoon of jam into the center indent of each cookie, filling it generously but not overflowing—the jam will soften as it bakes and fill the thumbprint perfectly.
Place the muffin tin into the preheated 350°F oven and bake for 13-15 minutes until the edges are golden brown and the cookies are set but still slightly tender in the centers.
The jam should be bubbly and the dough should be cooked through but not dry.
Step 6: Cool and Serve
Remove the muffin tin from the oven and let the cookies cool in the tin for about 5-10 minutes—this allows them to firm up enough to remove cleanly without breaking.
Once slightly cooled, gently run a knife around the edges and pop each cookie out onto a wire rack to cool completely.
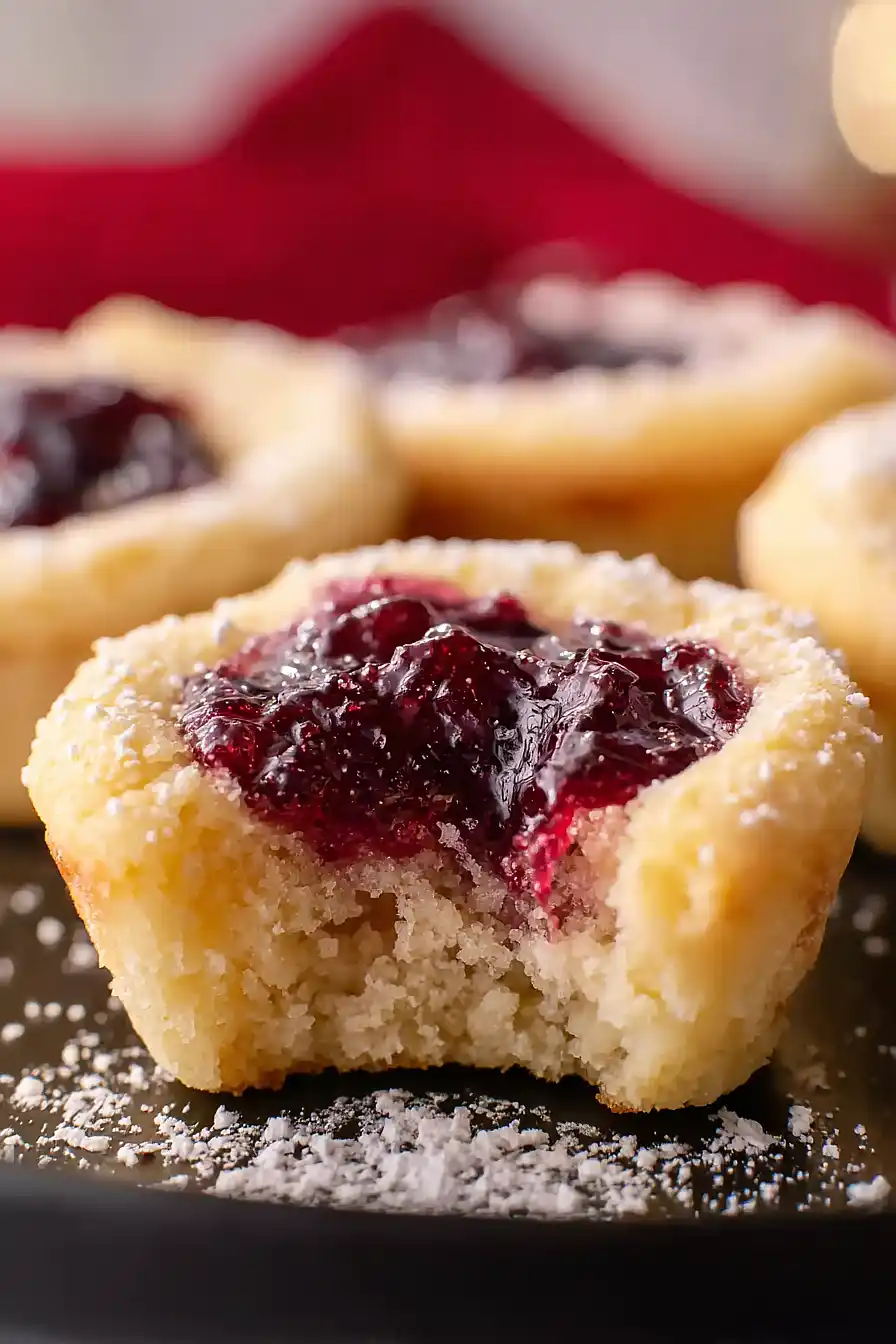
Once fully cooled, you can dust them lightly with powdered sugar if desired for a decorative touch, though they’re delicious served plain.
Best Muffin Tin Thumbprint Cookies
Ingredients
- 1/2 cup sugar
- 1.75 cups all-purpose flour (I like King Arthur all-purpose flour)
- 2 eggs (room temperature)
- 1 cup softened butter (room temperature, about 70°F)
- 1 tsp vanilla extract (I use Madagascar vanilla for best flavor)
- 1 tsp baking powder (for tender, fluffy cookies)
- 1/2 cup jam (any flavor like raspberry or apricot works well)
Instructions
- Start by greasing your muffin tin thoroughly with butter or non-stick spray, ensuring all the cups and the top surface are well-coated—this prevents sticking and makes removal easier. While the oven preheats to 350°F, measure out all your ingredients and place them within arm's reach. Having everything ready before you start mixing ensures a smooth workflow and prevents the dough from sitting too long before baking.
- In a large bowl, cream together the softened butter and sugar using an electric mixer on medium speed for 2-3 minutes until the mixture is light, fluffy, and pale in color. This aeration is crucial for tender cookies. Add the eggs one at a time, beating well after each addition, then add the vanilla extract and mix until fully combined. The mixture should look smooth and well-incorporated before moving to the next step.
- In a separate bowl, whisk together the flour and baking powder to distribute the leavening agent evenly throughout. Add the dry ingredient mixture to the wet ingredients from Step 2, stirring gently with a spatula until just combined—don't overmix, as this can make the cookies tough. The dough should come together smoothly without any visible streaks of flour. I like to fold rather than stir at this point to keep the dough tender and light.
- Using your hands or a small ice cream scoop, portion the dough into roughly 1-inch balls and place one in each greased muffin cup. Gently press each ball down slightly so it sits flat on the bottom. Using your thumb or the back of a small spoon, press down into the center of each dough ball to create a deep thumbprint—this indent is where the jam will sit, so make it substantial but don't press all the way through to the bottom.
- Spoon approximately 1 tablespoon of jam into the center indent of each cookie, filling it generously but not overflowing—the jam will soften as it bakes and fill the thumbprint perfectly. Place the muffin tin into the preheated 350°F oven and bake for 13-15 minutes until the edges are golden brown and the cookies are set but still slightly tender in the centers. The jam should be bubbly and the dough should be cooked through but not dry.
- Remove the muffin tin from the oven and let the cookies cool in the tin for about 5-10 minutes—this allows them to firm up enough to remove cleanly without breaking. Once slightly cooled, gently run a knife around the edges and pop each cookie out onto a wire rack to cool completely. Once fully cooled, you can dust them lightly with powdered sugar if desired for a decorative touch, though they're delicious served plain.
