Finding a cookie recipe that’s both vegan-friendly and actually tastes good can be surprisingly tough. Let’s face it, most vegan desserts either require a million ingredients you’ve never heard of, or they end up tasting like cardboard—and nobody wants that.
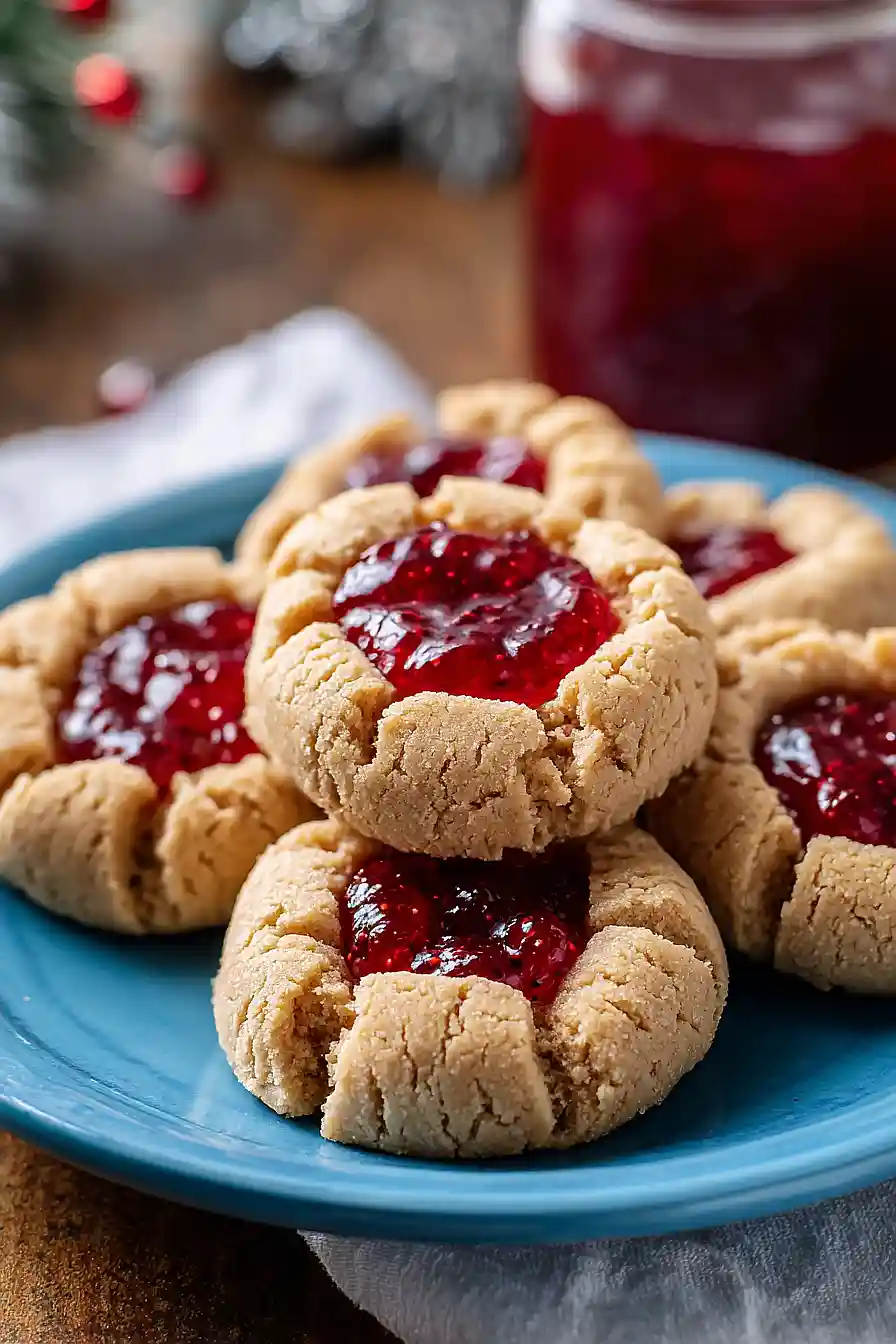
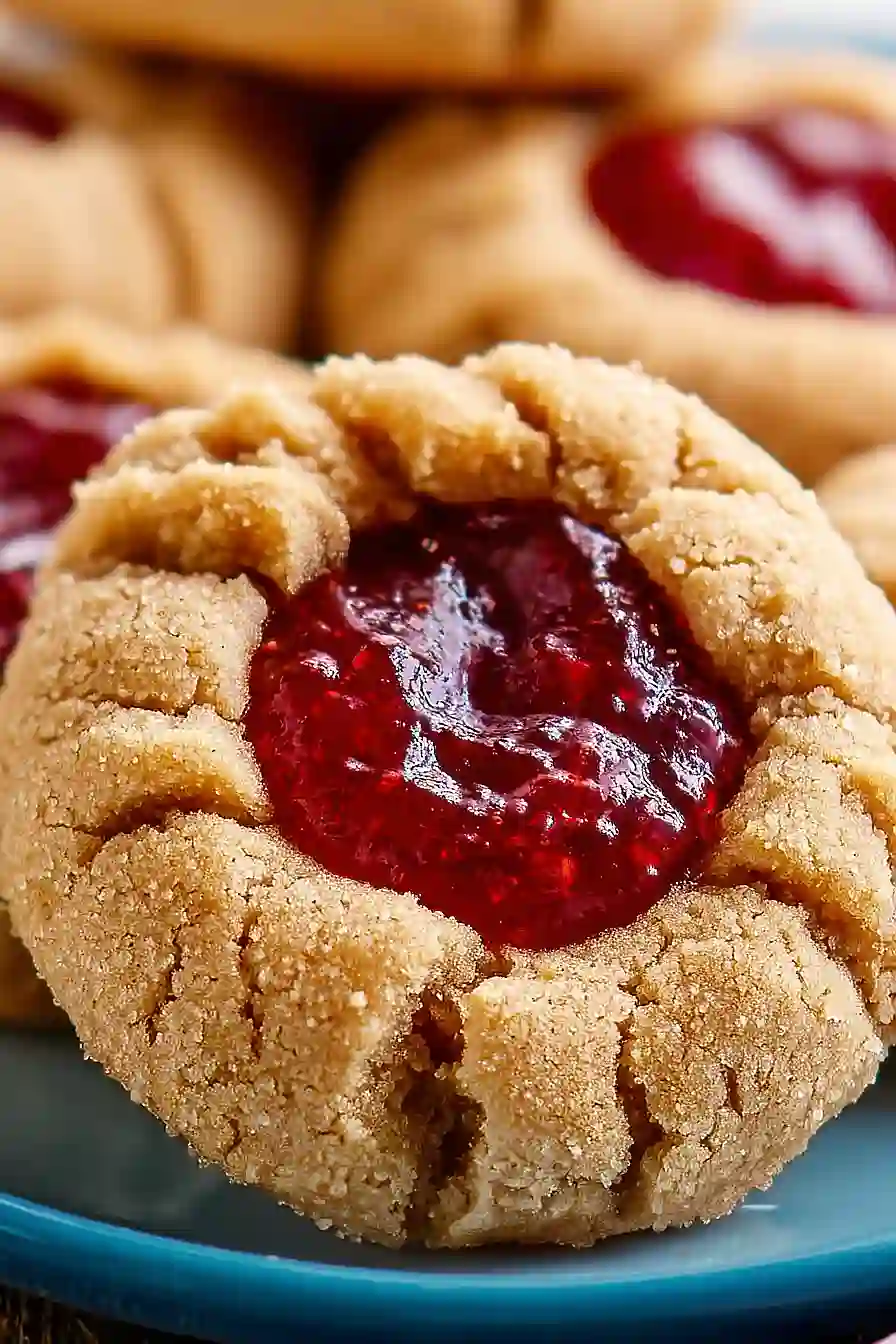
That’s why I’m so excited to share these vegan peanut butter and jelly thumbprint cookies with you. They use simple ingredients you probably already have in your pantry, they come together in under an hour, and they taste just like the classic PB&J cookies you remember—no one will even know they’re vegan.
Why You’ll Love These Vegan Peanut Butter and Jelly Thumbprint Cookies
- Quick and easy – These cookies come together in under 30 minutes, making them perfect for when you need a sweet treat fast or want to bake with kids on a busy afternoon.
- Vegan-friendly – Using plant-based butter and no eggs, these cookies are completely vegan while still delivering that classic peanut butter and jelly flavor everyone loves.
- Simple pantry ingredients – You probably already have most of these ingredients in your kitchen, so no special shopping trip required.
- Nostalgic flavor combination – The classic PB&J pairing in cookie form brings back childhood memories while giving you a fun twist on the traditional sandwich.
- Customizable – Use your favorite fruit preserves to make these cookies your own, whether you prefer strawberry, grape, raspberry, or something more adventurous.
What Kind of Peanut Butter Should I Use?
You can use either chunky or smooth peanut butter for these cookies, and both will turn out great. If you like a bit of texture and crunch in your cookies, go with chunky, but smooth peanut butter will give you a more uniform, classic cookie texture. I’d recommend sticking with regular peanut butter rather than the natural kind that separates, since natural peanut butter can be a bit oily and might affect how your dough comes together. Also, make sure you’re using sweetened peanut butter rather than unsweetened, as it helps balance the flavors in the cookie dough.

Options for Substitutions
These cookies are pretty forgiving when it comes to swaps, so here are some options if you need to make changes:
- Peanut butter: If you have a peanut allergy or just want to switch things up, almond butter, cashew butter, or sunflower seed butter all work great. Just keep in mind that sunflower seed butter might turn your cookies slightly green (it’s a natural reaction and totally safe to eat).
- Vegan butter: You can use coconut oil in place of vegan butter, but use it in solid form (not melted). The cookies might spread a bit more, so chill the dough for 30 minutes before baking.
- All purpose flour: A 1:1 gluten-free flour blend works well here if you need to make these gluten-free. Regular whole wheat flour can also be used, though it will make the cookies a bit denser.
- Granulated sugar: Coconut sugar or brown sugar can replace granulated sugar, but your cookies will have a slightly deeper flavor and darker color.
- Fruit preserves: Any jam or jelly you like works here – strawberry, raspberry, grape, or even chocolate hazelnut spread if you want to skip the fruit altogether.
Watch Out for These Mistakes While Baking
The biggest mistake when making thumbprint cookies is pressing the indent too shallow, which causes the jam to spill over during baking – press your thumb down firmly to create a deep well that can hold at least a teaspoon of preserves.
Another common error is adding the jam before baking, which can lead to burnt or caramelized preserves, so always wait until the cookies come out of the oven and are still warm to fill them.
If your dough feels too crumbly and won’t hold together, add the water one tablespoon at a time until it just comes together, but be careful not to overmix or add too much liquid, which can make the cookies spread too much.
To keep your cookies from sticking, make sure to let them cool on the baking sheet for at least 5 minutes before transferring them to a cooling rack, as moving them too soon can cause the bottoms to break apart.
What to Serve With Peanut Butter and Jelly Thumbprint Cookies?
These cookies are perfect on their own, but they really shine when paired with a cold glass of your favorite plant-based milk – oat milk or almond milk both work great for dunking. If you’re putting together a dessert spread, consider adding some fresh fruit like sliced strawberries or banana coins that echo the fruity jam flavors in the cookies. For a cozy afternoon snack, serve them alongside a hot cup of coffee or tea, which balances out the sweetness nicely. You could also pack a few in a lunchbox with some apple slices and pretzels for a fun midday treat that hits all the right notes.
Storage Instructions
Store: These thumbprint cookies stay fresh in an airtight container at room temperature for up to 5 days. Just make sure the jam is fully set before stacking them, or use parchment paper between layers to keep them from sticking together.
Freeze: You can freeze these cookies for up to 3 months in a freezer-safe container. I actually like to freeze the dough balls before adding the jam, then bake them fresh whenever I want warm cookies. If you freeze them already baked, just let them thaw at room temperature for about 30 minutes.
| Preparation Time | 10-15 minutes |
| Cooking Time | 15 minutes |
| Total Time | 25-30 minutes |
| Level of Difficulty | Easy |
Estimated Nutrition
Estimated nutrition for the whole recipe (without optional ingredients):
- Calories: 2900-3200
- Protein: 40-48 g
- Fat: 165-185 g
- Carbohydrates: 340-370 g
Ingredients
For the dough:
- 1/2 cup vegan butter (such as Earth Balance)
- 2 tsp vanilla extract (for best flavor)
- 6 tbsp water
- 2/3 cup sugar
- 3/4 cup peanut butter (I use Jif creamy)
- 2 cups all-purpose flour (I prefer King Arthur)
For the filling:
- 1/2 cup fruit preserves (any flavor you prefer)
Step 1: Prepare Your Workspace and Preheat
Preheat your oven to 350°F and line a baking sheet with parchment paper.
This gives the oven time to reach the proper temperature while you prepare the dough, ensuring even baking throughout.
Having your workspace ready before mixing prevents the dough from sitting too long at room temperature.
Step 2: Create the Wet Ingredient Base
- 1/2 cup vegan butter
- 3/4 cup peanut butter
- 2/3 cup sugar
- 2 tsp vanilla extract
In a large mixing bowl, combine the vegan butter, peanut butter, sugar, and vanilla extract.
Using an electric mixer or vigorous hand mixing, beat these ingredients together for 1-2 minutes until the mixture is light, fluffy, and well-combined.
The creaming action incorporates air into the fat, which helps the cookies achieve a tender crumb.
I find that creaming these ingredients thoroughly makes a noticeable difference in cookie texture—don’t rush this step.
Step 3: Incorporate Flour and Water to Form Dough
- 6 tbsp water
- 2 cups all-purpose flour
- wet ingredient mixture from Step 2
Add the water and flour to the wet ingredient mixture from Step 2, mixing on low speed or by hand until just combined.
The dough should come together into a cohesive ball with no visible dry flour streaks.
Be careful not to overmix, as this can develop gluten and create tough cookies.
I like to use the water here as it helps bind the vegan butter and peanut butter together more smoothly than relying on those ingredients alone.
Step 4: Shape and Create Thumbprints
- dough from Step 3
- 1/2 cup fruit preserves
Working with the dough from Step 3, spoon rounded tablespoon-sized portions onto your prepared baking sheet, spacing them about 2 inches apart.
Using your thumb or the back of a small spoon, gently press an indent into the center of each cookie—make the thumbprint deep enough to hold the preserves without overflow, but not so deep that it goes through to the bottom.
Divide the fruit preserves evenly among all the cookies, spooning about 1/2 teaspoon into each indent.
This is the moment to make the presentation beautiful; take your time with placement.
Step 5: Bake and Cool
Place the baking sheet in your preheated 350°F oven and bake for 15 minutes, until the cookies are set but still slightly soft to the touch and the edges are just beginning to turn golden.
The cookies will continue to firm up as they cool.
Remove from the oven and allow the cookies to cool on the baking sheet for at least 30 minutes before serving.
This cooling time allows the structure to set fully, preventing the preserves from running and helping the cookies hold their shape when you pick them up.
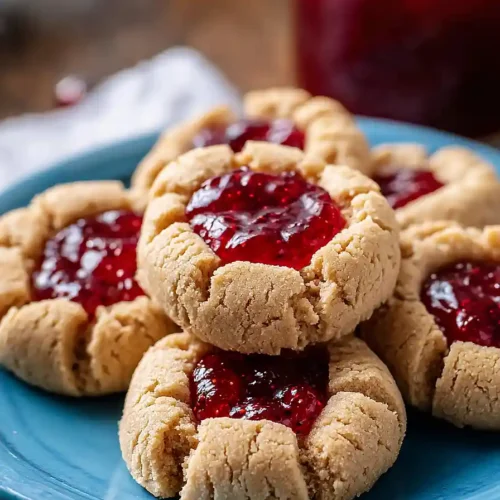
Vegan Peanut Butter and Jelly Thumbprint Cookies
Ingredients
For the dough:
- 1/2 cup vegan butter (such as Earth Balance)
- 2 tsp vanilla extract (for best flavor)
- 6 tbsp water
- 2/3 cup sugar
- 3/4 cup peanut butter (I use Jif creamy)
- 2 cups all-purpose flour (I prefer King Arthur)
For the filling:
- 1/2 cup fruit preserves (any flavor you prefer)
Instructions
- Preheat your oven to 350°F and line a baking sheet with parchment paper. This gives the oven time to reach the proper temperature while you prepare the dough, ensuring even baking throughout. Having your workspace ready before mixing prevents the dough from sitting too long at room temperature.
- In a large mixing bowl, combine the vegan butter, peanut butter, sugar, and vanilla extract. Using an electric mixer or vigorous hand mixing, beat these ingredients together for 1-2 minutes until the mixture is light, fluffy, and well-combined. The creaming action incorporates air into the fat, which helps the cookies achieve a tender crumb. I find that creaming these ingredients thoroughly makes a noticeable difference in cookie texture—don't rush this step.
- Add the water and flour to the wet ingredient mixture from Step 2, mixing on low speed or by hand until just combined. The dough should come together into a cohesive ball with no visible dry flour streaks. Be careful not to overmix, as this can develop gluten and create tough cookies. I like to use the water here as it helps bind the vegan butter and peanut butter together more smoothly than relying on those ingredients alone.
- Working with the dough from Step 3, spoon rounded tablespoon-sized portions onto your prepared baking sheet, spacing them about 2 inches apart. Using your thumb or the back of a small spoon, gently press an indent into the center of each cookie—make the thumbprint deep enough to hold the preserves without overflow, but not so deep that it goes through to the bottom. Divide the fruit preserves evenly among all the cookies, spooning about 1/2 teaspoon into each indent. This is the moment to make the presentation beautiful; take your time with placement.
- Place the baking sheet in your preheated 350°F oven and bake for 15 minutes, until the cookies are set but still slightly soft to the touch and the edges are just beginning to turn golden. The cookies will continue to firm up as they cool. Remove from the oven and allow the cookies to cool on the baking sheet for at least 30 minutes before serving. This cooling time allows the structure to set fully, preventing the preserves from running and helping the cookies hold their shape when you pick them up.
