Spring has always been my favorite time to bake cookies. There’s something about putting together a batch of treats that actually look like the season outside. But that doesn’t mean I want to spend hours decorating or deal with complicated royal icing recipes. I prefer cookies that come together without too much fuss.
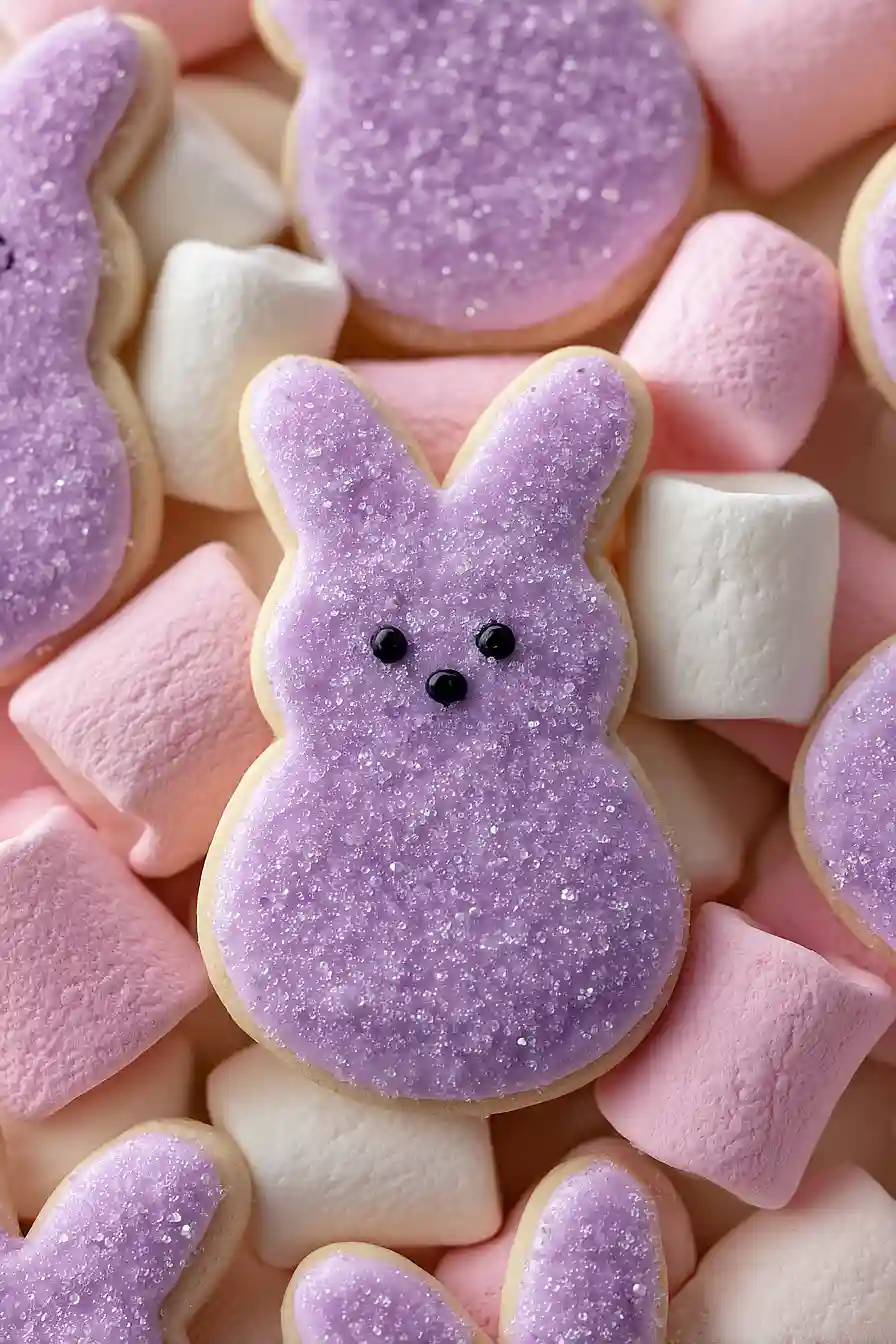
That’s why these buttercream bunny cookies are my go-to when I want something cute but simple. The cookie itself is tender and has just a hint of almond and lemon. Then you top it with an easy buttercream and a few sprinkles, and you’ve got yourself an adorable Easter treat. No piping bags required.
Want to make these with the kids? Perfect. Need something for a spring party? These work great. Honestly, they’re easy enough that I’ll whip up a batch on a regular Tuesday afternoon.

Why You’ll Love These Buttercream Bunny Cookies
- Fun for kids – These adorable bunny-shaped cookies are perfect for getting little ones involved in the kitchen, and they’ll love decorating them with sprinkles and sugar pearls.
- Quick and easy – Ready in under an hour, these cookies come together fast enough for last-minute Easter celebrations or spring gatherings.
- Soft and tender texture – The combination of butter and shortening creates cookies that are perfectly soft without being cakey, and they stay fresh for days.
- Homemade buttercream frosting – The creamy, sweet frosting is made from scratch and tastes so much better than store-bought, making these cookies feel extra special.
- Great for gifting – These cute cookies look impressive and travel well, making them ideal for Easter baskets, bake sales, or bringing to spring parties.
What Kind of Butter Should I Use?
For these buttercream bunny cookies, you’ll want to use unsalted butter so you can control the salt level in your recipe. Regular salted butter can work in a pinch, but just know your cookies might taste a bit saltier than intended. Make sure your butter is at room temperature before you start – it should be soft enough to leave an indent when you press it, but not melted or greasy. If you’re in a hurry, you can cut your butter into small cubes to help it soften faster on the counter. European-style butter with higher fat content will give you an even richer flavor, but standard American butter works perfectly fine for this recipe.
Options for Substitutions
These cookies are pretty forgiving when it comes to swaps, so here are some options if you need them:
- Shortening: If you don’t have shortening, you can replace it with an equal amount of butter. Your cookies will spread a bit more and have a slightly different texture, but they’ll still taste great.
- Almond essence: Not a fan of almond flavor? You can skip it entirely and use an extra 1/2 teaspoon of vanilla instead, or try lemon extract for a different twist.
- Corn starch: If you’re out of corn starch, just use an additional 1/2 cup of flour. The cookies might be slightly less tender, but they’ll still work fine.
- Milk: Any milk works here – whole, 2%, almond, or even oat milk. Start with 6 tablespoons and add more as needed to get the right buttercream consistency.
- Sugar pearls and sprinkles: Use whatever decorations you have on hand. Mini chocolate chips, colored sugars, or even just piped buttercream details work perfectly for decorating your bunny cookies.
Watch Out for These Mistakes While Baking
The biggest mistake when making sugar cookies is overworking the dough after adding the flour, which develops too much gluten and leads to tough, hard cookies instead of tender ones – mix just until the flour disappears.
Another common error is skipping the chilling step, but if your dough feels too soft or sticky to roll out, pop it in the fridge for 30 minutes to make cutting shapes much easier and prevent spreading in the oven.
Watch your baking time closely since these cookies should come out looking barely golden on the edges, not brown – overbaking by even a minute or two will turn them dry and crunchy rather than soft and buttery.
When decorating, make sure your cookies are completely cool before adding buttercream, otherwise the frosting will melt and slide right off, ruining all your careful bunny designs.

What to Serve With Buttercream Bunny Cookies?
These sweet bunny cookies are perfect for Easter celebrations or spring parties, and they pair beautifully with a cold glass of milk or a cup of hot chocolate for the kids. If you’re serving them at a party, set out some fresh strawberries and other spring fruits alongside the cookies for a nice balance to all that sweetness. For adults, these cookies go great with coffee or tea during an afternoon get-together. You can also arrange them on a platter with other Easter treats like chocolate eggs, jelly beans, or pastel-colored macarons to create a fun dessert spread.
Storage Instructions
Store: Once the buttercream is completely set, layer your bunny cookies between sheets of parchment paper in an airtight container. They’ll stay fresh at room temperature for up to 5 days, or you can keep them in the fridge for up to a week if your kitchen is warm.
Freeze: These cookies freeze really well! You can freeze the baked cookies before decorating for up to 3 months, or freeze the decorated cookies in a single layer until solid, then stack them with parchment paper in between. Just let them thaw at room temperature for about 30 minutes before serving.
Make Ahead: I love baking the cookies a day or two ahead and storing them in an airtight container, then decorating them the day I need them. The buttercream also holds up great if you want to decorate them a day early for a party or Easter celebration.
| Preparation Time | 30-45 minutes |
| Cooking Time | 10-15 minutes |
| Total Time | 40-60 minutes |
| Level of Difficulty | Medium |
| Servings | 36 cookies |
Estimated Nutrition
Estimated nutrition for the whole recipe (without optional ingredients):
- Calories: 7200-8000
- Protein: 33-39 g
- Fat: 345-370 g
- Carbohydrates: 1130-1230 g
Ingredients
For the cookies:
- 1 cup butter (I prefer Kerrygold unsalted butter for this)
- 1/2 cup shortening
- 1.25 cups sugar
- 1 egg (room temperature, about 70°F)
- 1.5 tsp vanilla
- 2 tsp almond essence
- 4.25 cups flour (I always use King Arthur all-purpose flour)
- 3/4 cup corn starch
- 2 tsp baking powder
- 1/2 tsp lemon zest
For the frosting:
- 1 cup butter (softened but not melted to hold its shape)
- 6 cups powdered sugar (sifted to remove lumps)
- 2 tsp vanilla essence
- 8 tbsp milk
For the decorating:
- sugar sprinkles
- black sugar pearls
Step 1: Prepare Mise en Place and Preheat Oven
- 4.25 cups flour
- 3/4 cup corn starch
- 2 tsp baking powder
- 1/2 tsp lemon zest
Preheat your oven to 325°F.
While it heats, sift together the flour, corn starch, baking powder, and lemon zest in a medium bowl—sifting removes lumps and aerates the dry ingredients for a more tender cookie.
Set this dry mixture aside.
Have your egg at room temperature (about 70°F), as this helps it incorporate smoothly into the butter mixture and creates a lighter, fluffier dough.
Step 2: Cream Butter and Shortening with Sugar
- 1 cup butter
- 1/2 cup shortening
- 1.25 cups sugar
In a large mixing bowl, beat together the butter, shortening, and sugar on medium-high speed for 3-4 minutes until the mixture is light, fluffy, and pale in color.
This creaming process incorporates air into the fat, which helps the cookies rise and creates a tender crumb.
Scrape down the bowl occasionally to ensure everything is evenly combined.
Step 3: Incorporate Wet Ingredients and Build Flavor
- 1 egg
- 1.5 tsp vanilla
- 2 tsp almond essence
Add the room-temperature egg, vanilla, and almond essence to the creamed mixture and beat on medium speed for 1-2 minutes until well combined and the mixture looks smooth.
I like using both vanilla and almond essence together—the almond adds a subtle, sophisticated flavor that makes these cookies feel special without being overpowering.
Make sure there are no streaks of egg or almond essence visible.
Step 4: Form the Dough
- dry ingredient mixture from Step 1
Add the dry ingredient mixture from Step 1 to the wet mixture in 2-3 additions, mixing on low speed after each addition just until combined.
Stop as soon as no dry streaks remain—overmixing develops gluten and can make cookies tough.
The dough should be soft and moldable but not sticky.
If it seems too soft to work with, refrigerate it for 15-20 minutes until it firms up slightly.
Step 5: Shape and Bake the Cookies
- dough from Step 4
On a lightly floured surface, roll the dough to 1/4-inch thickness (thinner cookies will be crispier, thicker ones chewier—choose based on your preference).
Cut into bunny shapes using cookie cutters and place them on parchment-lined baking sheets, spacing them about 1 inch apart.
Bake at 325°F for 9-10 minutes until the edges are set but the cookies are still pale—they should not brown significantly.
Let cookies cool on the baking sheet for 5 minutes, then transfer them to a wire rack to cool completely before decorating.
Step 6: Make the Buttercream Frosting
- 1 cup butter
- 6 cups powdered sugar
- 2 tsp vanilla essence
- 8 tbsp milk
While the cookies cool, prepare the frosting.
In a clean mixing bowl, beat the softened butter (not melted) on medium speed for 1-2 minutes until it’s creamy and light.
Gradually add the sifted powdered sugar in 3-4 additions, mixing on low speed after each addition to prevent powdered sugar from flying everywhere.
Once all the sugar is incorporated, add the vanilla essence and milk one tablespoon at a time, beating on medium speed between additions until you reach a smooth, spreadable consistency.
I always sift my powdered sugar before using it—this prevents lumpy frosting and gives you a silkier final result.
Step 7: Decorate the Bunny Cookies
- frosting from Step 6
- sugar sprinkles
- black sugar pearls
- cooled cookies from Step 5
Transfer the frosting to piping bags fitted with small round tips or star tips for textured ears.
Pipe frosting onto the cooled cookies from Step 5 to create bunny features—fill in ears, create a face, and add any other decorative details.
Press sugar sprinkles onto the frosting for color and texture, and use black sugar pearls for eyes to bring your bunnies to life.
Let the frosting set at room temperature for 30 minutes before serving or storing.

Soft Buttercream Bunny Cookies
Ingredients
For the cookies::
- 1 cup butter (I prefer Kerrygold unsalted butter for this)
- 1/2 cup shortening
- 1.25 cups sugar
- 1 egg (room temperature, about 70°F)
- 1.5 tsp vanilla
- 2 tsp almond essence
- 4.25 cups flour (I always use King Arthur all-purpose flour)
- 3/4 cup corn starch
- 2 tsp baking powder
- 1/2 tsp lemon zest
For the frosting::
- 1 cup butter (softened but not melted to hold its shape)
- 6 cups powdered sugar (sifted to remove lumps)
- 2 tsp vanilla essence
- 8 tbsp milk
For the decorating::
- sugar sprinkles
- black sugar pearls
Instructions
- Preheat your oven to 325°F. While it heats, sift together the flour, corn starch, baking powder, and lemon zest in a medium bowl—sifting removes lumps and aerates the dry ingredients for a more tender cookie. Set this dry mixture aside. Have your egg at room temperature (about 70°F), as this helps it incorporate smoothly into the butter mixture and creates a lighter, fluffier dough.
- In a large mixing bowl, beat together the butter, shortening, and sugar on medium-high speed for 3-4 minutes until the mixture is light, fluffy, and pale in color. This creaming process incorporates air into the fat, which helps the cookies rise and creates a tender crumb. Scrape down the bowl occasionally to ensure everything is evenly combined.
- Add the room-temperature egg, vanilla, and almond essence to the creamed mixture and beat on medium speed for 1-2 minutes until well combined and the mixture looks smooth. I like using both vanilla and almond essence together—the almond adds a subtle, sophisticated flavor that makes these cookies feel special without being overpowering. Make sure there are no streaks of egg or almond essence visible.
- Add the dry ingredient mixture from Step 1 to the wet mixture in 2-3 additions, mixing on low speed after each addition just until combined. Stop as soon as no dry streaks remain—overmixing develops gluten and can make cookies tough. The dough should be soft and moldable but not sticky. If it seems too soft to work with, refrigerate it for 15-20 minutes until it firms up slightly.
- On a lightly floured surface, roll the dough to 1/4-inch thickness (thinner cookies will be crispier, thicker ones chewier—choose based on your preference). Cut into bunny shapes using cookie cutters and place them on parchment-lined baking sheets, spacing them about 1 inch apart. Bake at 325°F for 9-10 minutes until the edges are set but the cookies are still pale—they should not brown significantly. Let cookies cool on the baking sheet for 5 minutes, then transfer them to a wire rack to cool completely before decorating.
- While the cookies cool, prepare the frosting. In a clean mixing bowl, beat the softened butter (not melted) on medium speed for 1-2 minutes until it's creamy and light. Gradually add the sifted powdered sugar in 3-4 additions, mixing on low speed after each addition to prevent powdered sugar from flying everywhere. Once all the sugar is incorporated, add the vanilla essence and milk one tablespoon at a time, beating on medium speed between additions until you reach a smooth, spreadable consistency. I always sift my powdered sugar before using it—this prevents lumpy frosting and gives you a silkier final result.
- Transfer the frosting to piping bags fitted with small round tips or star tips for textured ears. Pipe frosting onto the cooled cookies from Step 5 to create bunny features—fill in ears, create a face, and add any other decorative details. Press sugar sprinkles onto the frosting for color and texture, and use black sugar pearls for eyes to bring your bunnies to life. Let the frosting set at room temperature for 30 minutes before serving or storing.
