I was probably 30 before I realized you could put cereal in cookies and have it actually taste good. Growing up, my mom stuck to chocolate chip and oatmeal raisin—nothing fancy. The idea of tossing Corn Pops into cookie dough seemed like something only kids would dream up during a sugar rush.
But here’s the thing about Corn Pops cookies—they’re not just a weird kitchen experiment. The cereal adds this perfect crunch and sweet corn flavor that somehow makes total sense once you try it. Plus, they’re simple enough that even my kids can help make them without turning the kitchen into a disaster zone.
Why You’ll Love These Corn Pops Cookies
- Unique, nostalgic flavor – These cookies bring back childhood memories with that sweet corn cereal taste, but in a grown-up cookie form that’s both familiar and surprising.
- Creative use of cereal – Ground Corn Pops cereal adds a fun crunch and that signature corn flavor you remember from Saturday mornings, making these cookies stand out from typical sugar cookies.
- Simple baking technique – Despite the creative ingredients, these follow a basic cookie-making method that any home baker can handle with confidence.
- Perfect conversation starter – These cookies are guaranteed to get people talking and asking for the recipe – they’re unlike anything your friends and family have tried before.
- Ready in under an hour – From start to finish, you can have these fun cookies baked and ready to enjoy in less than an hour, making them great for last-minute treats.
What Kind of Corn Pops Should I Use?
Any regular box of Corn Pops cereal from the grocery store will work perfectly for this recipe. You don’t need to worry about getting a specific brand or variety – the classic yellow Corn Pops that most of us grew up with are exactly what you want here. When grinding them up, make sure to pulse them in a food processor or blender until they reach a fine, powdery consistency rather than leaving big chunks. If you don’t have a food processor, you can also crush them in a sealed plastic bag using a rolling pin, though it might take a bit more effort to get them fine enough.
Options for Substitutions
These unique cookies have some special ingredients, but here are some swaps you can make if needed:
- Ground Corn Pops cereal: If you can’t find Corn Pops or don’t want to grind them, try using finely ground cornmeal or polenta instead. You could also substitute with ground Rice Krispies or cornflakes for a similar crunch.
- Freeze-dried corn powder: This might be the trickiest ingredient to find. You can make your own by grinding freeze-dried corn in a food processor, or substitute with fine cornmeal mixed with a pinch of sugar for sweetness.
- Fresh corn ear: If fresh corn isn’t available, you can use frozen corn kernels (thawed and patted dry) or even canned corn (drained and rinsed well). The texture will be slightly different but still tasty.
- Unsalted butter: Salted butter works fine – just reduce the kosher salt to 1/2 teaspoon to balance the flavors.
- All-purpose flour: You can use a 1:1 gluten-free flour blend if needed, though the texture might be slightly more tender.
Watch Out for These Mistakes While Baking
The biggest mistake when making these corn pops cookies is not grinding the cereal finely enough – chunky pieces will create uneven textures and can cause the cookies to spread irregularly, so pulse your Corn Pops in a food processor until they’re a fine powder.
Another common error is adding the fresh corn kernels without properly drying them first, which can make your dough too wet and lead to flat, soggy cookies – pat the corn kernels completely dry with paper towels and consider roasting them lightly in a dry pan for extra flavor.
Don’t skip chilling your dough for at least 30 minutes before baking, as the butter needs time to firm up to prevent excessive spreading, and make sure your butter is truly at room temperature when mixing (it should give slightly when pressed but not be melted).
Finally, resist the urge to overbake these cookies – they should look slightly underdone in the center when you pull them out, as they’ll continue cooking on the hot pan and firm up as they cool.
What to Serve With Corn Pops Cookies?
These fun and crunchy cookies are perfect on their own, but they really shine when paired with a cold glass of milk for dunking. The sweet corn flavor also makes them a great match for vanilla ice cream – try crumbling them on top of a scoop for an extra special dessert. Since they have that nostalgic cereal vibe, they’re awesome for afternoon snacks with coffee or as a playful addition to a dessert platter alongside other childhood favorites like chocolate chip cookies or brownies. You could even pack them up for picnics or lunchboxes since they travel well and kids absolutely love the familiar corn cereal taste.
Storage Instructions
Keep Fresh: These corn pops cookies stay crispy and delicious in an airtight container at room temperature for up to a week. I like to layer them between sheets of parchment paper to keep them from sticking together. The corn flavor actually gets even better after a day or two!
Freeze: You can freeze these cookies for up to 3 months in a freezer-safe container or bag. They thaw quickly at room temperature in about 15 minutes, so they’re great for when unexpected guests drop by or you need a quick sweet treat.
Make Ahead: The cookie dough can be made ahead and chilled in the fridge for up to 3 days before baking. You can also scoop the dough into balls and freeze them on a baking sheet, then transfer to a bag once solid. Bake straight from frozen, just add an extra minute or two to the baking time.
| Preparation Time | 20-30 minutes |
| Cooking Time | 25-30 minutes |
| Total Time | 45-60 minutes |
| Level of Difficulty | Medium |
Estimated Nutrition
Estimated nutrition for the whole recipe (without optional ingredients):
- Calories: 2850-3000
- Protein: 25-30 g
- Fat: 155-170 g
- Carbohydrates: 355-375 g
Ingredients
For the cookie dough:
- 1 cup unsalted butter, room temperature (227 g)
- 1 1/2 cups granulated sugar (300 g)
- 1 large egg, at room temperature
- 1 1/3 cups all-purpose flour (160 g)
- 1/2 cup ground corn pops cereal (60 g)
- 2/3 cup freeze-dried corn powder (50 g)
- 3/4 tsp baking powder
- 1/4 tsp baking soda
- 1 tsp kosher salt
For the bruléed corn:
- 1 ear fresh corn
- 2 tbsp granulated sugar (26 g)
Step 1: Cream Butter, Sugar, and Egg
- 1 cup unsalted butter, room temperature (227 g)
- 1 1/2 cups granulated sugar (300 g)
- 1 large egg, at room temperature
In the bowl of a stand mixer fitted with the paddle attachment, beat the unsalted butter and granulated sugar on medium-high speed until smooth, about 1 minute.
Add the egg and continue to beat for another minute until the mixture is fully combined and creamy.
Step 2: Combine Dry Ingredients
- 1 1/3 cups all-purpose flour (160 g)
- 2/3 cup freeze-dried corn powder (50 g)
- 1/2 cup ground Corn Pops cereal (60 g)
- 3/4 tsp baking powder
- 1/4 tsp baking soda
- 1 tsp kosher salt
In a separate bowl, whisk together the all-purpose flour, freeze-dried corn powder, ground Corn Pops cereal, baking powder, baking soda, and kosher salt.
Make sure the mixture is well incorporated and free of lumps.
Step 3: Make Dough and Chill
- mixture from Step 1 (butter, sugar, egg, creamed)
- mixture from Step 2 (dry ingredients combined)
Add the dry ingredient mixture to the butter, sugar, and egg mixture in the stand mixer.
Mix on low speed until the dough just comes together, about 30 seconds; avoid overmixing.
Using a standard ice cream scoop, portion the dough into even balls and arrange them on a baking sheet.
Wrap the sheet tightly in plastic wrap and refrigerate for 30 minutes to firm up the dough.
I find that chilling the dough really helps the cookies hold their shape and get a nice texture.
Step 4: Prepare and Brulée the Corn
- 1 ear fresh corn
- 2 tbsp granulated sugar (26 g)
While the dough is chilling, start on the corn topping.
Remove the husk from the ear of corn and place it in a steamer basket over medium heat.
Steam for 10 minutes, then remove the corn and let it cool until safe to handle.
Cut panels (slabs) of kernels from the cob so you have at least 12 pieces.
Sprinkle each panel of corn with the 2 tablespoons granulated sugar.
Use a kitchen torch to caramelize the sugar on the corn pieces until a crisp, golden crust forms.
For best flavor and texture, try to keep the corn panels somewhat intact rather than breaking them into individual kernels.
Step 5: Assemble and Bake Cookies
- chilled cookie dough from Step 3
- bruléed corn panels from Step 4
Preheat your oven to 350°F (175°C) and line a baking sheet with parchment paper.
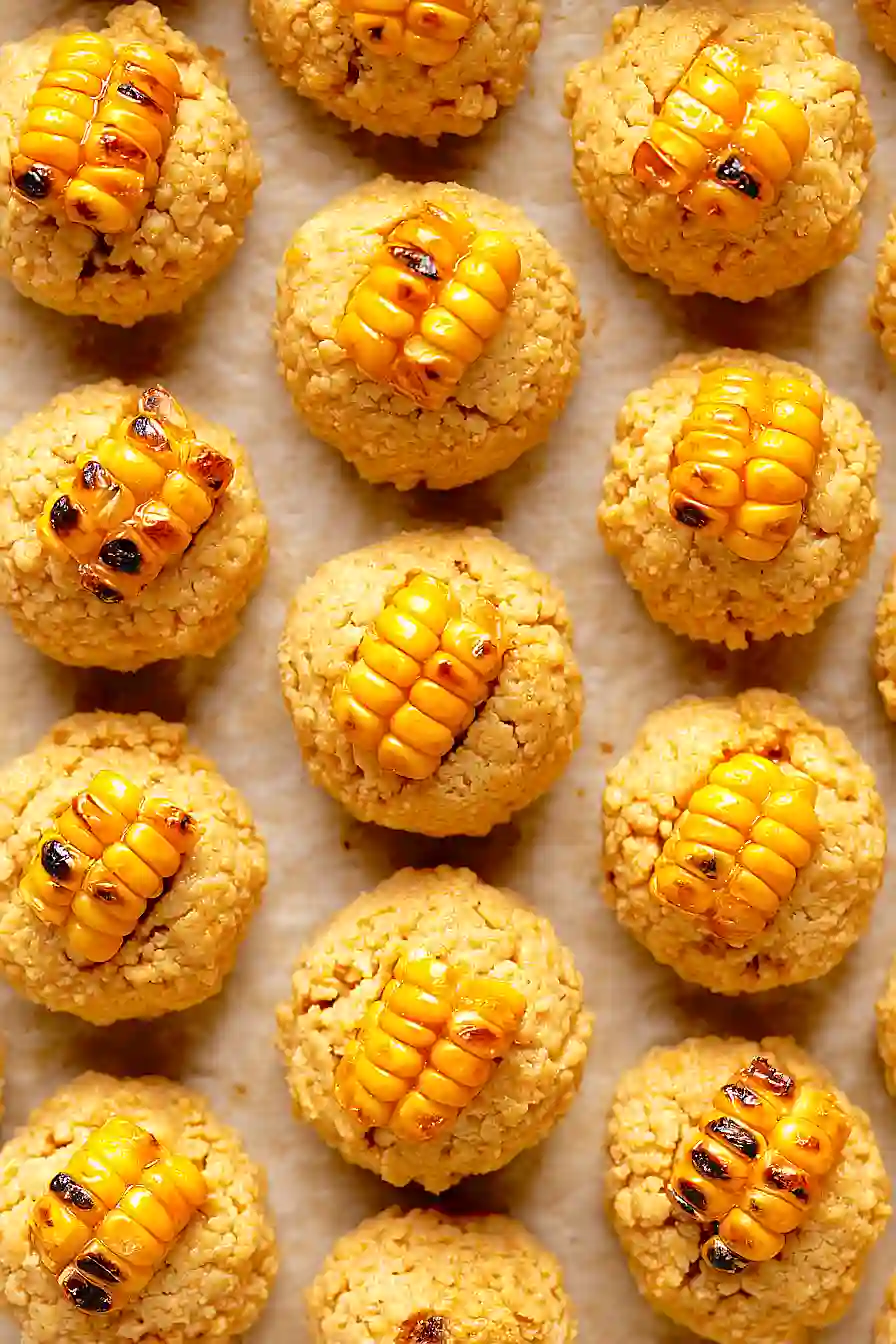
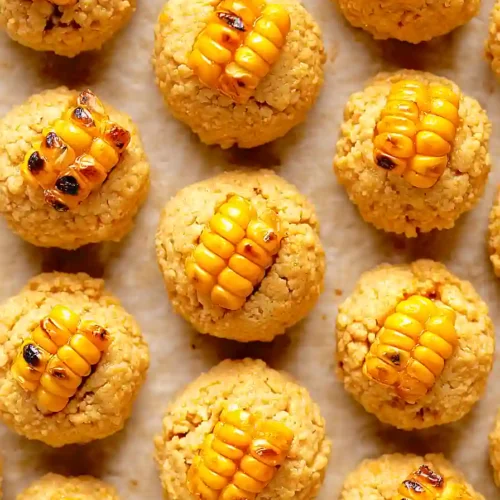
Take the chilled dough balls from Step 3 and arrange them on the prepared baking sheet, spacing them at least 3 inches apart.
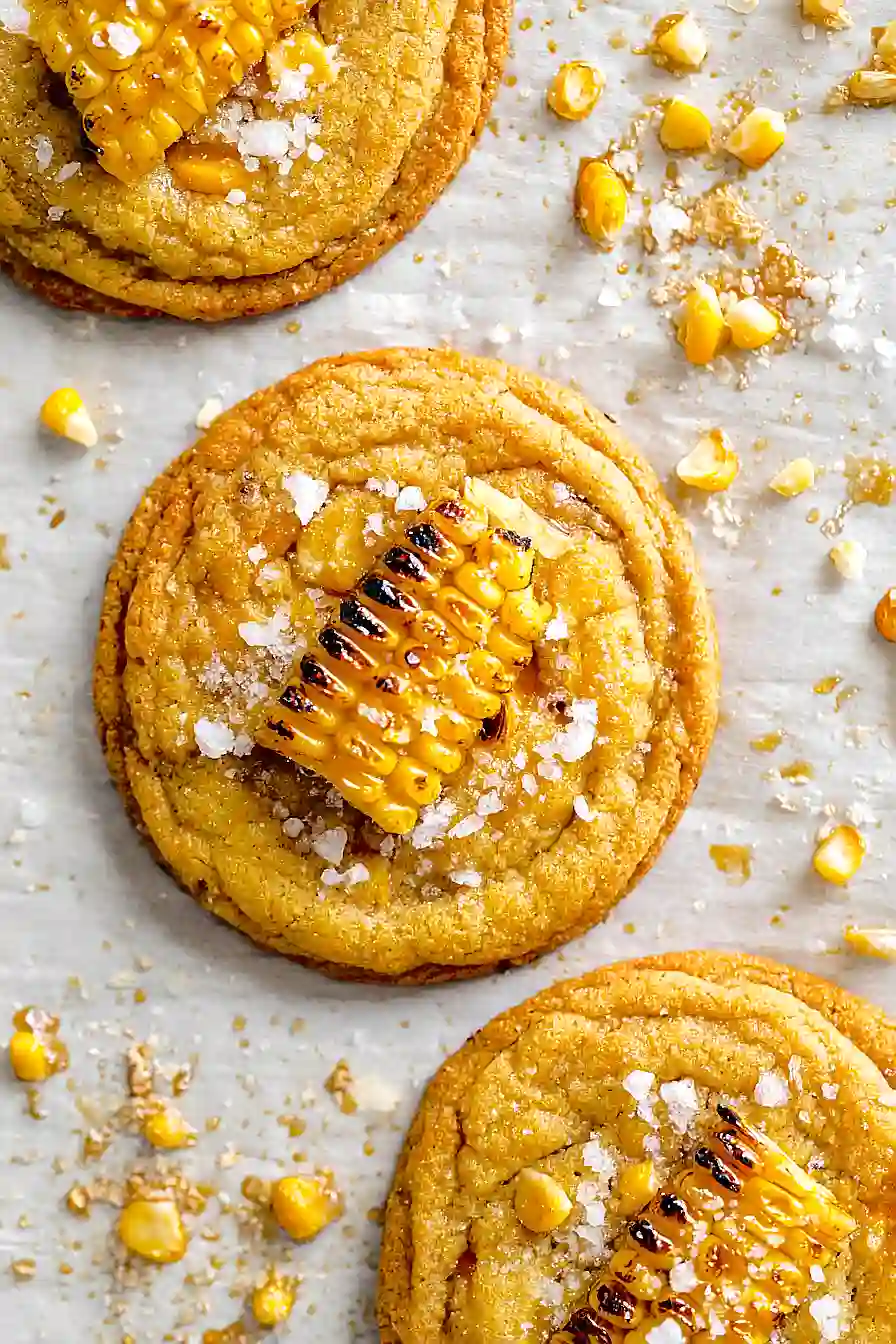
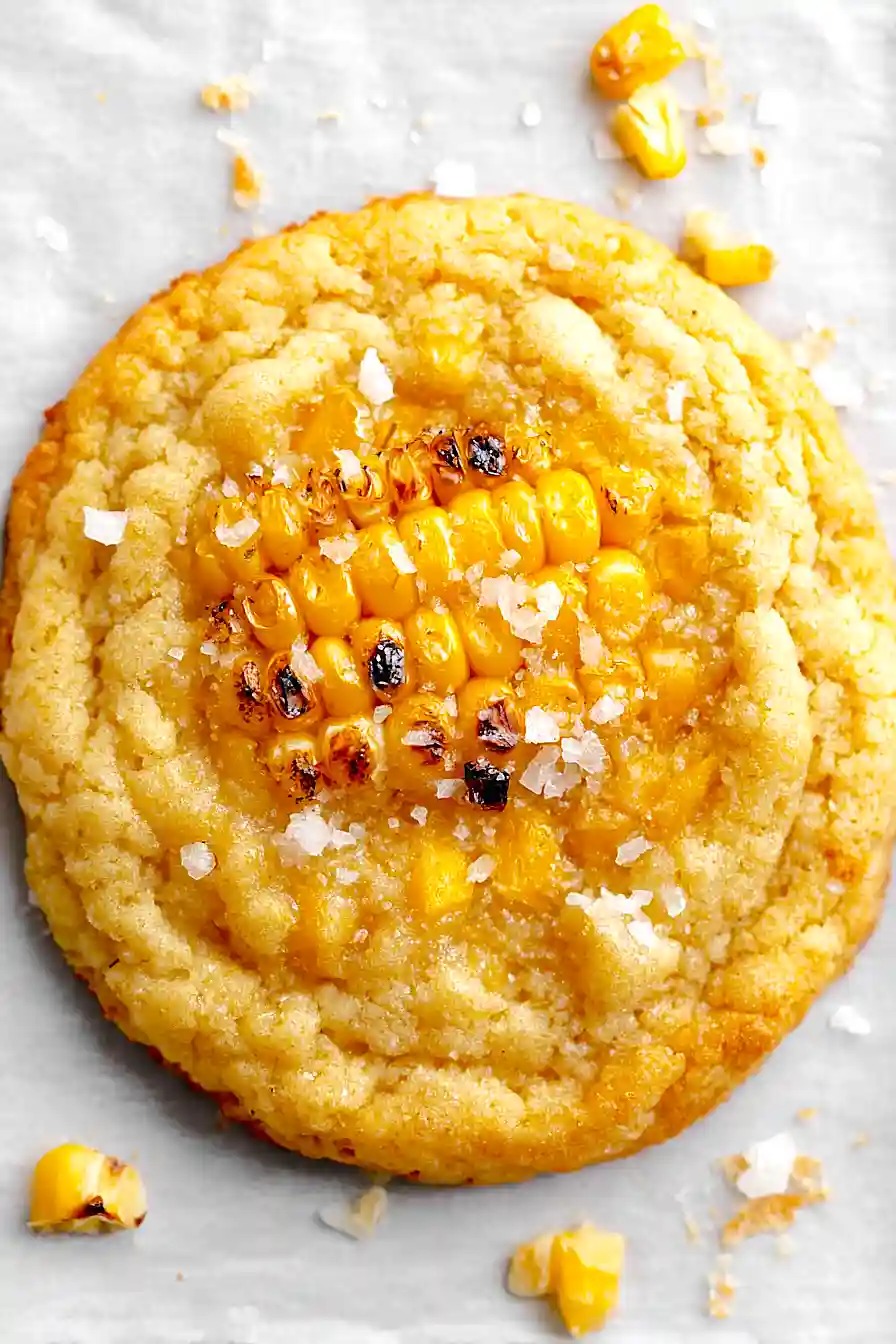
Top each cookie with a piece of bruléed corn from Step 4.
Bake in the preheated oven for 15-17 minutes, until the cookies are faintly browned at the edges but still a bright yellow and just set in the center.
Step 6: Cool and Serve
Allow the cookies to cool on the baking sheet for at least 10 minutes after baking, then transfer them to a cooling rack to cool completely before serving.
This resting time gives them the perfect chewy texture and prevents them from breaking when moved.
Homemade Corn Pops Cookies
Ingredients
For the cookie dough:
- 1 cup unsalted butter, room temperature (227 g)
- 1 1/2 cups granulated sugar (300 g)
- 1 large egg, at room temperature
- 1 1/3 cups all-purpose flour (160 g)
- 1/2 cup ground Corn Pops cereal (60 g)
- 2/3 cup freeze-dried corn powder (50 g)
- 3/4 tsp baking powder
- 1/4 tsp baking soda
- 1 tsp kosher salt
For the bruléed corn:
- 1 ear fresh corn
- 2 tbsp granulated sugar (26 g)
Instructions
- In the bowl of a stand mixer fitted with the paddle attachment, beat the unsalted butter and granulated sugar on medium-high speed until smooth, about 1 minute. Add the egg and continue to beat for another minute until the mixture is fully combined and creamy.
- In a separate bowl, whisk together the all-purpose flour, freeze-dried corn powder, ground Corn Pops cereal, baking powder, baking soda, and kosher salt. Make sure the mixture is well incorporated and free of lumps.
- Add the dry ingredient mixture to the butter, sugar, and egg mixture in the stand mixer. Mix on low speed until the dough just comes together, about 30 seconds; avoid overmixing. Using a standard ice cream scoop, portion the dough into even balls and arrange them on a baking sheet. Wrap the sheet tightly in plastic wrap and refrigerate for 30 minutes to firm up the dough. I find that chilling the dough really helps the cookies hold their shape and get a nice texture.
- While the dough is chilling, start on the corn topping. Remove the husk from the ear of corn and place it in a steamer basket over medium heat. Steam for 10 minutes, then remove the corn and let it cool until safe to handle. Cut panels (slabs) of kernels from the cob so you have at least 12 pieces. Sprinkle each panel of corn with the 2 tablespoons granulated sugar. Use a kitchen torch to caramelize the sugar on the corn pieces until a crisp, golden crust forms. For best flavor and texture, try to keep the corn panels somewhat intact rather than breaking them into individual kernels.
- Preheat your oven to 350°F (175°C) and line a baking sheet with parchment paper. Take the chilled dough balls from Step 3 and arrange them on the prepared baking sheet, spacing them at least 3 inches apart. Top each cookie with a piece of bruléed corn from Step 4. Bake in the preheated oven for 15-17 minutes, until the cookies are faintly browned at the edges but still a bright yellow and just set in the center.
- Allow the cookies to cool on the baking sheet for at least 10 minutes after baking, then transfer them to a cooling rack to cool completely before serving. This resting time gives them the perfect chewy texture and prevents them from breaking when moved.
