Let’s be honest – finding a banana bread recipe that’s both actually healthy and tastes incredible can feel impossible. Most “healthy” versions end up dry and flavorless, while the traditional recipes are basically cake loaded with butter and sugar. And if you’re trying to sneak in extra protein without sacrificing that moist, tender crumb we all love? Good luck.
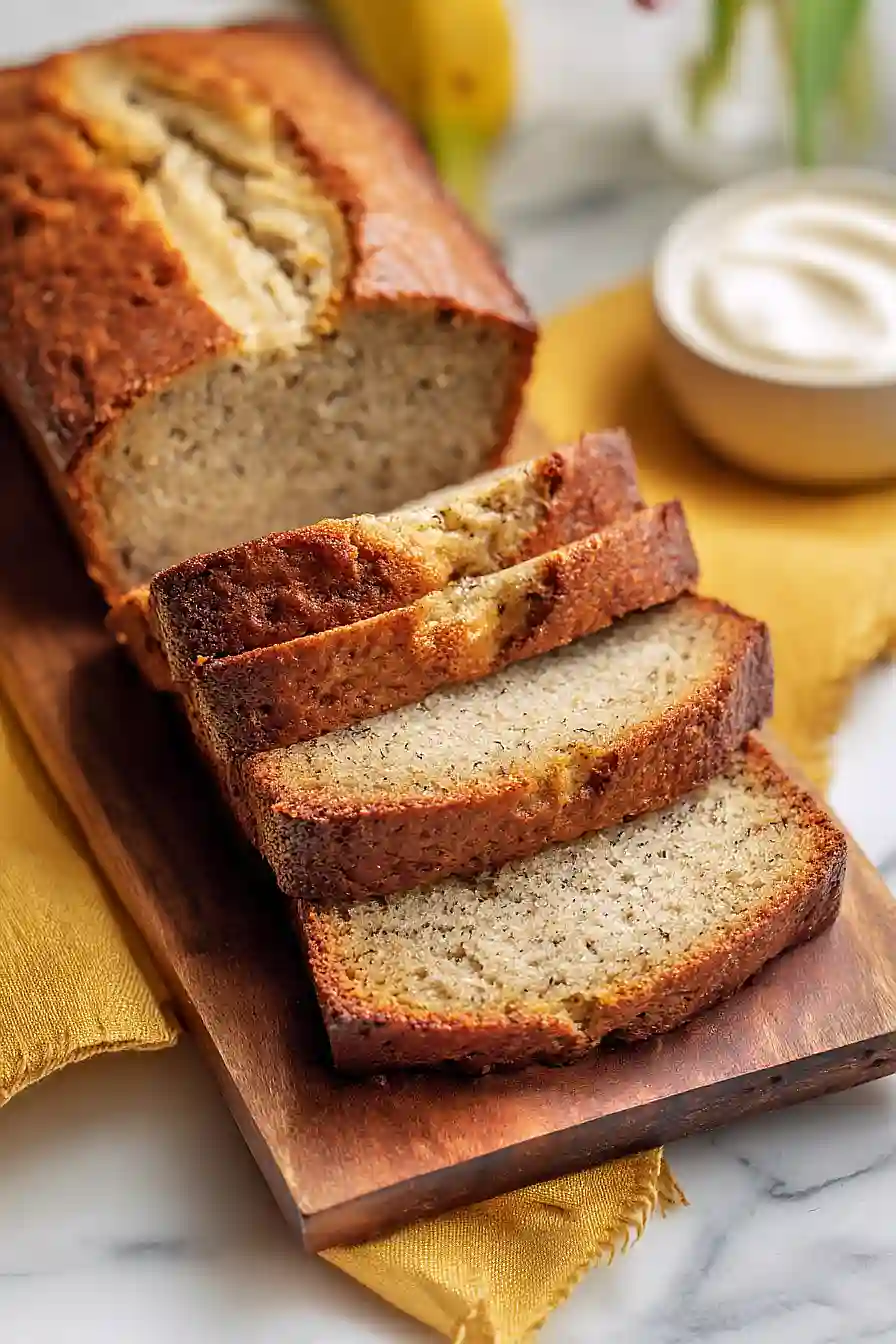
That’s exactly why I created this high protein Greek yogurt banana bread. It uses Greek yogurt and protein powder to pack in the protein, relies on super ripe bananas and maple syrup for natural sweetness, and still delivers that classic banana bread texture everyone goes crazy for. Plus, it’s perfect for busy mornings, post-workout snacks, or whenever you need something that feels like a treat but actually fuels your day.
Why You’ll Love This Banana Bread
- High protein boost – With Greek yogurt and protein powder packed in, this banana bread gives you way more protein than traditional recipes, making it perfect for a post-workout snack or filling breakfast.
- Healthier ingredients – Made with whole wheat flour, Greek yogurt, and naturally sweetened with maple syrup and bananas, you can feel good about eating this.
- Simple pantry staples – Most of these ingredients are things you probably already have in your kitchen, so you can whip this up whenever those bananas get too ripe.
- Perfect for meal prep – Bake it once and you’ve got healthy snacks or breakfasts ready for the whole week.
What Kind of Greek Yogurt Should I Use?
For this banana bread, you’ll want to use plain Greek yogurt rather than flavored varieties, since we’re already getting plenty of sweetness from the bananas and maple syrup. Full-fat Greek yogurt will give you the richest, most moist banana bread, but 2% or even non-fat will work just fine if that’s what you have on hand. The key is to make sure you’re using Greek yogurt specifically, not regular yogurt, since Greek yogurt is thicker and has more protein, which helps give this bread its hearty texture. If your Greek yogurt has separated and there’s liquid on top, just give it a good stir before measuring it out for your recipe.

Options for Substitutions
This recipe is pretty adaptable, so here are some swaps you can make based on what’s in your pantry:
- Greek yogurt: Regular yogurt works fine here, though you might want to drain it for a few minutes if it’s really runny. Sour cream is another option that gives you similar moisture and tang.
- Coconut oil: You can swap this with melted butter, vegetable oil, or even applesauce if you want to cut back on fat. Just note that applesauce will make it a bit denser.
- Almond milk: Any milk works – dairy, oat, soy, or whatever you have on hand. The amount is small enough that it won’t make a big difference in taste.
- Maple syrup: Honey is a great substitute here, or you can use regular sugar (about 1/3 cup). If using sugar, you might need to add a tablespoon or two more milk to keep the batter moist.
- Whole wheat pastry flour: All-purpose flour works perfectly fine. You can also try regular whole wheat flour, though it’ll make the bread a bit denser and heartier.
- Protein powder: If you don’t have protein powder, just replace it with the same amount of flour. Keep in mind this will lower the protein content but the bread will still taste great.
- Bananas: Don’t substitute these – they’re what makes banana bread banana bread! Make sure they’re nice and ripe with brown spots for the best flavor and sweetness.
Watch Out for These Mistakes While Baking
The biggest mistake when baking with protein powder is overmixing the batter, which can make your banana bread dense and rubbery – mix just until the dry ingredients are incorporated and you still see a few streaks of flour.
Another common error is skipping the foil cover halfway through baking, which leads to an overly dark top while the center stays undercooked, so set a timer for those 30 minutes and have your foil ready.
Since protein powder absorbs more liquid than regular flour, your batter might look thicker than traditional banana bread, but resist the urge to add extra liquid or you’ll end up with a gummy texture.
Finally, let the bread cool completely before slicing – cutting into it while warm will give you a sticky, mushy texture instead of clean slices, even though waiting those 45 minutes total feels like forever.

What to Serve With Banana Bread?
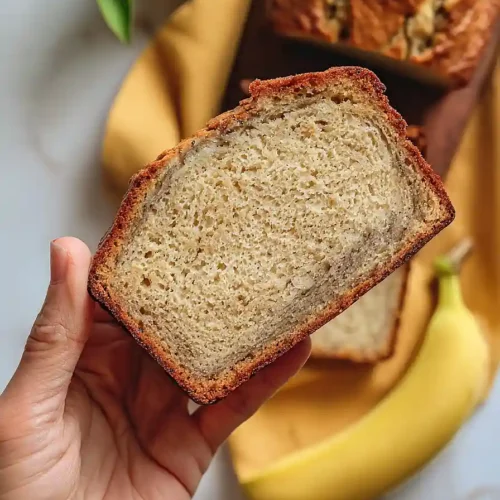
This protein-packed banana bread is perfect for breakfast or as a snack on its own, but I love spreading a little butter or almond butter on a warm slice for extra richness. A cup of coffee or tea makes it feel like a complete breakfast, and the protein content means it’ll actually keep you full until lunch. If you want to make it more of a dessert situation, try warming a slice and topping it with a dollop of Greek yogurt and fresh berries. You can also toast it lightly and drizzle with a bit of honey for a sweet afternoon treat.
Storage Instructions
Store: This banana bread stays moist and delicious when wrapped tightly in plastic wrap or stored in an airtight container at room temperature for up to 3 days. If you want it to last longer, pop it in the fridge where it’ll keep for about a week.
Freeze: I love slicing this bread and freezing individual pieces wrapped in plastic wrap, then placing them all in a freezer bag. It’ll keep for up to 3 months, and you can grab a slice whenever you need a quick breakfast or snack.
Serve: Let frozen slices thaw at room temperature for about 30 minutes, or warm them up in the microwave for 20-30 seconds. You can also toast slices straight from the freezer for a warm, slightly crispy treat that’s perfect with a little butter or nut butter on top.
| Preparation Time | 10-15 minutes |
| Cooking Time | 50-55 minutes |
| Total Time | 90-100 minutes |
| Level of Difficulty | Medium |
| Servings | 10 slices |
Estimated Nutrition
Estimated nutrition for the whole recipe (without optional ingredients):
- Calories: 1150-1300
- Protein: 53-64 g
- Fat: 36-44 g
- Carbohydrates: 165-185 g
Ingredients
For the wet mixture:
- 1.25 cups mashed bananas (about 4 very ripe bananas for natural sweetness)
- 2 large eggs (at room temperature, about 70°F)
- 3/4 cup greek yogurt (I prefer Fage 2% for the perfect creamy texture)
- 1/4 cup coconut oil (melted and cooled to room temperature)
- 1/4 cup almond milk
- 2/3 cup maple syrup
- 1.5 tsp vanilla
For the dry ingredients:
- 1 1/4 cups pastry flour (I always use King Arthur to ensure a soft crumb)
- 1.5 scoops protein powder (use vanilla whey for the best flavor profile)
- 3 tsp baking powder
- 1 tsp cinnamon
- 1/2 tsp salt
- 1/4 teaspoon nutmeg
Step 1: Prepare Equipment and Mise en Place
- 1.25 cups mashed bananas
Preheat your oven to 350°F and grease a 9×5 inch loaf pan with butter or cooking spray, paying special attention to the corners and edges.
While the oven preheats, mash your very ripe bananas in a large bowl until mostly smooth with just a few small lumps remaining—this takes about 2-3 minutes and contributes to the bread’s natural sweetness and moist texture.
Step 2: Blend Wet Ingredients
- mashed bananas from Step 1
- 2 large eggs
- 3/4 cup greek yogurt
- 1/4 cup coconut oil
- 1/4 cup almond milk
- 2/3 cup maple syrup
- 1.5 tsp vanilla
Add the eggs, Greek yogurt, melted coconut oil, almond milk, maple syrup, and vanilla to the mashed bananas.
Blend everything together for about 15 seconds using an immersion blender or whisk until the mixture is smooth and well combined.
This wet base should be creamy and uniform, with no streaks of yogurt visible.
I find that blending rather than whisking helps incorporate the yogurt smoothly and creates a more tender crumb in the final bread.
Step 3: Combine Dry Ingredients
- 1 1/4 cups pastry flour
- 1.5 scoops protein powder
- 3 tsp baking powder
- 1 tsp cinnamon
- 1/2 tsp salt
- 1/4 teaspoon nutmeg
In a separate medium bowl, whisk together the pastry flour, protein powder, baking powder, cinnamon, salt, and nutmeg until evenly distributed.
This ensures the leavening and spices are spread throughout the flour rather than clumping in one spot, which guarantees consistent flavor and rise in every slice.
I like to whisk for about 30 seconds to break up any lumps in the protein powder.
Step 4: Fold Together and Pour into Pan
- dry ingredient mixture from Step 3
- wet ingredient mixture from Step 2
Pour the dry ingredient mixture from Step 3 into the wet ingredient mixture from Step 2 and fold together gently using a spatula until just combined—stop folding as soon as no streaks of flour remain.
Overmixing at this stage can develop gluten and make the bread tough, so aim for a slightly lumpy batter.
Pour the batter into your prepared loaf pan and smooth the top with a spatula.
Step 5: Bake in Two Stages
Bake uncovered for 30 minutes at 350°F until the top is light golden and a toothpick inserted near the center comes out with a few moist crumbs.
Then cover the top loosely with aluminum foil to prevent over-browning and bake for an additional 20-25 minutes until a toothpick inserted into the very center comes out clean or with just one or two tiny crumbs.
The two-stage baking method allows the edges to set while the center stays moist and tender.
Step 6: Cool and Serve
Remove the bread from the oven and let it cool in the pan for 15 minutes—this allows the structure to set so it won’t crumble when turned out.
Turn the bread out onto a wire cooling rack and let it cool for at least 30 minutes before slicing.
This cooling time is crucial because the crumb continues to set as it cools, so slicing too early will result in a gummy texture.
Best High Protein Greek Yogurt Banana Bread
Ingredients
For the wet mixture::
- 1.25 cups mashed bananas (about 4 very ripe bananas for natural sweetness)
- 2 large eggs (at room temperature, about 70°F)
- 3/4 cup greek yogurt (I prefer Fage 2% for the perfect creamy texture)
- 1/4 cup coconut oil (melted and cooled to room temperature)
- 1/4 cup almond milk
- 2/3 cup maple syrup
- 1.5 tsp vanilla
For the dry ingredients::
- 1 1/4 cups pastry flour (I always use King Arthur to ensure a soft crumb)
- 1.5 scoops protein powder (use vanilla whey for the best flavor profile)
- 3 tsp baking powder
- 1 tsp cinnamon
- 1/2 tsp salt
- 1/4 teaspoon nutmeg
Instructions
- Preheat your oven to 350°F and grease a 9x5 inch loaf pan with butter or cooking spray, paying special attention to the corners and edges. While the oven preheats, mash your very ripe bananas in a large bowl until mostly smooth with just a few small lumps remaining—this takes about 2-3 minutes and contributes to the bread's natural sweetness and moist texture.
- Add the eggs, Greek yogurt, melted coconut oil, almond milk, maple syrup, and vanilla to the mashed bananas. Blend everything together for about 15 seconds using an immersion blender or whisk until the mixture is smooth and well combined. This wet base should be creamy and uniform, with no streaks of yogurt visible. I find that blending rather than whisking helps incorporate the yogurt smoothly and creates a more tender crumb in the final bread.
- In a separate medium bowl, whisk together the pastry flour, protein powder, baking powder, cinnamon, salt, and nutmeg until evenly distributed. This ensures the leavening and spices are spread throughout the flour rather than clumping in one spot, which guarantees consistent flavor and rise in every slice. I like to whisk for about 30 seconds to break up any lumps in the protein powder.
- Pour the dry ingredient mixture from Step 3 into the wet ingredient mixture from Step 2 and fold together gently using a spatula until just combined—stop folding as soon as no streaks of flour remain. Overmixing at this stage can develop gluten and make the bread tough, so aim for a slightly lumpy batter. Pour the batter into your prepared loaf pan and smooth the top with a spatula.
- Bake uncovered for 30 minutes at 350°F until the top is light golden and a toothpick inserted near the center comes out with a few moist crumbs. Then cover the top loosely with aluminum foil to prevent over-browning and bake for an additional 20-25 minutes until a toothpick inserted into the very center comes out clean or with just one or two tiny crumbs. The two-stage baking method allows the edges to set while the center stays moist and tender.
- Remove the bread from the oven and let it cool in the pan for 15 minutes—this allows the structure to set so it won't crumble when turned out. Turn the bread out onto a wire cooling rack and let it cool for at least 30 minutes before slicing. This cooling time is crucial because the crumb continues to set as it cools, so slicing too early will result in a gummy texture.
