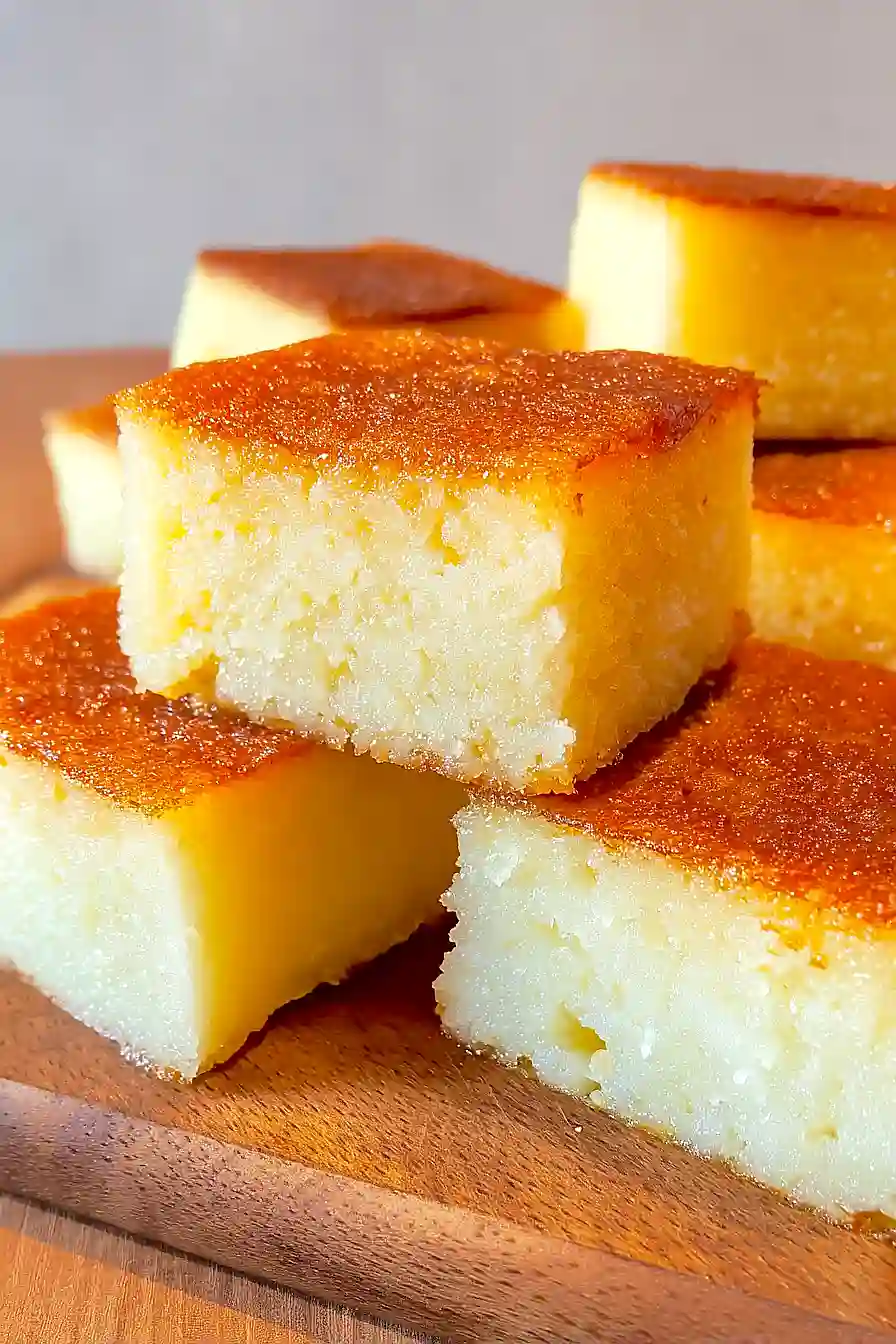
Here is my favorite butter mochi recipe, with a chewy, sweet texture that’s made with simple ingredients like mochi rice flour, coconut milk, eggs, and butter for that rich flavor.
This butter mochi is always a hit at potlucks and family gatherings. I love how it comes together so easily in one bowl, and my kids can never resist asking for seconds. There’s something so satisfying about that perfect chewy bite!
Why You’ll Love This Butter Mochi
- Unique chewy texture – This Hawaiian treat has an amazing bouncy, chewy consistency that’s completely different from regular cake – it’s almost addictive once you try it.
- Simple mixing method – Just whisk all the ingredients together in one bowl and bake. No complicated techniques or special equipment needed.
- Rich coconut flavor – The combination of coconut milk and butter creates this incredible creamy, tropical taste that’s not too sweet but totally satisfying.
- Perfect for sharing – One pan makes plenty of squares for potlucks, family gatherings, or just having around for snacks throughout the week.
- Gluten-free dessert – Made with rice flour instead of wheat flour, this naturally gluten-free treat means everyone can enjoy it without worry.
What Kind of Mochiko Should I Use?
For butter mochi, you’ll want to stick with authentic mochiko, which is Japanese glutinous rice flour – and don’t worry, despite the name “glutinous,” it’s actually gluten-free. The most common brand you’ll find is Koda Farms or Blue Star, both available at most Asian grocery stores and many regular supermarkets these days. Regular rice flour won’t work as a substitute since it doesn’t have the same sticky, chewy texture that makes mochi so special. Make sure your mochiko is fresh and stored in a cool, dry place, as old flour can affect the final texture of your mochi.
Options for Substitutions
While butter mochi is pretty specific about certain ingredients, there are still some swaps you can make:
- Mochiko glutinous rice flour: This one’s non-negotiable – you really need mochiko (sweet rice flour) to get that signature chewy texture. Regular flour just won’t work here, so it’s worth seeking out at Asian grocery stores or ordering online.
- Coconut milk: You can use light coconut milk if you want to cut some richness, or substitute with whole milk, though you’ll lose some of that tropical flavor. Make sure to use the canned version, not the carton kind.
- Evaporated milk: Heavy cream or whole milk work as substitutes, but use about 1 cup instead of the full can since regular milk is thinner than evaporated milk.
- Butter: Coconut oil (melted) makes a great dairy-free swap and adds extra coconut flavor. Vegetable oil works too, though you’ll miss some richness.
- Sugar: You can reduce the sugar to 1½ cups if you prefer it less sweet, but don’t go lower than that or the texture might suffer.
- Eggs: For each egg, you can substitute ¼ cup applesauce or 1 flax egg (1 tablespoon ground flaxseed mixed with 3 tablespoons water), though the texture will be slightly different.
Watch Out for These Mistakes While Baking
The biggest mistake people make with butter mochi is not mixing the batter thoroughly enough, which can leave you with lumps of dry mochiko flour that create an uneven texture – whisk everything together until completely smooth, even if it takes a few extra minutes.
Another common error is overbaking, since mochi should have a slightly jiggly center when done rather than being completely firm like a regular cake – start checking around 60 minutes and look for a golden top with just a slight wobble in the middle.
Don’t skip greasing your pan well with butter or cooking spray, as mochi can be quite sticky, and resist the urge to cut into it right away since it needs at least 30 minutes to cool and set properly for clean slices.
For the smoothest results, make sure your melted butter isn’t too hot when you add it to prevent the eggs from scrambling, and room temperature eggs will blend more easily into the mixture.

What to Serve With Butter Mochi?
Butter mochi is perfect on its own as a sweet treat, but I love serving it alongside a hot cup of coffee or green tea to balance out the rich, chewy sweetness. Fresh fruit like sliced strawberries, mango, or pineapple makes a great pairing since the bright, juicy flavors cut through the dense texture beautifully. You can also serve it with a scoop of vanilla ice cream or a dollop of whipped cream for an extra indulgent dessert. For a fun twist, try drizzling some coconut cream or a light dusting of powdered sugar on top right before serving.
Storage Instructions
Store: Butter mochi keeps really well at room temperature for about 2-3 days when covered with plastic wrap or foil. You can also pop it in the fridge for up to a week, though it might get a bit firmer when cold. I actually love eating it straight from the fridge on hot days!
Freeze: This treats freezes like a dream! Cut it into squares and wrap individual pieces in plastic wrap, then store in a freezer bag for up to 3 months. It’s perfect for portion control and having a sweet treat ready whenever you need one.
Serve: Frozen butter mochi is amazing eaten straight from the freezer – it has this cool, chewy texture that’s almost like ice cream. If you prefer it at room temperature, just let it thaw for about 30 minutes. You can also warm it up in the microwave for 10-15 seconds if you want that fresh-baked feel again.
| Preparation Time | 15-20 minutes |
| Cooking Time | 60-70 minutes |
| Total Time | 75-90 minutes |
| Level of Difficulty | Medium |
Estimated Nutrition
Estimated nutrition for the whole recipe (without optional ingredients):
- Calories: 4000-4300
- Protein: 55-65 g
- Fat: 110-130 g
- Carbohydrates: 710-760 g
Ingredients
- 1 box (16 oz) sweet rice flour (mochiko brand)
- 2 cups granulated sugar
- 2 tsp baking powder
- 1 tsp salt
- 1 can (14 oz) coconut milk
- 1 can (12 oz) evaporated milk
- 1/2 cup (1 stick) unsalted butter, melted
- 4 large eggs
- 2 tsp vanilla extract
Step 1: Prepare the Baking Pan and Oven
Preheat your oven to 350ºF (175ºC) to make sure it’s ready for baking.
Grease a 9 by 13 inch baking pan thoroughly to prevent sticking, then set it aside.
I always make sure to coat the corners well so the mochi lifts out easily after baking.
Step 2: Mix the Dry Ingredients
- 1 box (16 oz) sweet rice flour (Mochiko brand)
- 2 cups granulated sugar
- 2 tsp baking powder
- 1 tsp salt
In a large mixing bowl, combine the sweet rice flour, granulated sugar, baking powder, and salt.
Mix these dry ingredients together until they’re evenly distributed and there are no lumps.
Step 3: Combine the Wet Ingredients
- 1 can (14 oz) coconut milk
- 1 can (12 oz) evaporated milk
- 1/2 cup (1 stick) unsalted butter, melted
- 4 large eggs
- 2 tsp vanilla extract
In a separate bowl, whisk together the coconut milk, evaporated milk, melted butter, eggs, and vanilla extract until the mixture is smooth and everything is fully incorporated.
Step 4: Make the Mochi Batter
- wet ingredients from Step 3
- dry ingredients from Step 2
Pour the wet ingredients from Step 3 into the bowl with the dry ingredients from Step 2.
Stir gently but thoroughly until you have a smooth, lump-free batter.
Scrape the sides and bottom of the bowl as needed to ensure all flour is incorporated.
Step 5: Pour and Prepare for Baking
- mochi batter from Step 4
Pour the prepared batter into the greased baking pan from Step 1.
Gently tap the pan on a flat surface a few times to help release any air bubbles that may have formed in the batter.
Step 6: Bake the Butter Mochi
- batter in the pan from Step 5
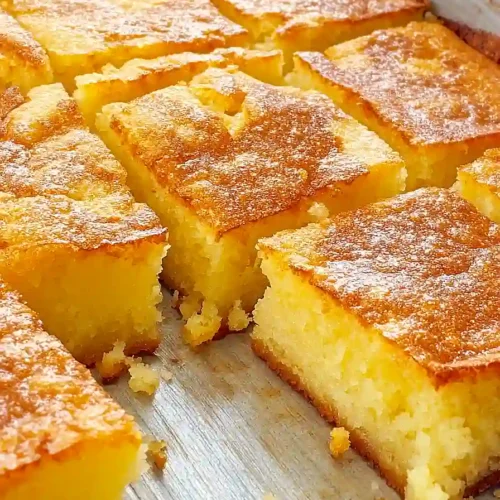
Place the pan in your preheated oven and bake for about 1 hour, or until the top and edges turn golden brown.
Every oven bakes a bit differently—I like to start checking for doneness at 55 minutes by inserting a toothpick into the center; it should come out mostly clean.
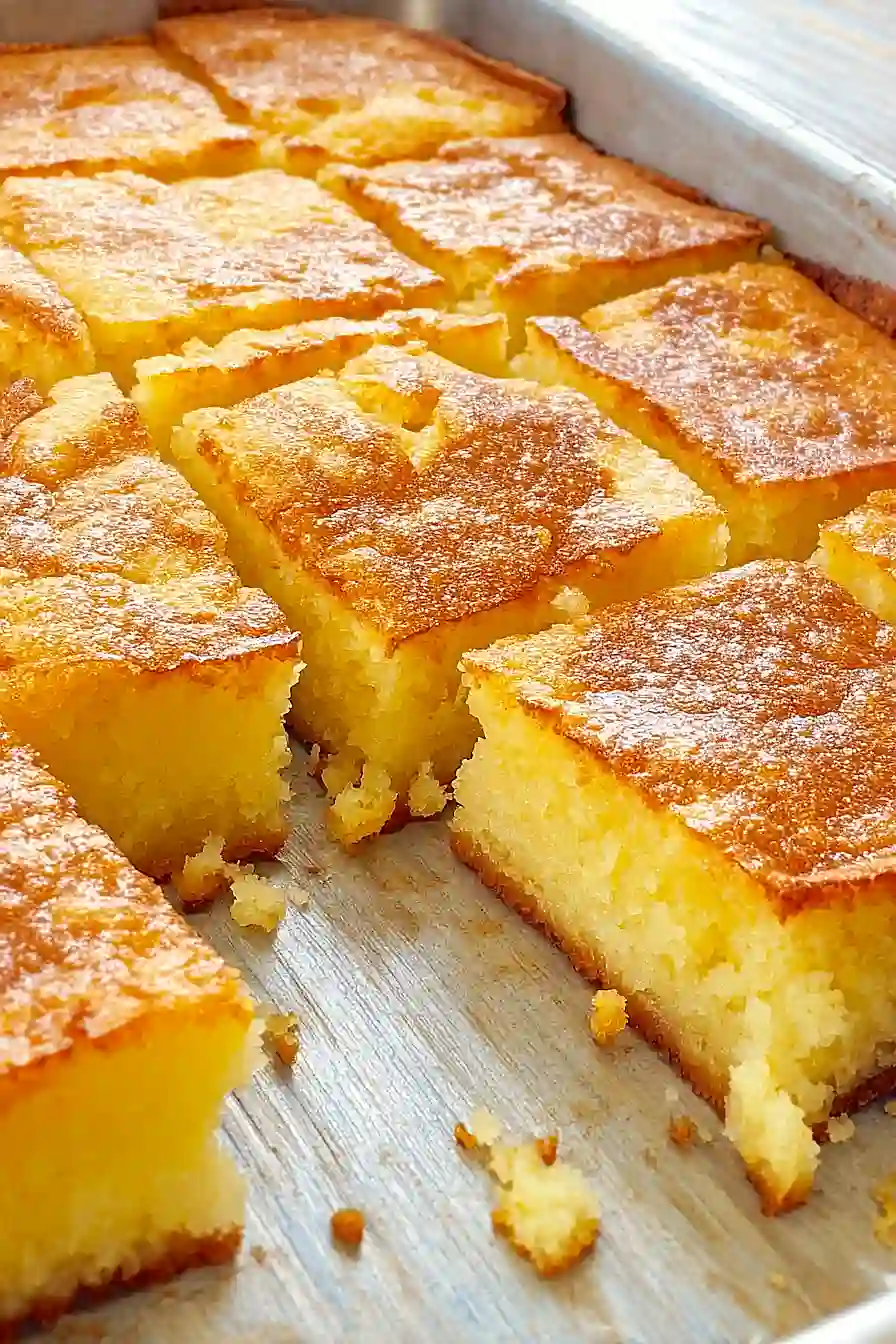
Step 7: Cool, Slice, and Serve
Remove the pan from the oven and let the Butter Mochi cool completely in the pan before cutting it into squares.
Cooling fully helps the mochi set and gives cleaner slices.
Serve at room temperature and enjoy.
Store any leftovers in an airtight container for 3 to 4 days at room temperature, a week in the fridge, or freeze for longer storage.
Best Butter Mochi
Ingredients
- 1 box (16 oz) sweet rice flour (Mochiko brand)
- 2 cups granulated sugar
- 2 tsp baking powder
- 1 tsp salt
- 1 can (14 oz) coconut milk
- 1 can (12 oz) evaporated milk
- 1/2 cup (1 stick) unsalted butter, melted
- 4 large eggs
- 2 tsp vanilla extract
Instructions
- Preheat your oven to 350ºF (175ºC) to make sure it's ready for baking. Grease a 9 by 13 inch baking pan thoroughly to prevent sticking, then set it aside. I always make sure to coat the corners well so the mochi lifts out easily after baking.
- In a large mixing bowl, combine the sweet rice flour, granulated sugar, baking powder, and salt. Mix these dry ingredients together until they're evenly distributed and there are no lumps.
- In a separate bowl, whisk together the coconut milk, evaporated milk, melted butter, eggs, and vanilla extract until the mixture is smooth and everything is fully incorporated.
- Pour the wet ingredients from Step 3 into the bowl with the dry ingredients from Step 2. Stir gently but thoroughly until you have a smooth, lump-free batter. Scrape the sides and bottom of the bowl as needed to ensure all flour is incorporated.
- Pour the prepared batter into the greased baking pan from Step 1. Gently tap the pan on a flat surface a few times to help release any air bubbles that may have formed in the batter.
- Place the pan in your preheated oven and bake for about 1 hour, or until the top and edges turn golden brown. Every oven bakes a bit differently—I like to start checking for doneness at 55 minutes by inserting a toothpick into the center; it should come out mostly clean.
- Remove the pan from the oven and let the Butter Mochi cool completely in the pan before cutting it into squares. Cooling fully helps the mochi set and gives cleaner slices. Serve at room temperature and enjoy. Store any leftovers in an airtight container for 3 to 4 days at room temperature, a week in the fridge, or freeze for longer storage.
