If you ask me, chicken fingers are one of the best ways to get everyone excited about dinner.
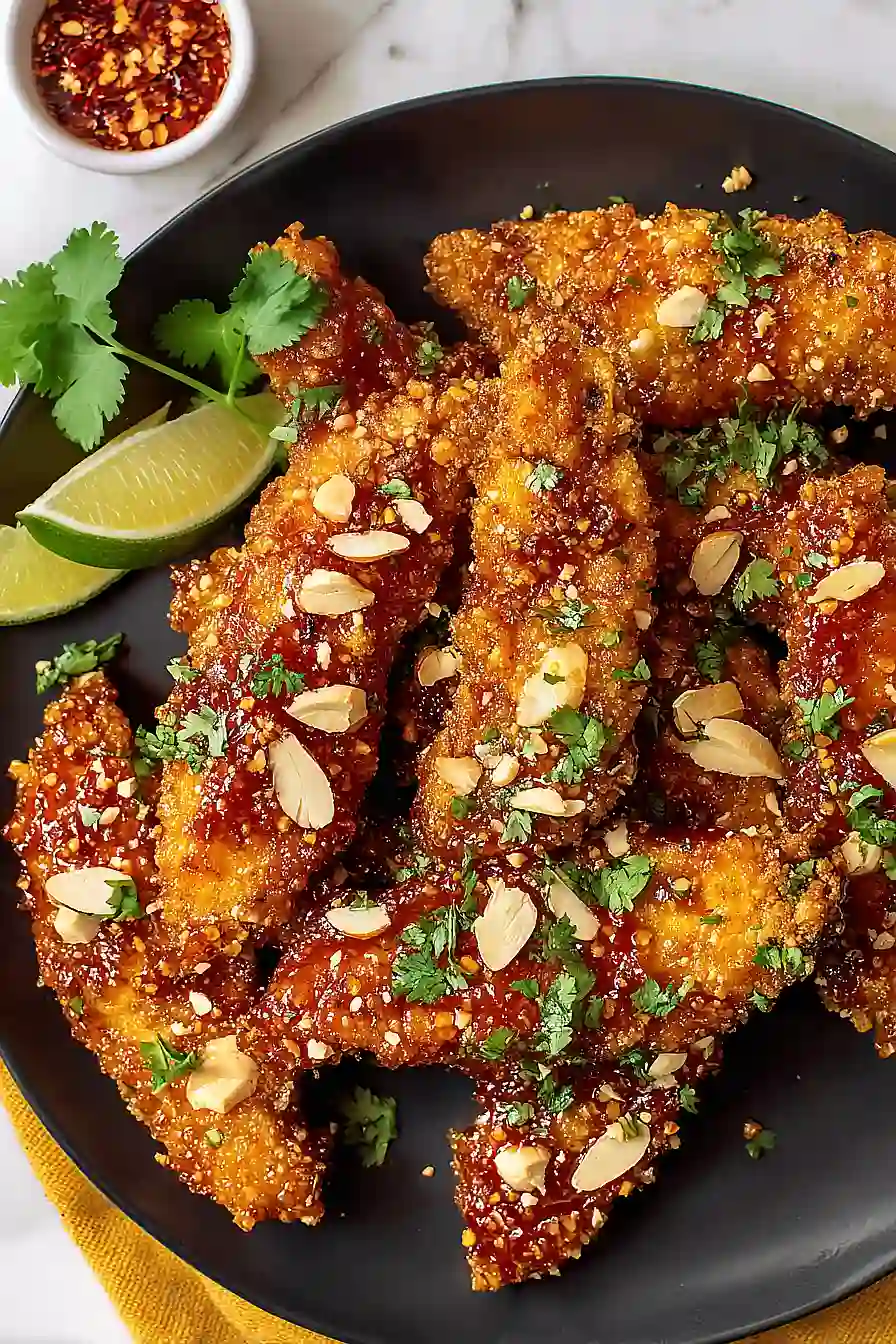
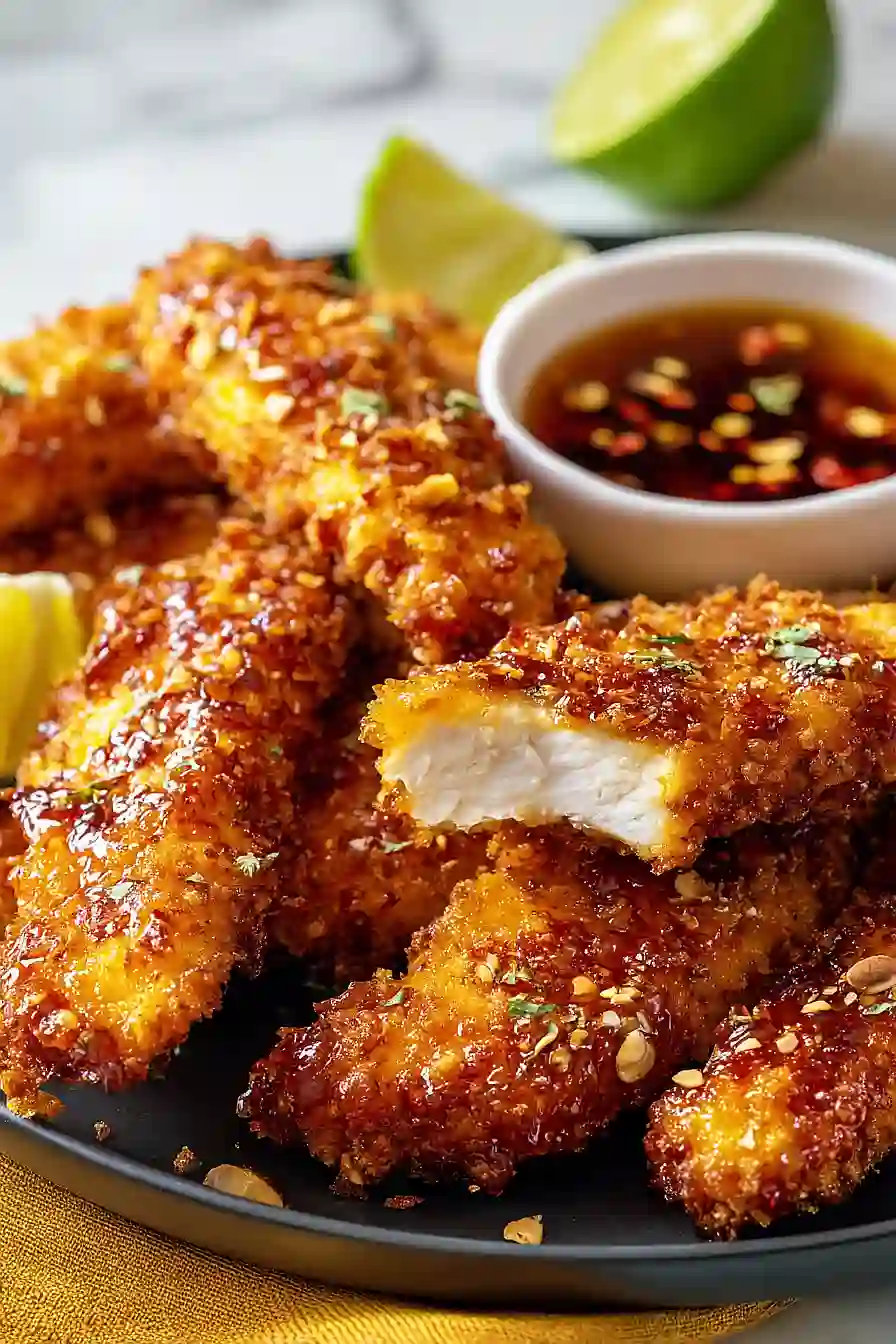
These Thai-inspired chicken strips bring together a crispy rice cereal and almond coating with a sweet and tangy sauce that hits all the right notes. The coating stays crunchy while the chicken stays juicy inside.
They’re baked until golden, then served with a homemade sauce made from sweet chili sauce, tamari, lime juice, and fresh ginger. Chopped almonds and cilantro on top add extra crunch and freshness.
It’s a family-friendly meal that feels special enough for company but easy enough for a weeknight.
Why You’ll Love These Thai Chicken Fingers
- Gluten-free friendly – This recipe works perfectly for gluten-free diets using Rice Chex crumbs and tamari, so everyone at the table can enjoy them.
- Baked, not fried – You get that crispy, crunchy coating without all the oil and mess of deep frying, making cleanup a breeze.
- Sweet and tangy Thai sauce – The homemade sauce with sweet chili, lime, and ginger brings those restaurant-quality Thai flavors right to your kitchen.
- Kid-approved dinner – These chicken fingers are familiar enough for picky eaters but exciting enough to keep dinner interesting for the whole family.
- Great for meal prep – Make a big batch and you’ll have delicious chicken fingers ready for lunches, snacks, or quick dinners throughout the week.
What Kind of Chicken Should I Use?
For this recipe, you’ll want to use boneless, skinless chicken breasts since they’re easy to cut into even strips and cook through nicely. If you can only find really thick chicken breasts at the store, consider slicing them in half horizontally before cutting them into strips – this helps them cook more evenly and gives you a better chicken-to-coating ratio. Chicken tenderloins are another great option if you want to skip the cutting step altogether, though you might need to adjust the cooking time slightly since they’re naturally smaller. Just make sure your chicken is fresh or fully thawed before you start, as this will make cutting those clean strips so much easier.
Options for Substitutions
This recipe is pretty adaptable, so here are some swaps you can make based on what you have:
- Chicken breasts: Chicken tenders work great here and save you the cutting step. You can also use boneless, skinless chicken thighs for a juicier option – just adjust cooking time as they may need a few extra minutes.
- Rice Chex cereal: If you don’t have Rice Chex, regular gluten-free bread crumbs or panko (use gluten-free panko if needed) work just fine. You can also use crushed cornflakes for extra crunch.
- Sliced almonds: Cashews or peanuts make good substitutes and keep that Thai-inspired flavor. Just chop them roughly before mixing into the coating.
- Sweet chili sauce: In a pinch, mix 1/2 cup of apricot preserves with 1-2 teaspoons of sriracha or hot sauce to get a similar sweet-spicy flavor.
- Tamari: Regular soy sauce works if you’re not avoiding gluten. Coconut aminos are another option, though the sauce will be slightly less salty, so you might want to add a pinch of salt.
- Rice vinegar: Apple cider vinegar or white wine vinegar can step in here. Start with a bit less and taste as you go since they can be slightly sharper.
- Fresh lime juice: Lemon juice works in a pinch, though lime gives it that authentic Thai taste. Bottled lime juice is fine too if that’s what you have.
Watch Out for These Mistakes While Cooking
Skipping the chilling step might seem like a time-saver, but those 20-30 minutes in the fridge help the coating stick to the chicken and prevent it from falling off during baking.
The biggest mistake is not pulsing your Rice Chex or almonds fine enough – chunky crumbs won’t adhere properly and can burn in spots, so aim for a texture similar to panko breadcrumbs.
When flipping the chicken strips halfway through, use a thin spatula and work gently since the coating is still setting, and make sure your oven is fully preheated to 425°F before baking to get that crispy exterior.
Don’t rush the sauce reduction either – letting it simmer for the full 5-6 minutes thickens it just enough to coat the chicken without making it soggy, and if it seems too thick, add a tablespoon of water at a time until it reaches a glaze-like consistency.

What to Serve With Thai Chicken Fingers?
These chicken fingers are perfect alongside some jasmine rice or coconut rice to soak up all that sweet and spicy sauce. I love serving them with a simple cucumber salad tossed with rice vinegar and a pinch of sugar – it adds a cool, crunchy contrast to the crispy chicken. For a heartier meal, try pairing them with some stir-fried vegetables like snap peas, bell peppers, and broccoli, or even some sesame noodles on the side. If you want to keep things easy, just serve them with extra sweet chili sauce for dipping and some lime wedges for squeezing over the top.
Storage Instructions
Store: Keep your leftover chicken fingers in an airtight container in the fridge for up to 3 days. Store the sweet chili sauce separately in a jar or container so the chicken stays crispy. They’re great for quick lunches or snacks throughout the week!
Freeze: These chicken fingers freeze really well for up to 2 months. Let them cool completely, then arrange them in a single layer on a baking sheet and freeze until solid. Transfer to a freezer bag and you’ve got an easy dinner ready to go whenever you need it.
Reheat: To get them crispy again, pop them in a 375°F oven for about 10-12 minutes if thawed, or 15-18 minutes from frozen. You can also use an air fryer at 350°F for 5-7 minutes. Skip the microwave if you want to keep that nice crunch on the outside.
| Preparation Time | 35-45 minutes |
| Cooking Time | 25-35 minutes |
| Total Time | 60-80 minutes |
| Level of Difficulty | Medium |
| Servings | 4 servings |
Estimated Nutrition
Estimated nutrition for the whole recipe (without optional ingredients):
- Calories: 1900-2100
- Protein: 135-150 g
- Fat: 45-55 g
- Carbohydrates: 220-240 g
Ingredients
For the chicken:
- 1.75 lb chicken breasts (cut into 3/4-inch wide strips)
- 1/2 cup flour
- 1 teaspoon salt
- 1/2 teaspoon pepper
- 2 large eggs
- 2 tablespoons milk
- 2 cups rice cereal crumbs (crushed)
- 1/2 cup almonds (finely ground to a meal consistency)
For the sauce:
- 1/2 cup sweet chili sauce
- 1/2 cup water
- 1/4 cup brown sugar
- 1/4 cup tamari
- 2 tablespoons rice vinegar
- 2 tablespoons lime juice
- 1 teaspoon fresh ginger (minced)
- 2 garlic cloves (minced)
- 1/4 teaspoon chili flakes
- 1/2 teaspoon toasted sesame oil
For the garnish:
- 1/4 cup almonds (roughly chopped for extra crunch)
- 1/4 cup fresh cilantro (chopped)
Step 1: Prepare the Coating Station and Mise en Place
- 1/2 cup flour
- 1 teaspoon salt
- 1/2 teaspoon pepper
- 2 large eggs
- 2 tablespoons milk
- 2 cups rice cereal crumbs
- 1/2 cup almonds
Set up your breading station with three shallow dishes in a row: flour mixed with salt and pepper in the first, the egg-milk mixture in the second, and the rice cereal-almond crumb mixture in the third.
Prepare two baking sheets by lining them with parchment paper and lightly spraying with cooking spray.
Having everything organized before you start coating the chicken will make the process fast and efficient.
Step 2: Bread and Chill the Chicken Strips
- 1.75 lb chicken breasts
- flour mixture from Step 1
- egg-milk mixture from Step 1
- rice cereal-almond coating from Step 1
Working with a few strips at a time, coat the chicken in the flour mixture, shaking off excess, then dip into the egg mixture, and finally roll in the rice cereal-almond coating, pressing gently so it adheres.
Arrange the coated strips on the prepared baking sheets in a single layer without overcrowding.
Refrigerate for 20-30 minutes—this chilling step helps the coating stick better during baking and prevents it from sliding off.
Step 3: Bake the Chicken Fingers
- chilled breaded chicken from Step 2
Preheat your oven to 425°F.
Remove the chilled chicken from the refrigerator and lightly spray both sides with cooking spray—this helps them crisp up beautifully.
Bake for 10 minutes, then flip each strip and spray again.
Continue baking for 7-9 minutes until the coating is golden brown and the chicken is cooked through.
The spray coating is key to getting that restaurant-quality crunch.
Step 4: Make the Thai-Inspired Sauce
- 1/2 cup sweet chili sauce
- 1/2 cup water
- 1/4 cup brown sugar
- 1/4 cup tamari
- 2 tablespoons rice vinegar
- 2 tablespoons lime juice
- 1 teaspoon fresh ginger
- 2 garlic cloves
- 1/4 teaspoon chili flakes
- 1/2 teaspoon toasted sesame oil
While the chicken is baking, combine the sweet chili sauce, water, brown sugar, tamari, rice vinegar, lime juice, minced ginger, minced garlic, and chili flakes in a saucepan.
Bring to a boil over medium-high heat, then reduce to a simmer and let it cook for 5-6 minutes, stirring occasionally.
Finish by stirring in the toasted sesame oil—I add it at the end rather than the beginning because heat can diminish its delicate nutty flavor.
Step 5: Finish with Sauce and Final Bake
- baked chicken from Step 3
- sauce from Step 4
Remove the golden chicken fingers from the oven and dip each one into the warm sauce, then return them to the baking sheets.
Bake for an additional 4-5 minutes until the sauce caramelizes slightly on the coating.
This final step creates a beautiful glaze and melds the flavors together.
Step 6: Plate and Garnish
- finished chicken from Step 5
- 1/4 cup almonds
- 1/4 cup fresh cilantro
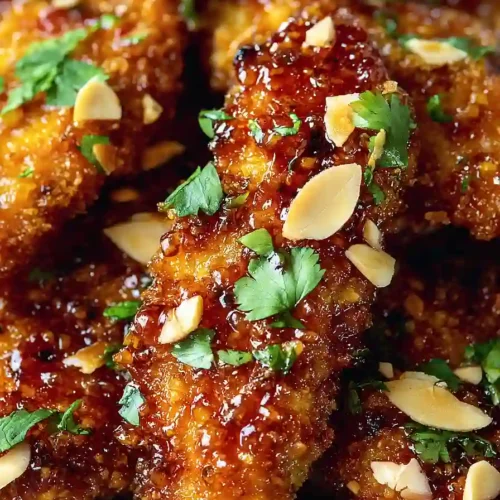
Transfer the glazed chicken fingers to a serving platter and top with the roughly chopped almonds and fresh cilantro for a pop of color, crunch, and brightness.
Serve immediately while they’re still warm and crispy.
Tasty Thai Chicken Fingers
Ingredients
For the chicken
- 1.75 lb chicken breasts (cut into 3/4-inch wide strips)
- 1/2 cup flour
- 1 teaspoon salt
- 1/2 teaspoon pepper
- 2 large eggs
- 2 tablespoons milk
- 2 cups rice cereal crumbs (crushed)
- 1/2 cup almonds (finely ground to a meal consistency)
For the sauce
- 1/2 cup sweet chili sauce
- 1/2 cup water
- 1/4 cup brown sugar
- 1/4 cup tamari
- 2 tablespoons rice vinegar
- 2 tablespoons lime juice
- 1 teaspoon fresh ginger (minced)
- 2 garlic cloves (minced)
- 1/4 teaspoon chili flakes
- 1/2 teaspoon toasted sesame oil
For the garnish
- 1/4 cup almonds (roughly chopped for extra crunch)
- 1/4 cup fresh cilantro (chopped)
Instructions
- Set up your breading station with three shallow dishes in a row: flour mixed with salt and pepper in the first, the egg-milk mixture in the second, and the rice cereal-almond crumb mixture in the third. Prepare two baking sheets by lining them with parchment paper and lightly spraying with cooking spray. Having everything organized before you start coating the chicken will make the process fast and efficient.
- Working with a few strips at a time, coat the chicken in the flour mixture, shaking off excess, then dip into the egg mixture, and finally roll in the rice cereal-almond coating, pressing gently so it adheres. Arrange the coated strips on the prepared baking sheets in a single layer without overcrowding. Refrigerate for 20-30 minutes—this chilling step helps the coating stick better during baking and prevents it from sliding off.
- Preheat your oven to 425°F. Remove the chilled chicken from the refrigerator and lightly spray both sides with cooking spray—this helps them crisp up beautifully. Bake for 10 minutes, then flip each strip and spray again. Continue baking for 7-9 minutes until the coating is golden brown and the chicken is cooked through. The spray coating is key to getting that restaurant-quality crunch.
- While the chicken is baking, combine the sweet chili sauce, water, brown sugar, tamari, rice vinegar, lime juice, minced ginger, minced garlic, and chili flakes in a saucepan. Bring to a boil over medium-high heat, then reduce to a simmer and let it cook for 5-6 minutes, stirring occasionally. Finish by stirring in the toasted sesame oil—I add it at the end rather than the beginning because heat can diminish its delicate nutty flavor.
- Remove the golden chicken fingers from the oven and dip each one into the warm sauce, then return them to the baking sheets. Bake for an additional 4-5 minutes until the sauce caramelizes slightly on the coating. This final step creates a beautiful glaze and melds the flavors together.
- Transfer the glazed chicken fingers to a serving platter and top with the roughly chopped almonds and fresh cilantro for a pop of color, crunch, and brightness. Serve immediately while they're still warm and crispy.

